Practice: Creating Flip-Flop Quizzes
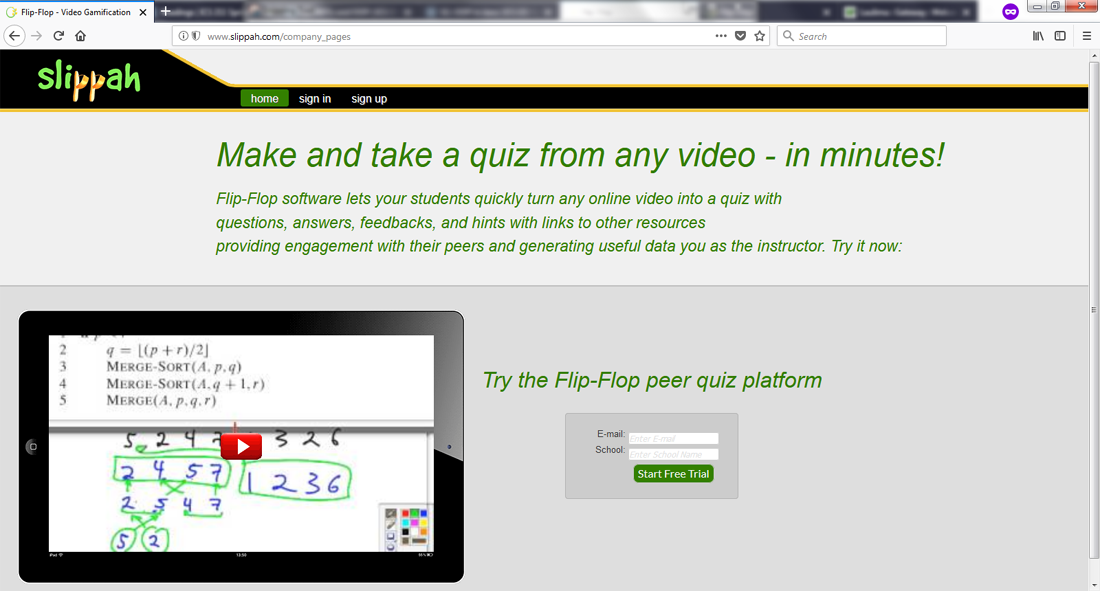
First, log in at http://slippah.com; click on the sign in link at the top.
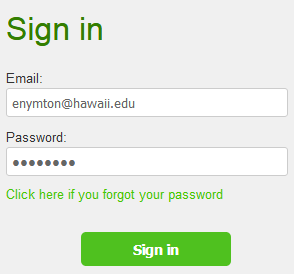
Type in your email and password; your instructor or teaching assistant will tell you what your login information should be. Then click the Sign in button.
You should see something like the window below. The videos shown on this page are yours to create. If you see a New label next to the quiz title, you have not worked on that quiz yet.

Click on the Edit button for one of the quizzes.

This should bring you to the Edit page for that quiz.
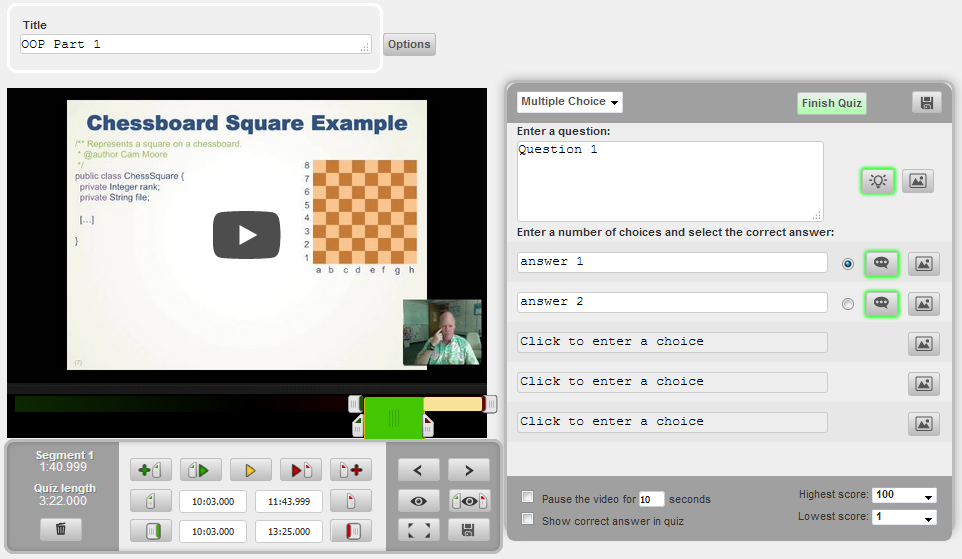
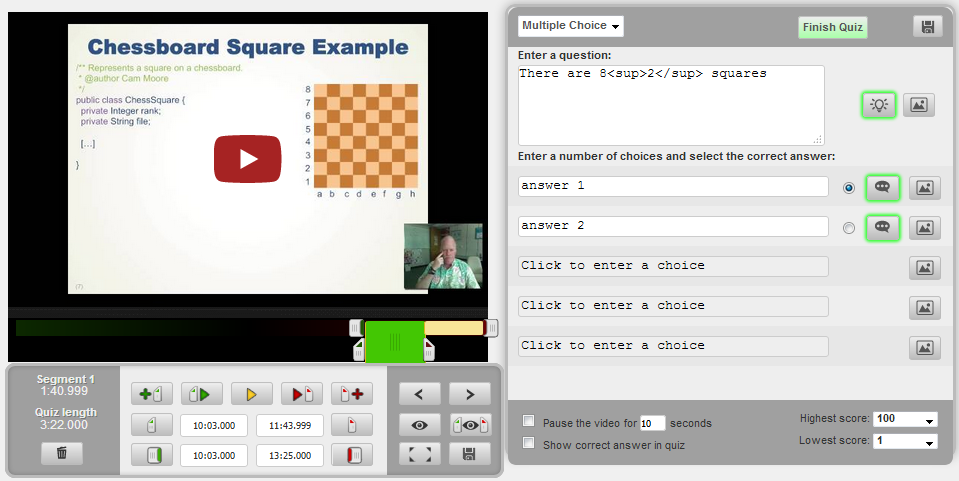
This is a lot of content to look at in a very compressed area; first, focus on the video panel on the left.
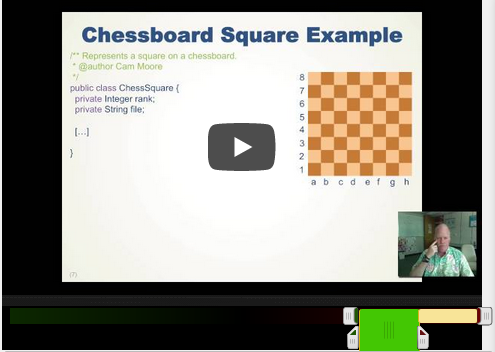
The lecture video has been subdivided into smaller portions for your quiz group; although the video shown here is approximately 13.5 minutes long, you only have to create a quiz on a third or quarter of that video depending on the size of your group. This is shown with the gray rectangular anchors below the video: those anchors are the start and end of your quiz.
Between those anchors are two green and yellow segments. These are the time blocks in which a question will be visible. The green segment is currently selected. Each segment has its own anchors that you can drag around to increase or decrease the duration during which the question is shown.
The segment editor is below the video pane.

This contains buttons to add segments, remove segments, change the start and end times of segments, change the start and end times of the entire game, etc. To see a short description of what a particular button does, hover your mouse cursor over that button.
Finally, there is the editing pane on the right.
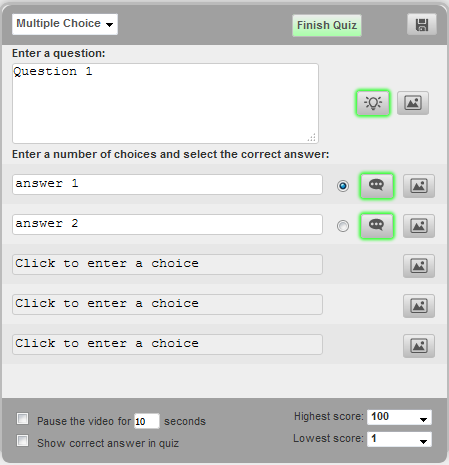
This contains a text area to type in the question and several text fields for up to five answers. The radio buttons to the right of those text fields indicate which response is selected as the correct answer for the question.
Clicking on any of the text areas or text fields will prompt two buttons to appear on the screen.
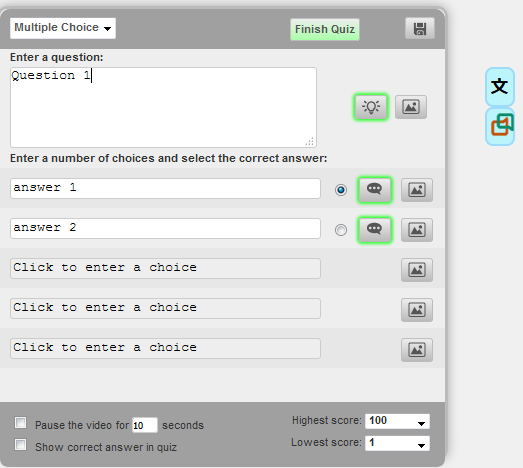
Click on the first button to display a list of symbols.
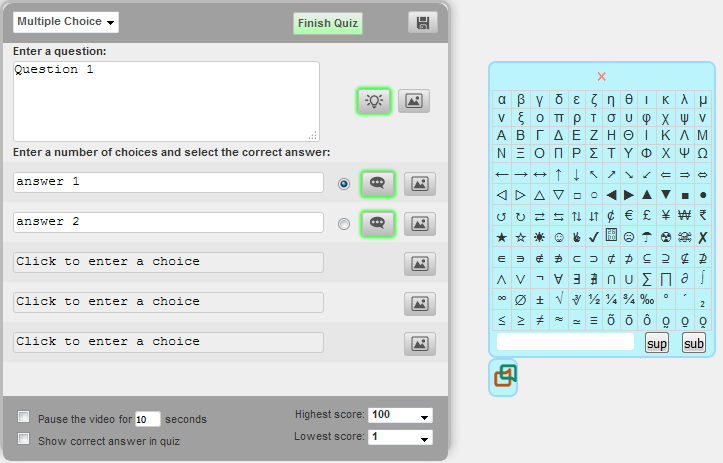
Clicking on any of these symbols will insert that symbol into the text area or text field.
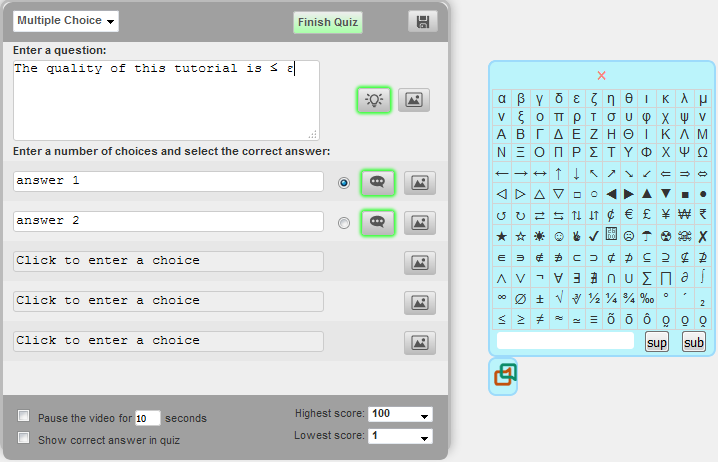
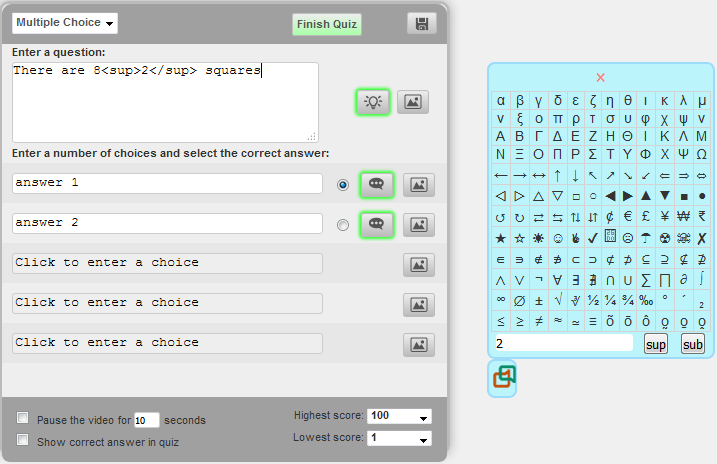
The text field within the symbols panel allows you to create superscripts or subscripts in the text of the question or answer; although the text will look like <sup>2</sup>, the application should properly format the superscript or subscript when the quiz is being taken.
The second button will display feedback on your quiz if any has been provided; since this is a brand new quiz, no one has taken the quiz and thus there is no feedback yet. We will discuss how to provide and view feedback in the future.
The Hint button opens and closes the Hint panel:
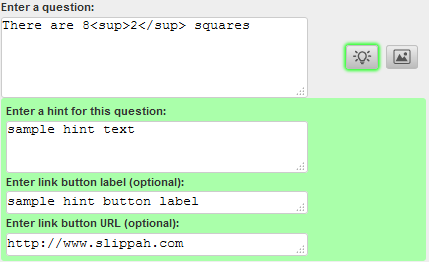
You can set the hint text as well as a link to an external resource.
Click on the Feedback button next to an answer to view the feedback for that answer.

When you have finished all of the questions and answers, click the Finish Quiz button.
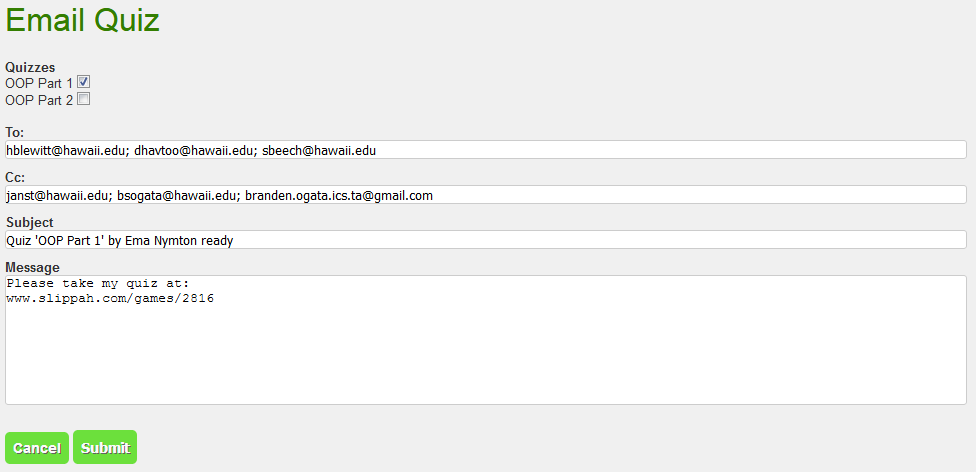
This brings you to a page where you can take your quiz to verify that it works properly. When you are finished, you may copy the URL of the quiz into an email to send to the rest of the class or you can click on the Email button to send the quiz to your quiz group only.
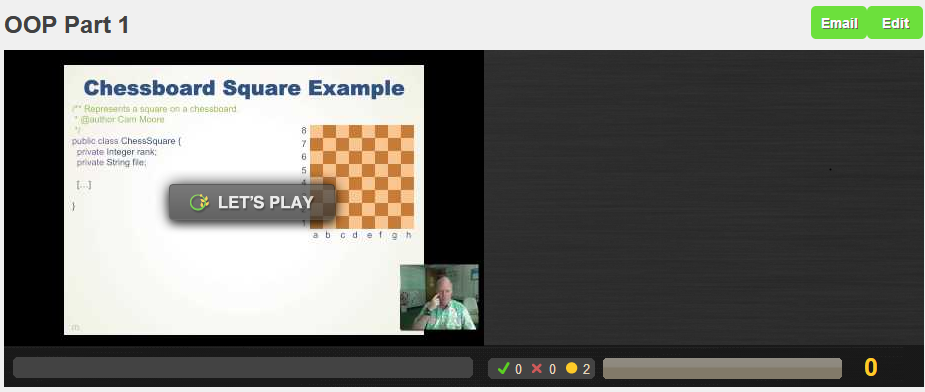
On this page, you can choose the quizzes you want to send links to, the recipients of your email, and modify the body of the email to send. When you are ready to send out the email, click on the Submit button.
