How to set up a custom domain name
In How to deploy a Meteor application to Digital Ocean, you learned how to run your Meteor application using the Digital Ocean hosting service. However, to see your application, you needed to use an URL containing an IP address, such as “http://167.172.222.158”. This makes your location on the web difficult to remember (and this URL will no longer work if you ever decide to move to a different hosting provider).
It would be much better if you could set up a domain name for your application, so that users could access your app via an URL like “http://meteor-application-template-react.xyz”. It would be even better, given that users will want to login, if your site used HTTPS to encrypt traffic between the client and server. That way, users can enter (say) their password into their browser to login to your site, and it will not be sent in plain text to the server.
This page will step you through the process of setting up a custom domain for your Meteor application. If you want additional information, you can find it at the Digital Ocean tutorial How to point to DigitalOcean Nameservers from Common Domain Registrars.
1. Obtain a domain name
The first step is to obtain a domain name from a domain name registrar. There are many registrar to choose from. I have had good experience with NameCheap, so I will use it in this tutorial, but if you have a different preference, that should be fine.
A new domain name can range in cost from thousands of dollars to just a dollar. If you get creative with your domain name, there is no reason to spend more than a few dollars a year for a custom domain name.
For this tutorial, I bought the domain name “meteor-application-template-react.xyz” from NameCheap for $1.18.
2. Use Digital Ocean nameservers for your domain
Once you own a domain name, the next step is to allow Digital Ocean to manage this domain name (which means the mapping from domain name to the IP address associated with the server.
At NameCheap, this is accomplished by clicking on “Domain List” in your account page, then clicking the “Manage” button associated with your new domain name. This will bring you to a page that looks like this:
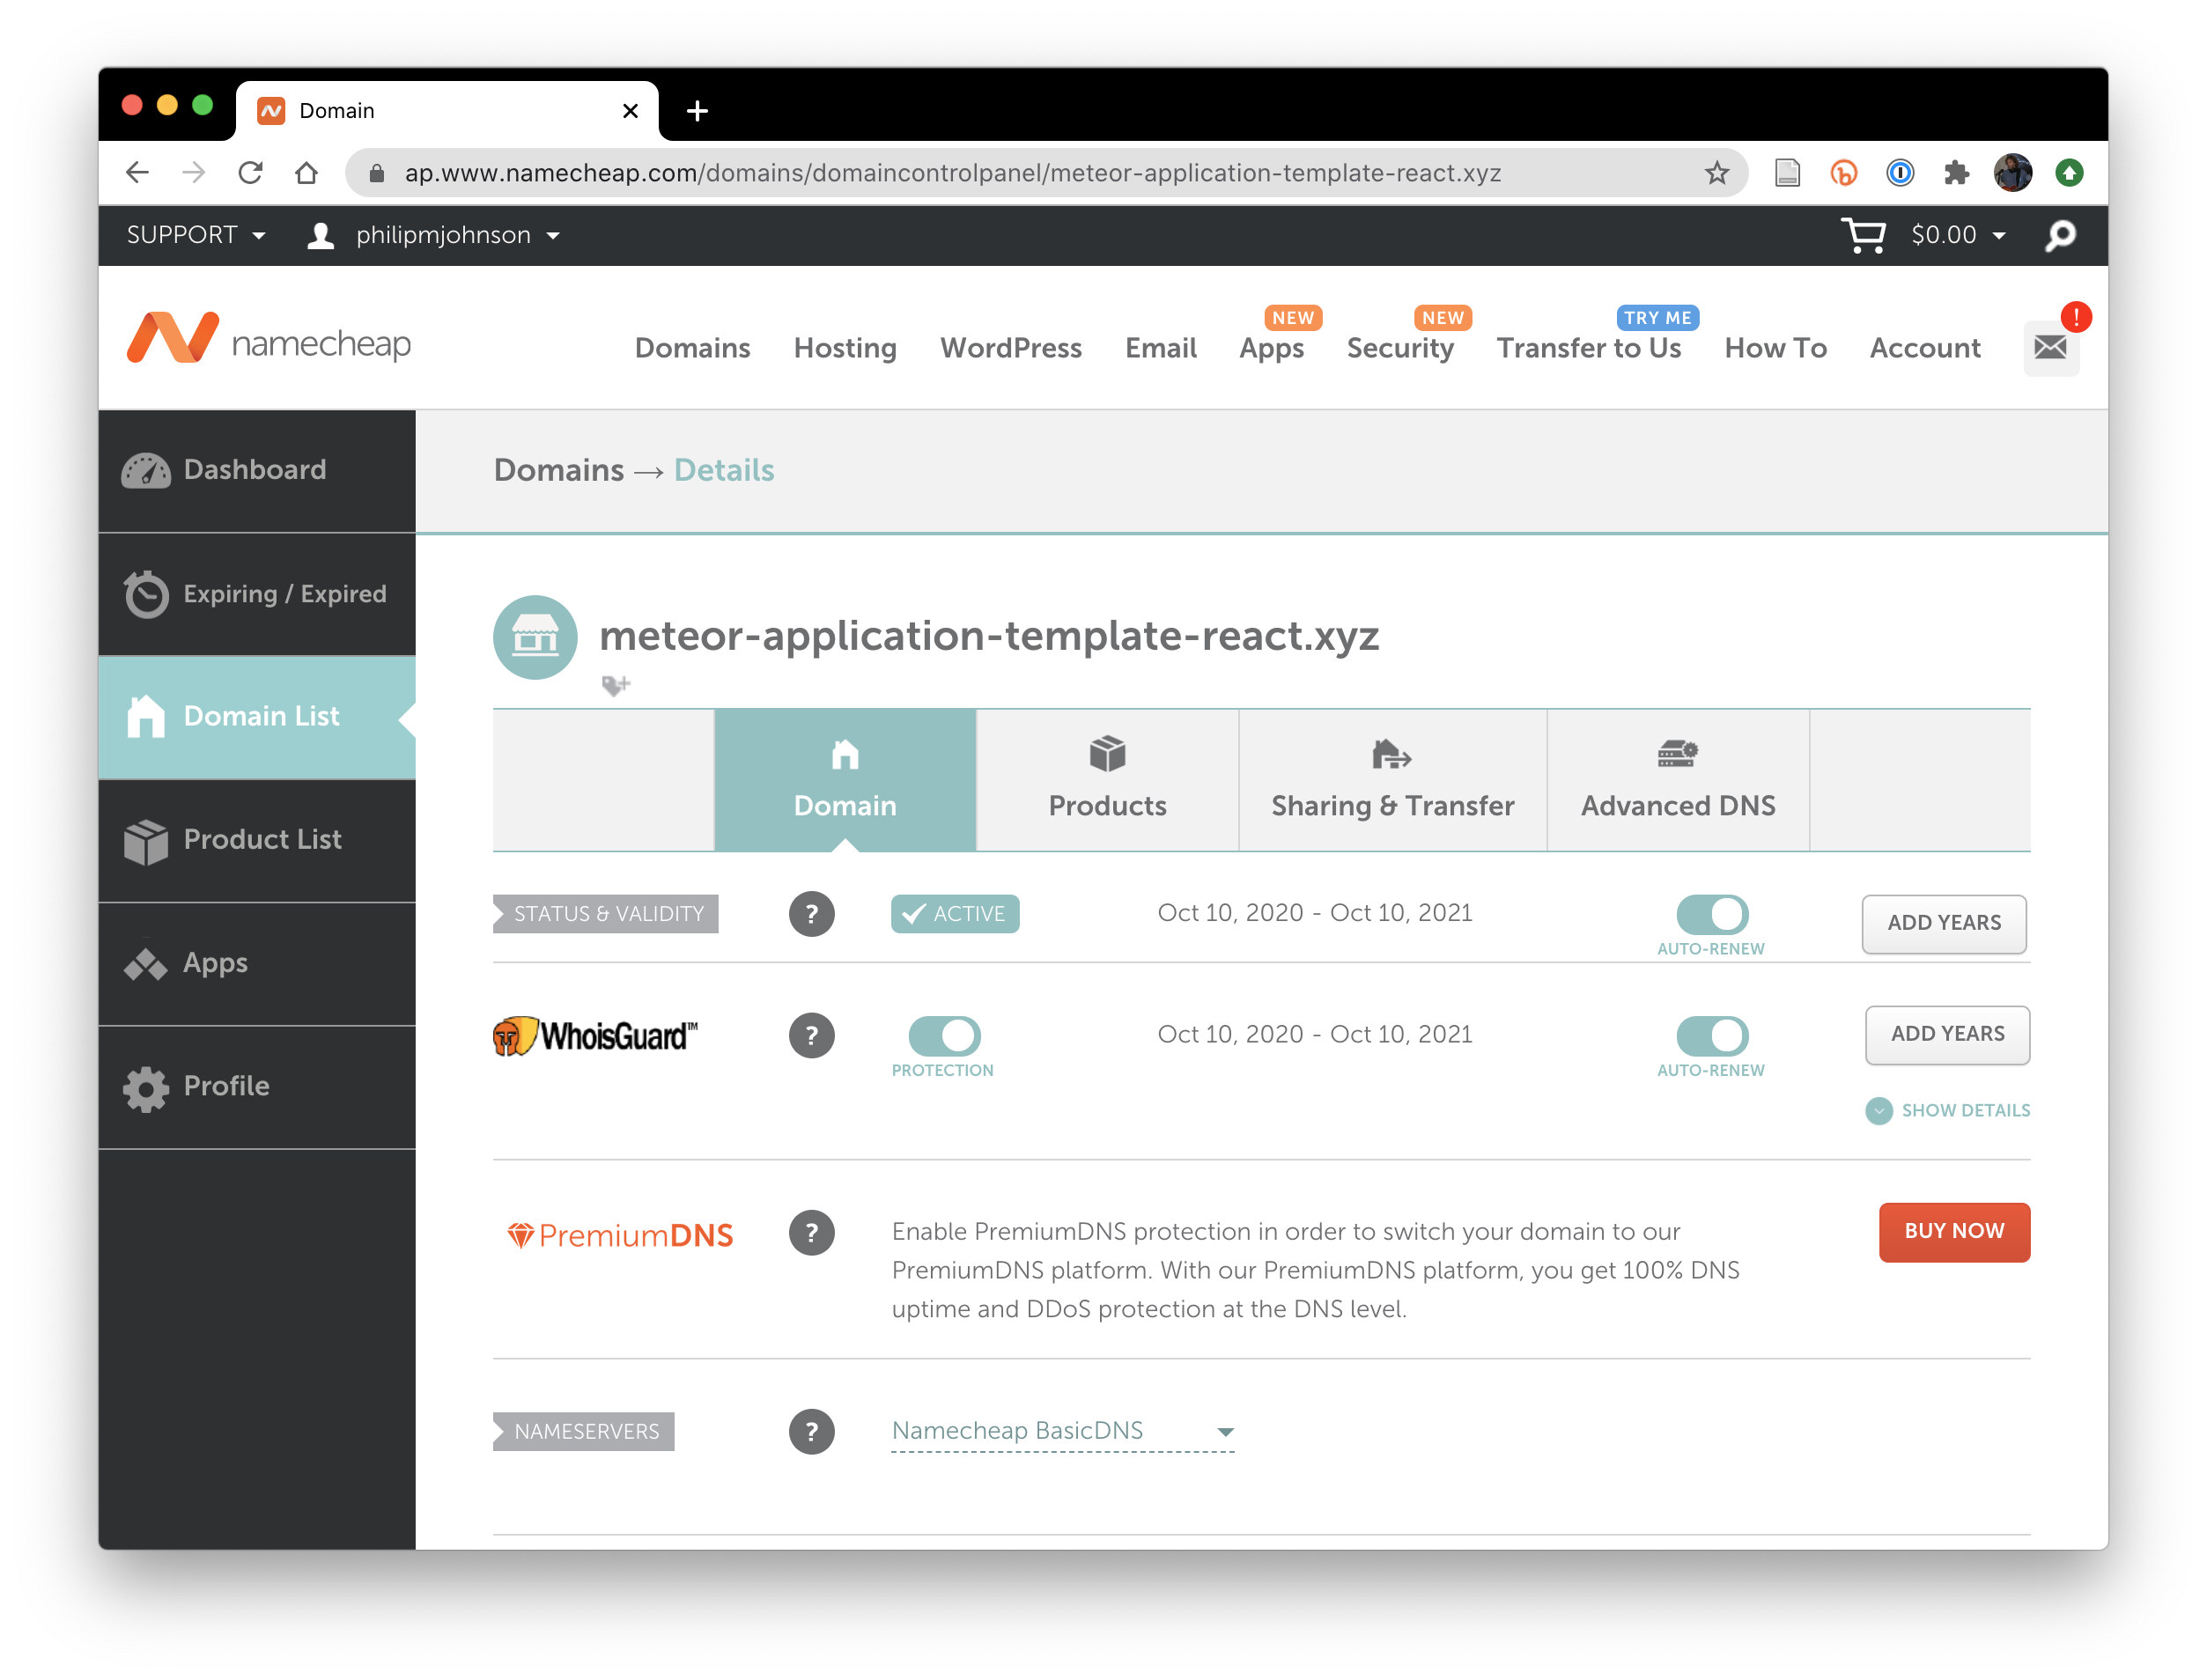
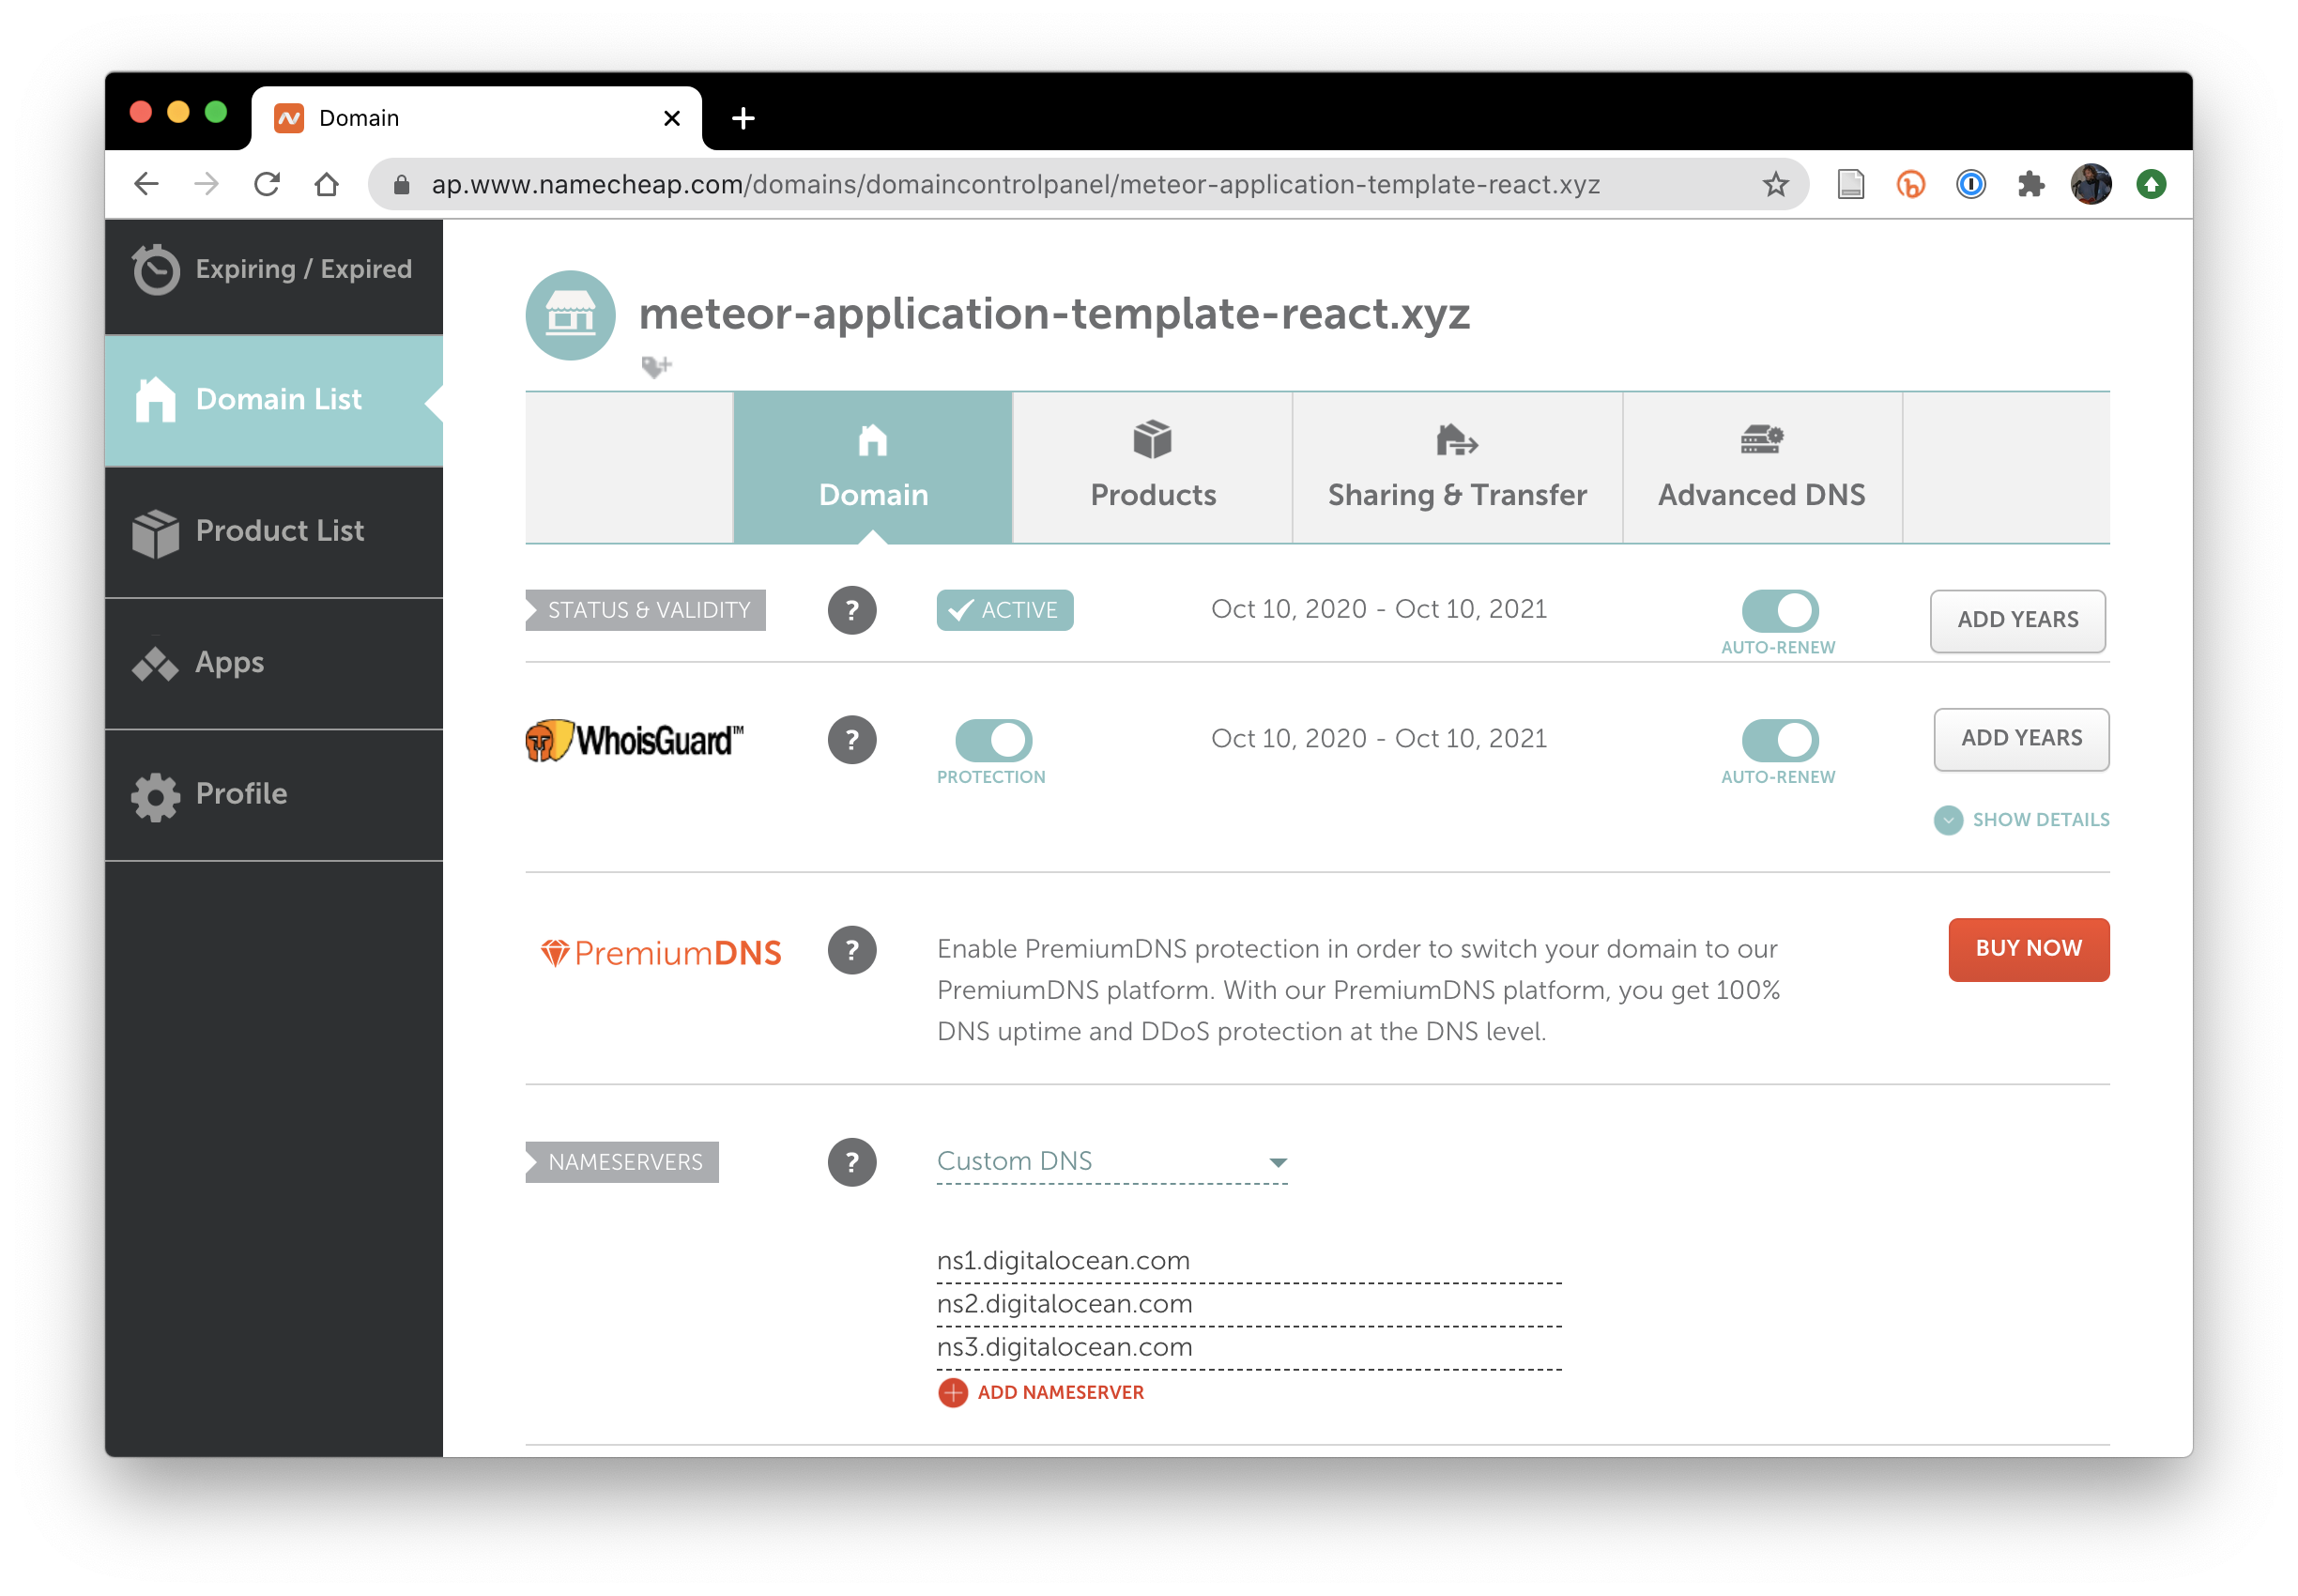
In the Nameservers section, select “Custom DNS”, and then enter “ns1.digitalocean.com”, “ns2.digitalocean.com”, and “ns3.digitalocean.com”, then click the green checkmark to apply your changes. After you’ve done this, the panel should update to look like this:
3. Wait for the DNS records to propogate
It typically takes from 30 minute to an hour or more for these changes to take effect on the Internet. To check the status, go to https://www.digitalocean.com/community/tools/dns and type in your domain name.
For example, here’s what the page responded soon after I changed the DNS records:
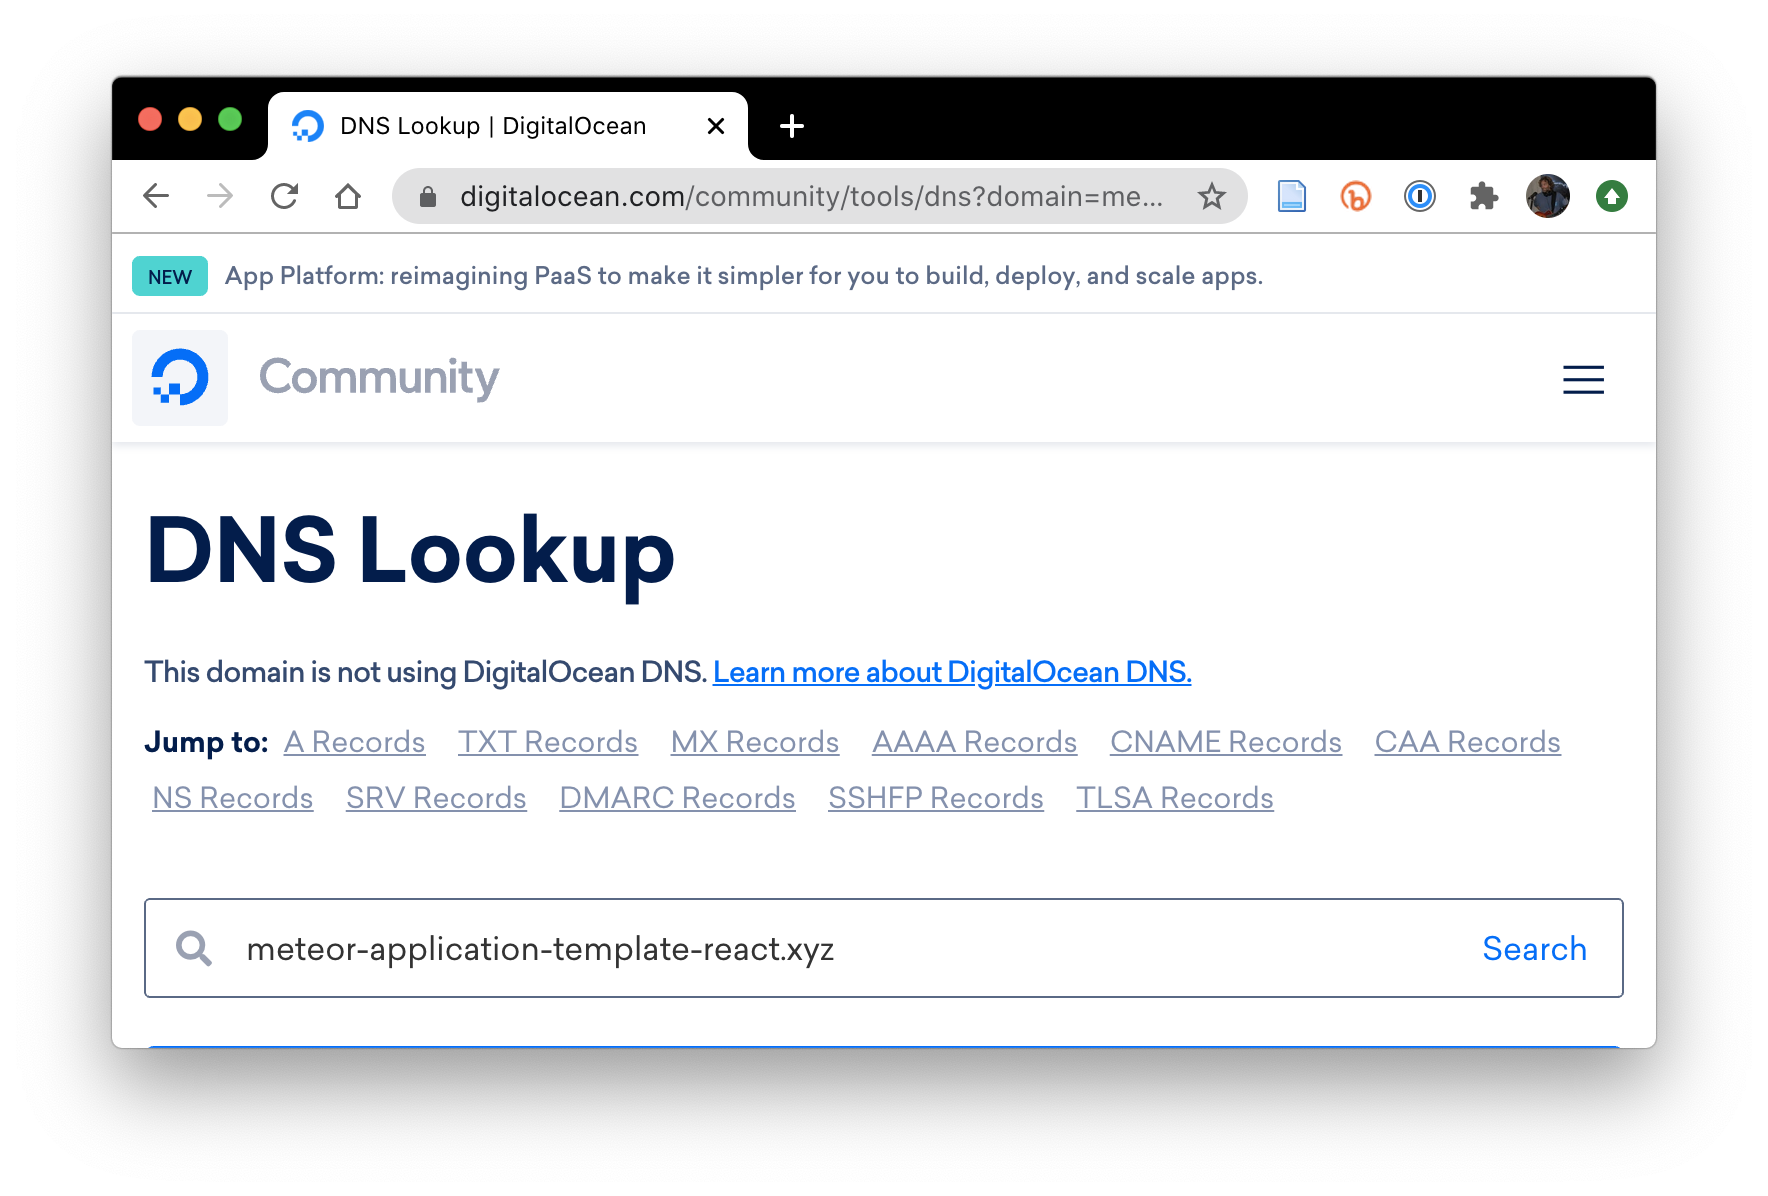
Note that it clearly indicates that this domain is not currently being managed by Digital Ocean DNS.
However, a few minutes later, doing the search produces a page like this:
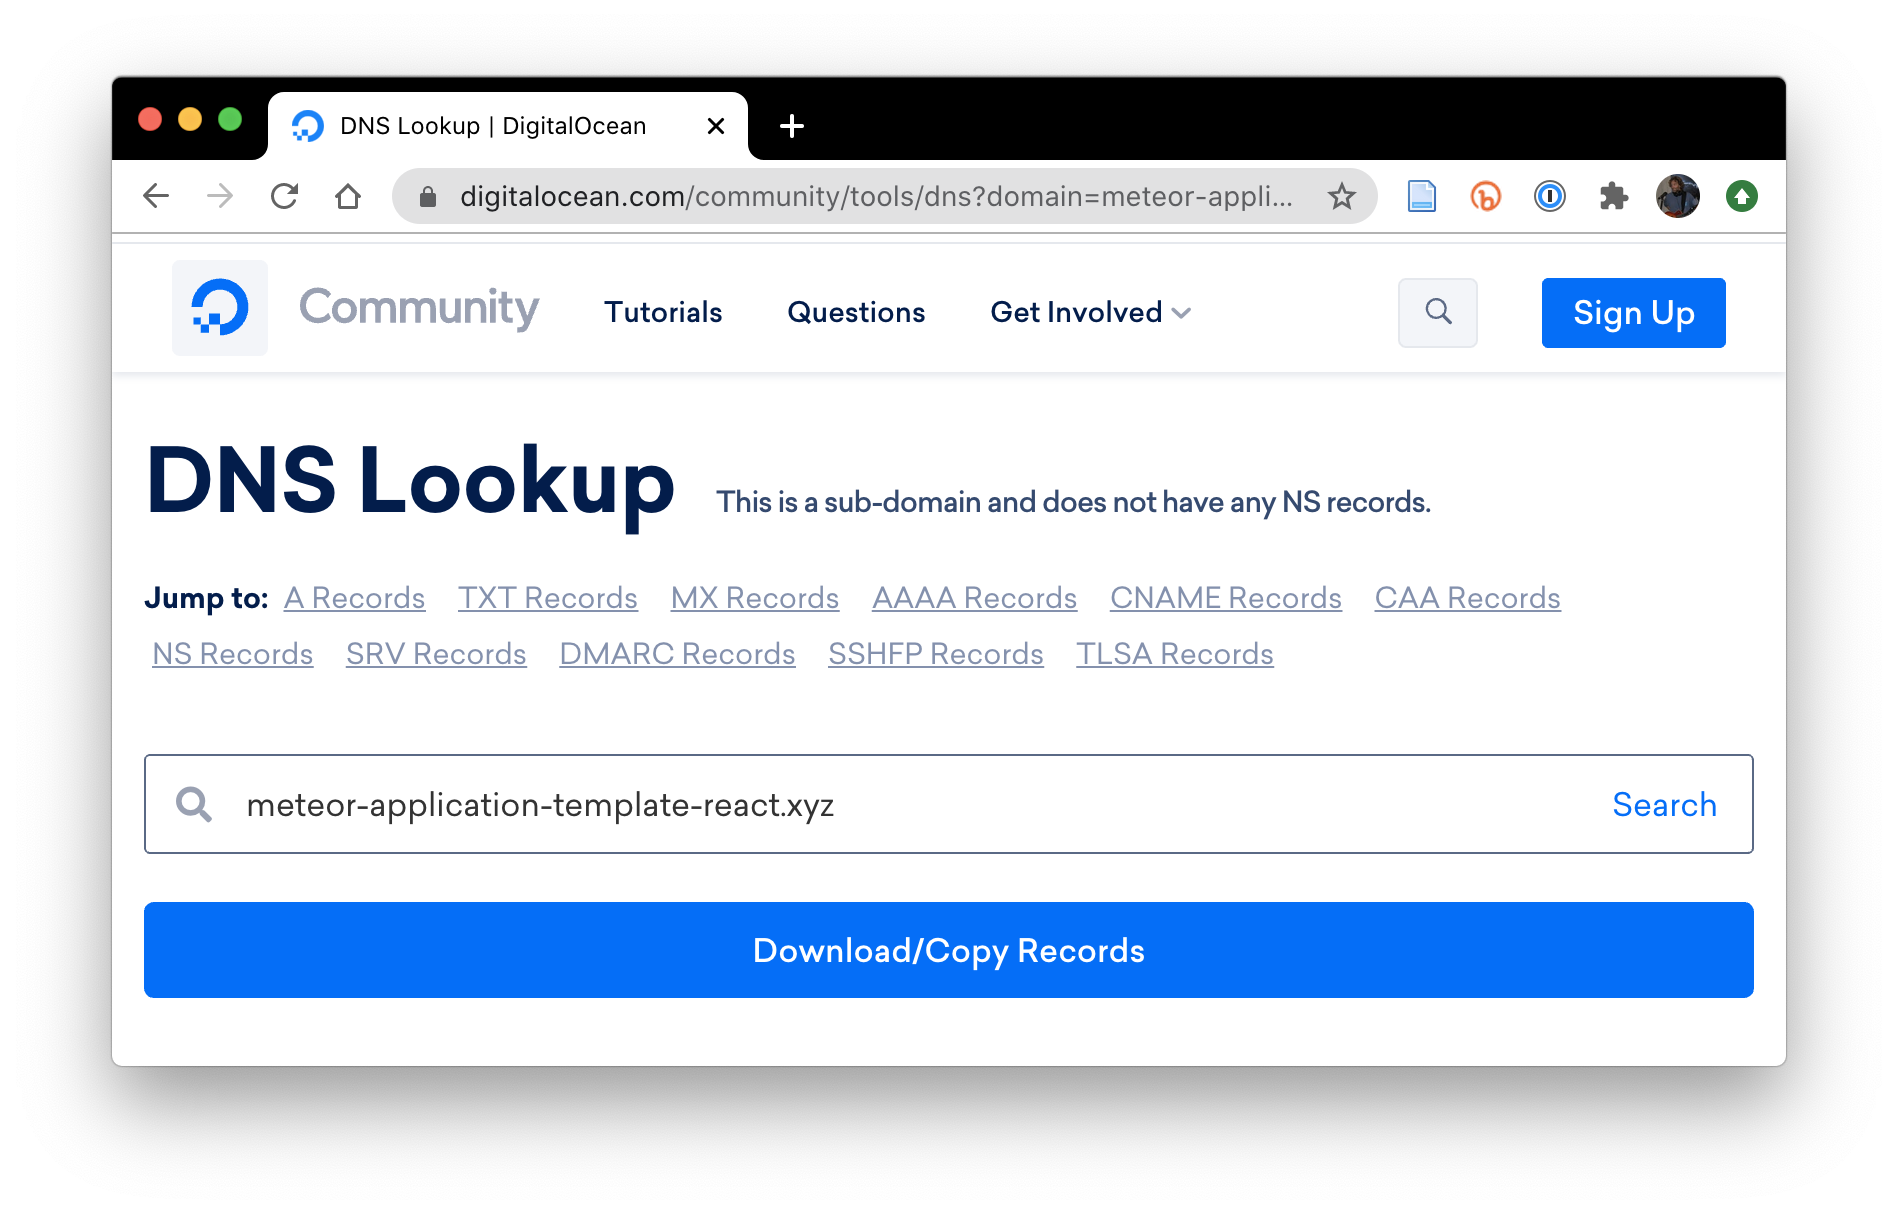
Now there is no notice that the domain is not being managed by Digital Ocean.
4. Point your domain to your droplet
Once Digital Ocean is managing your domain name, go to the Networking tab in your Digital Ocean account. It should look something like this:
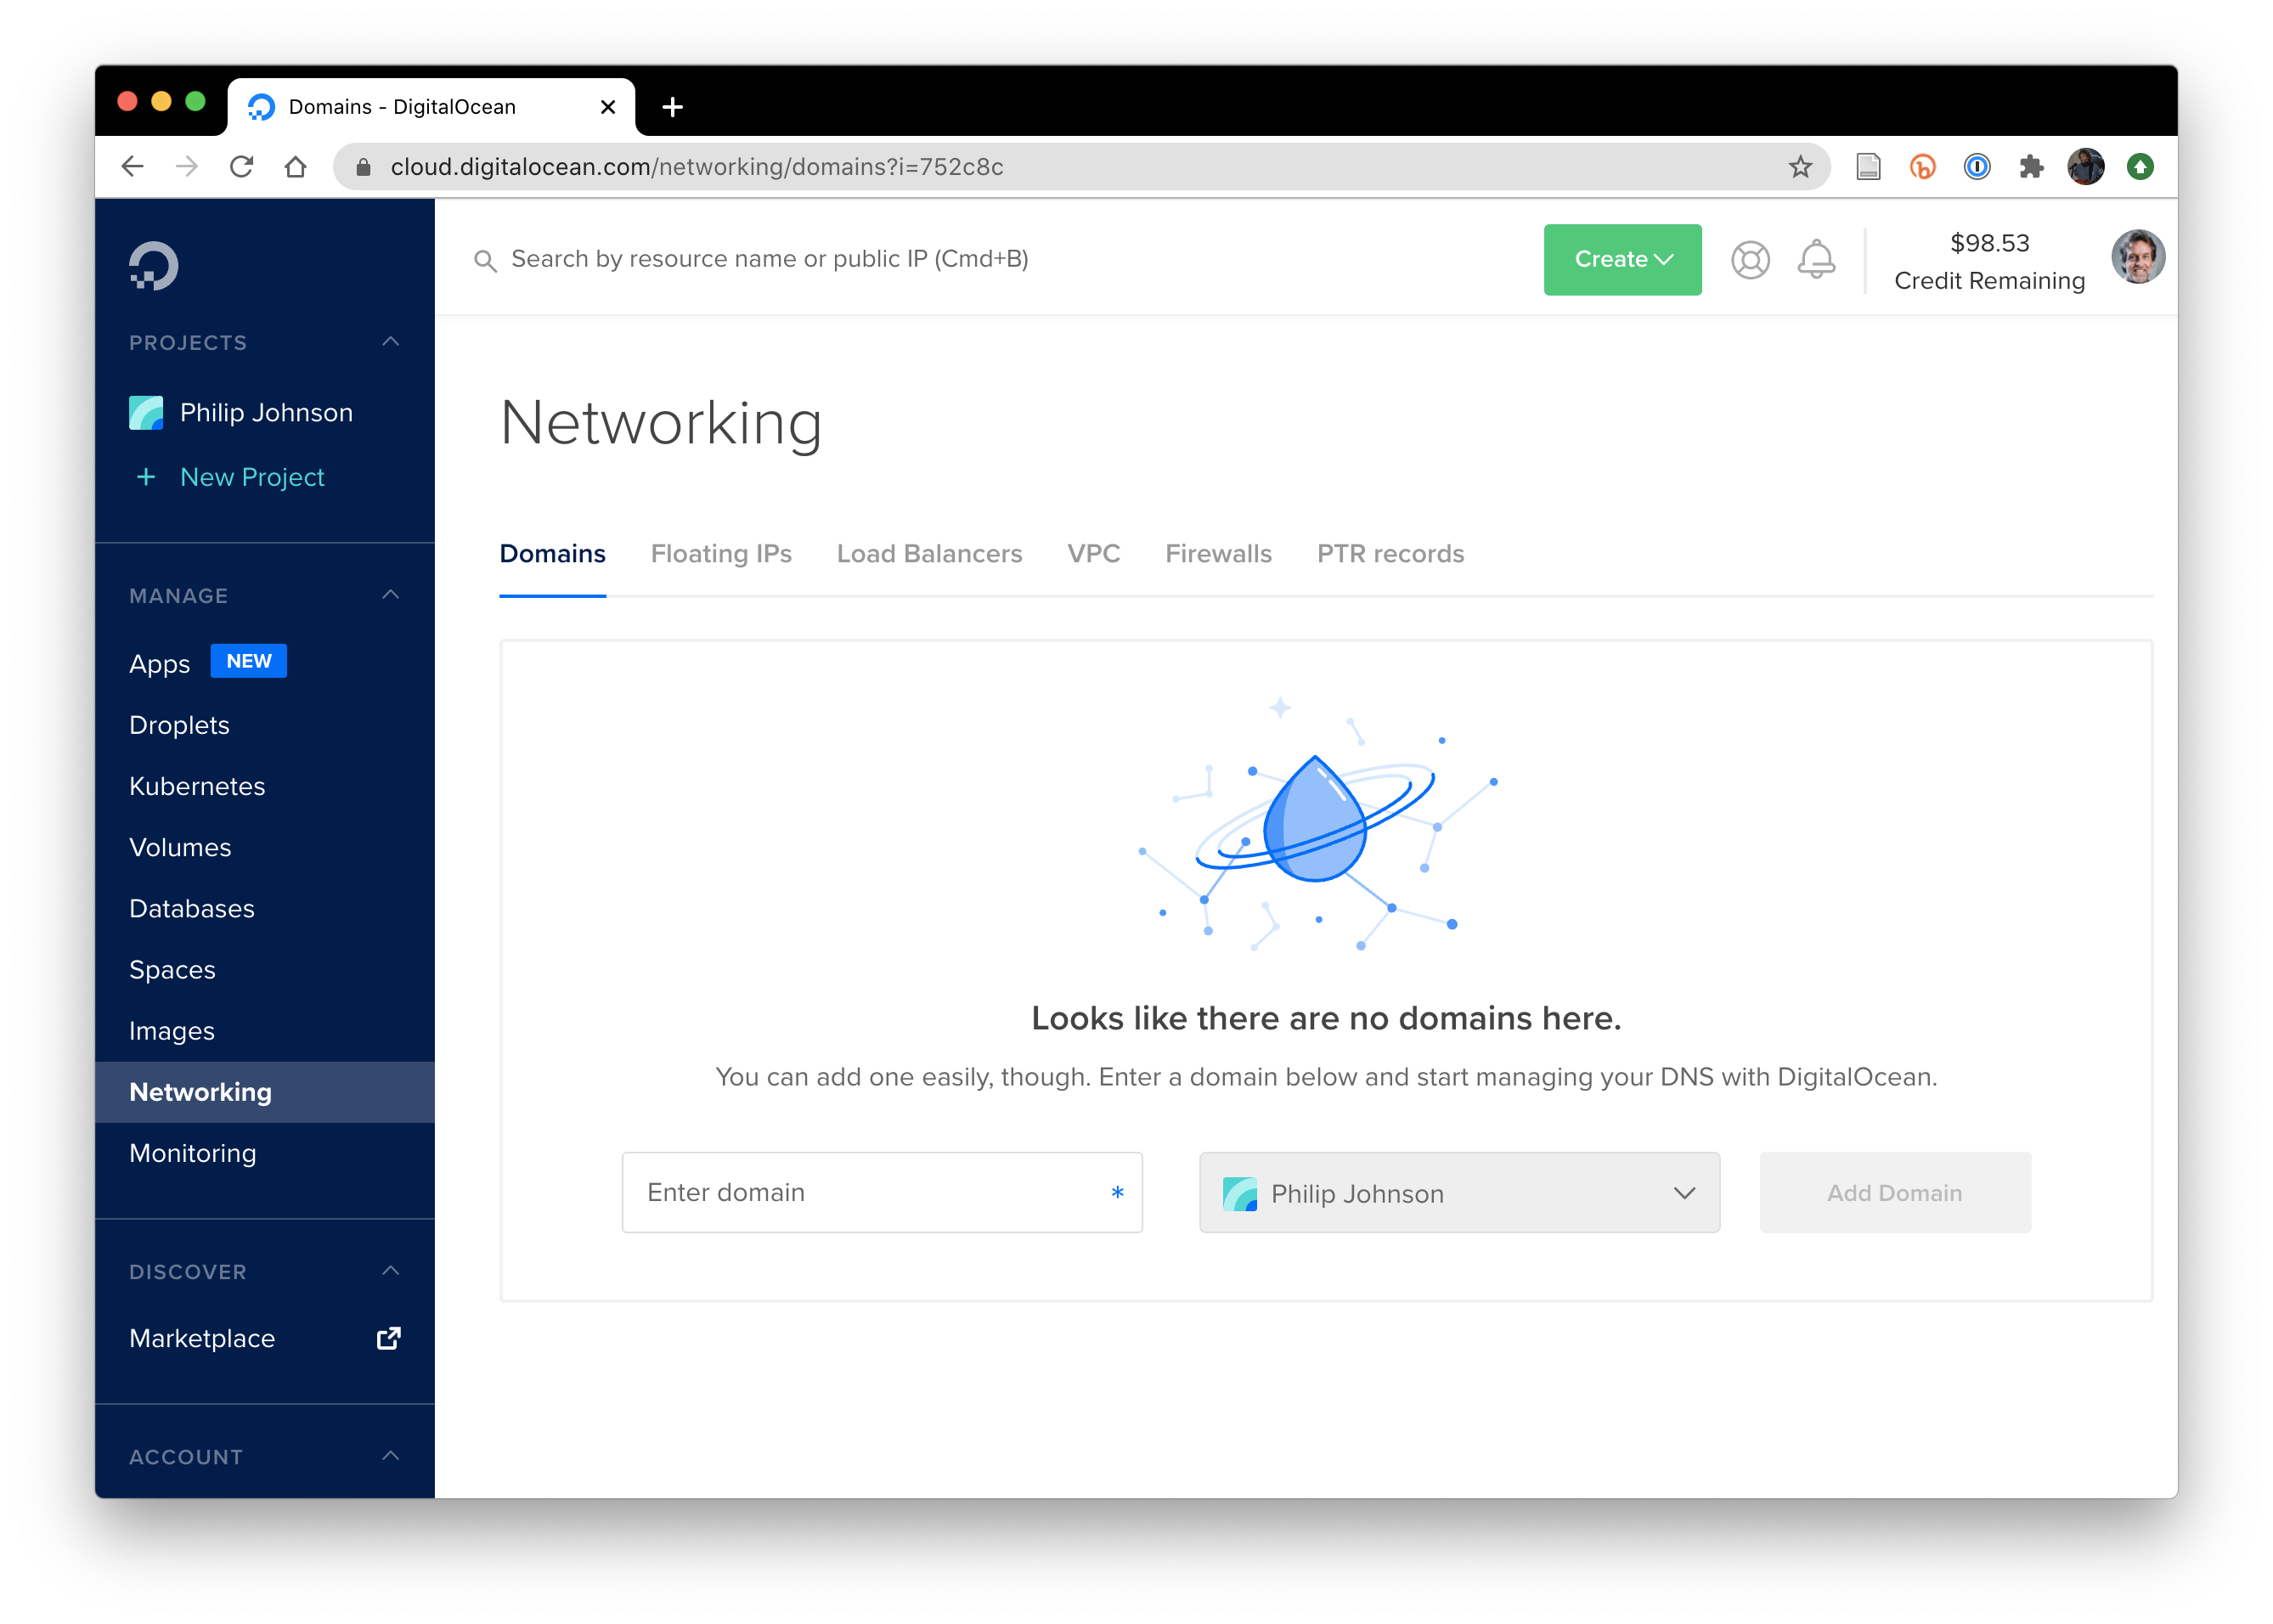
Type in your newly purchased domain name, then click “Add Domain”, and you should see a page like this:
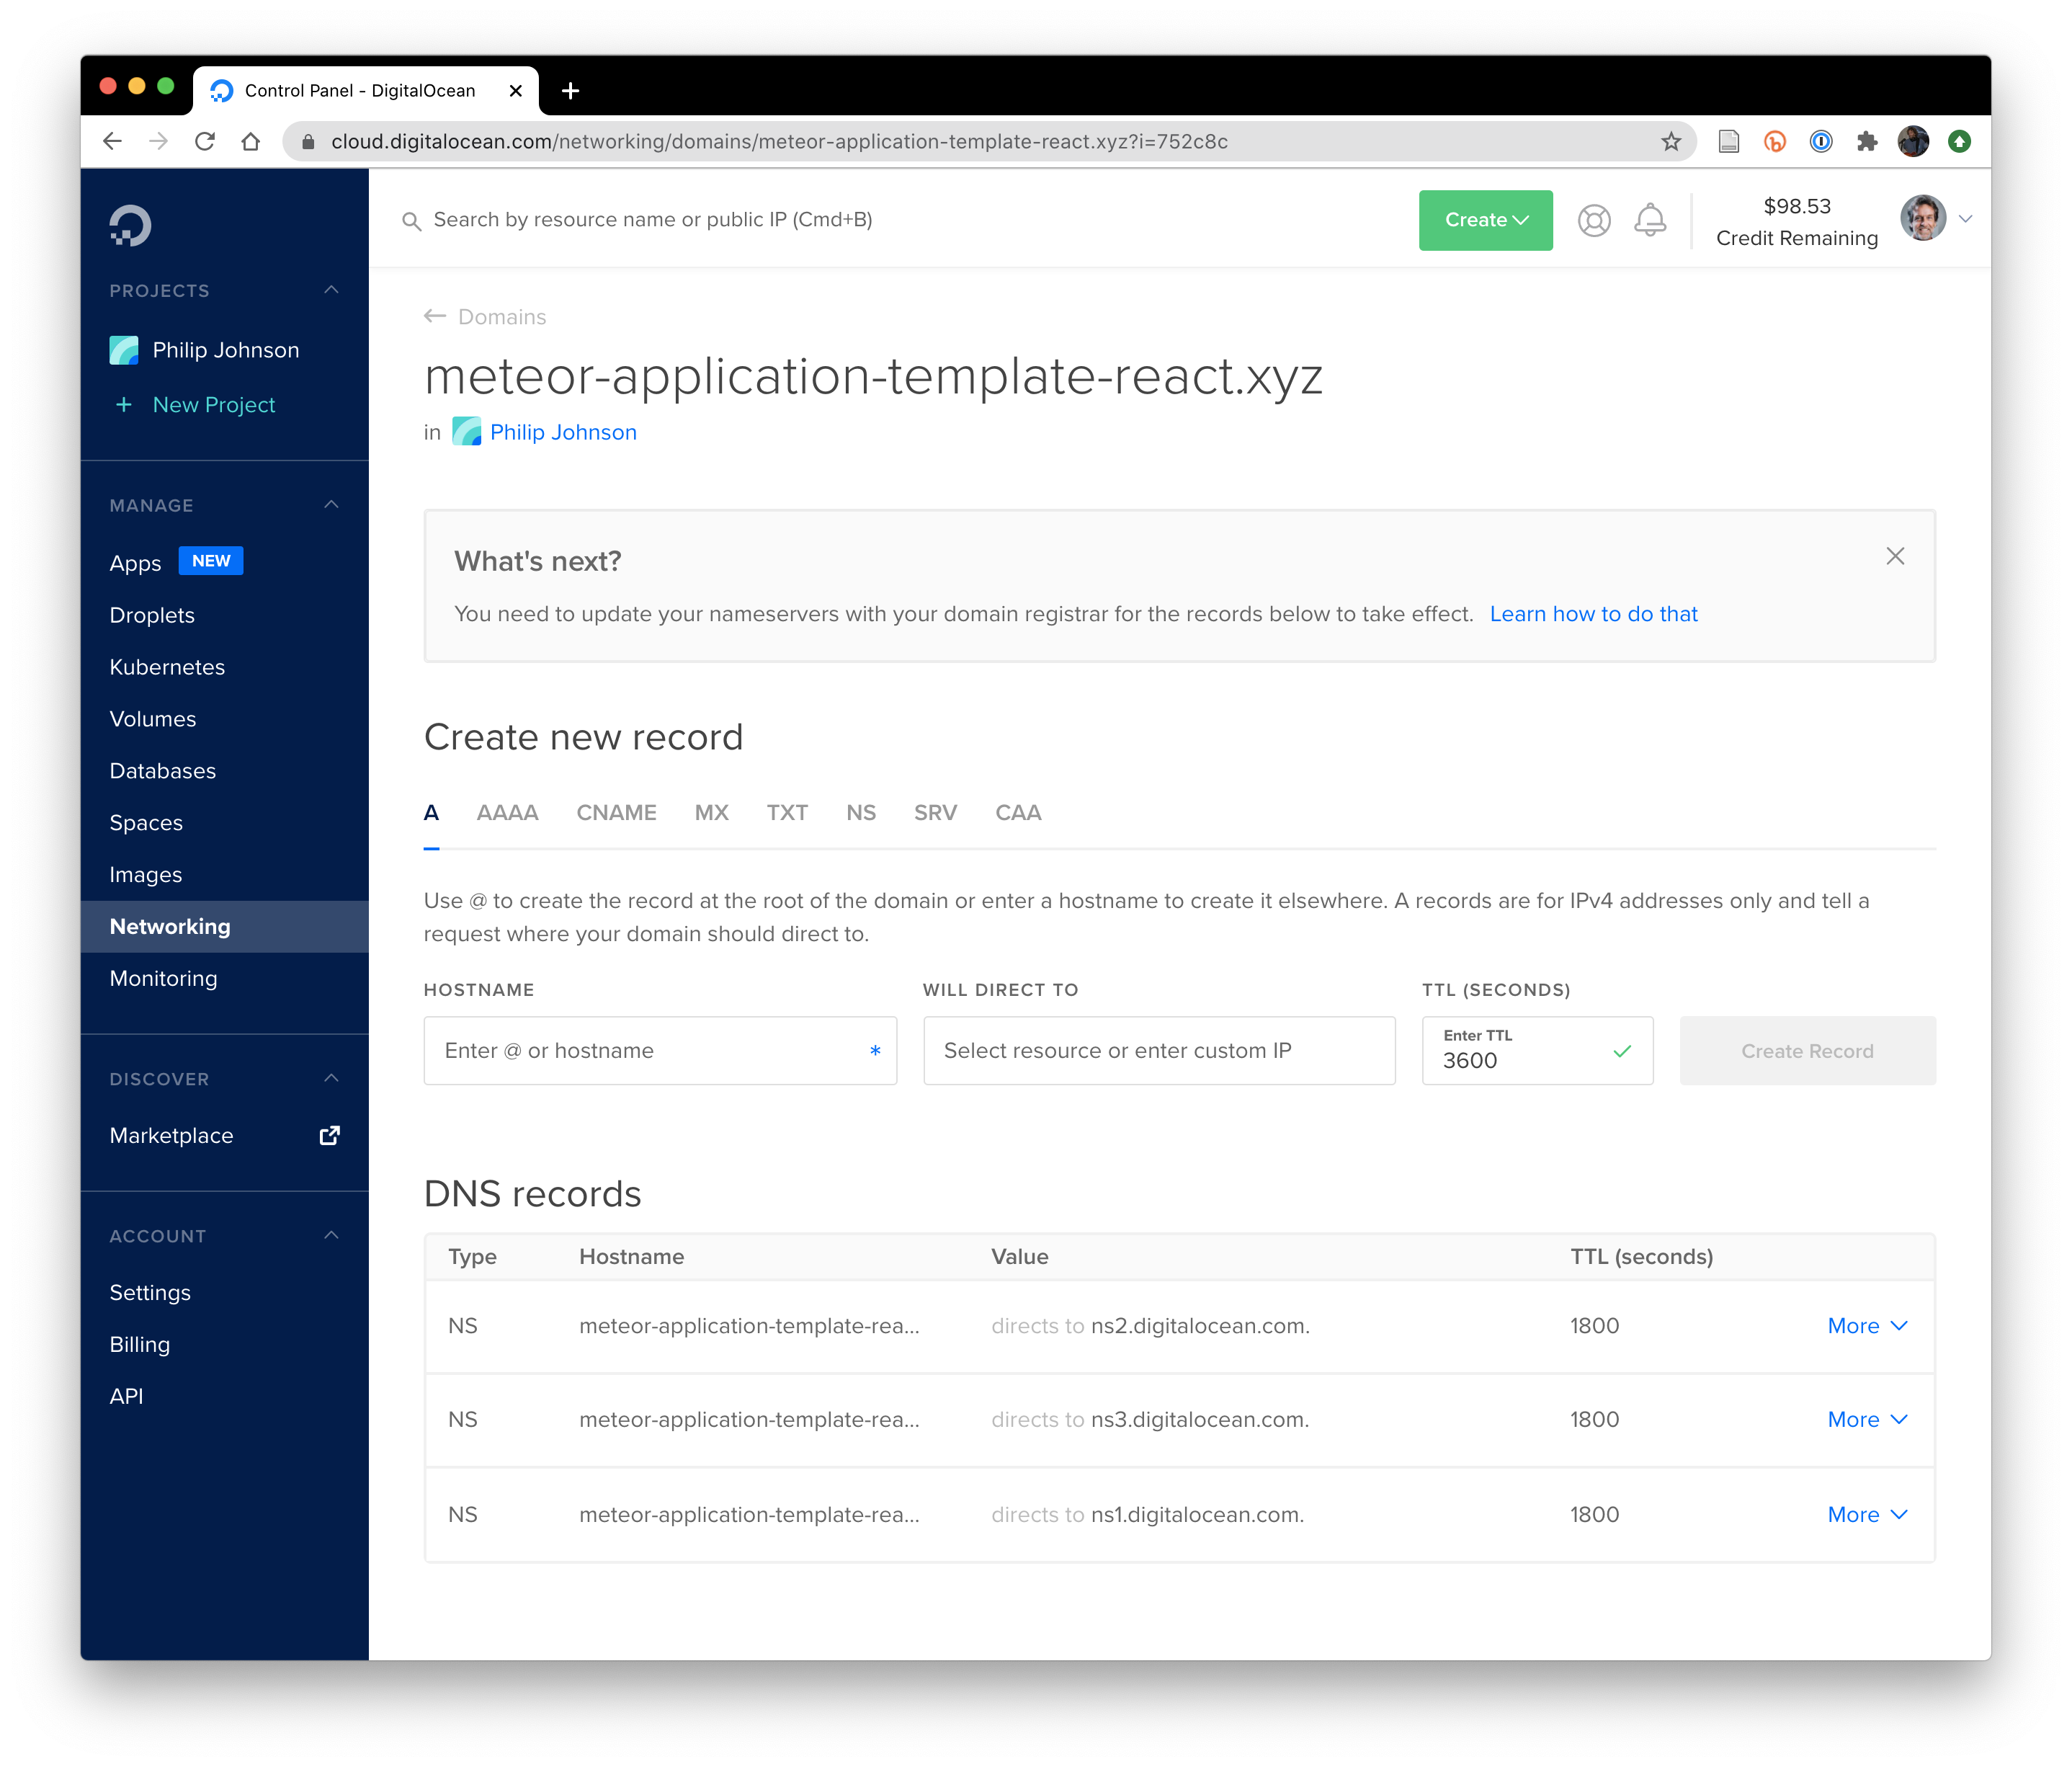
Among other things, this page shows that your domain name is now being managed by Digital Ocean.
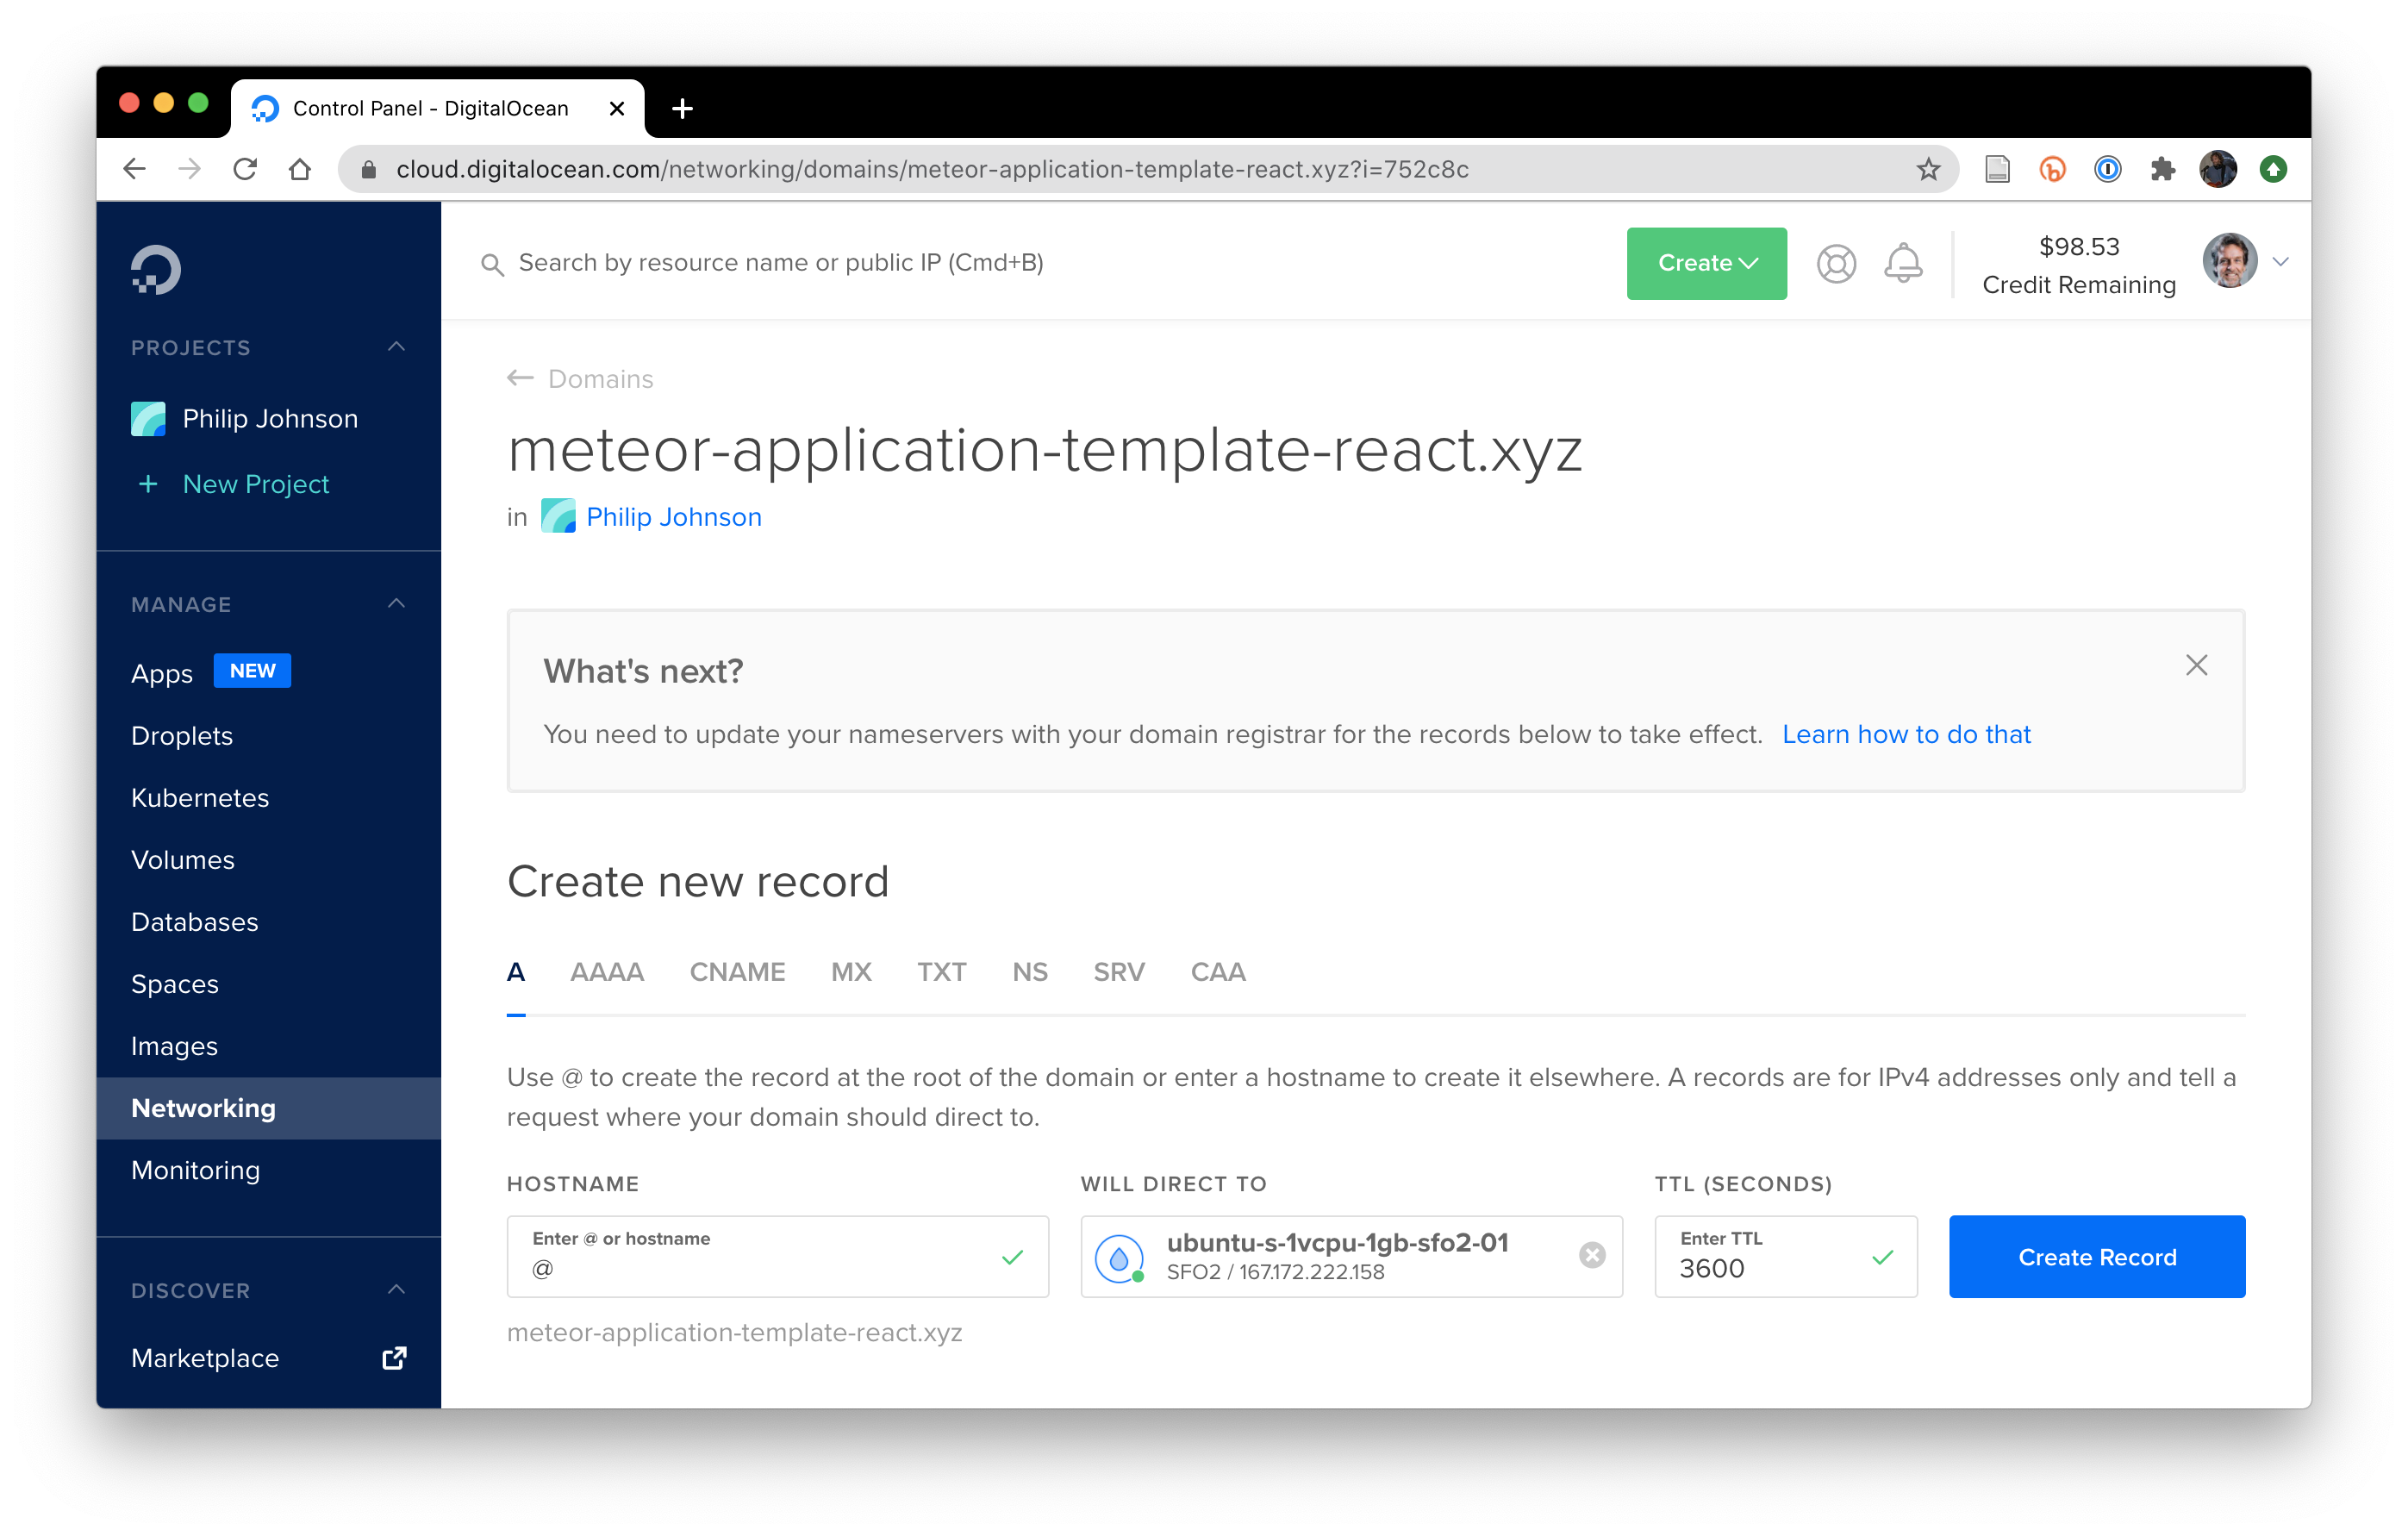
Next, type in “@” for the hostname and click on the “will direct to” field and select your droplet. The page should look like this:
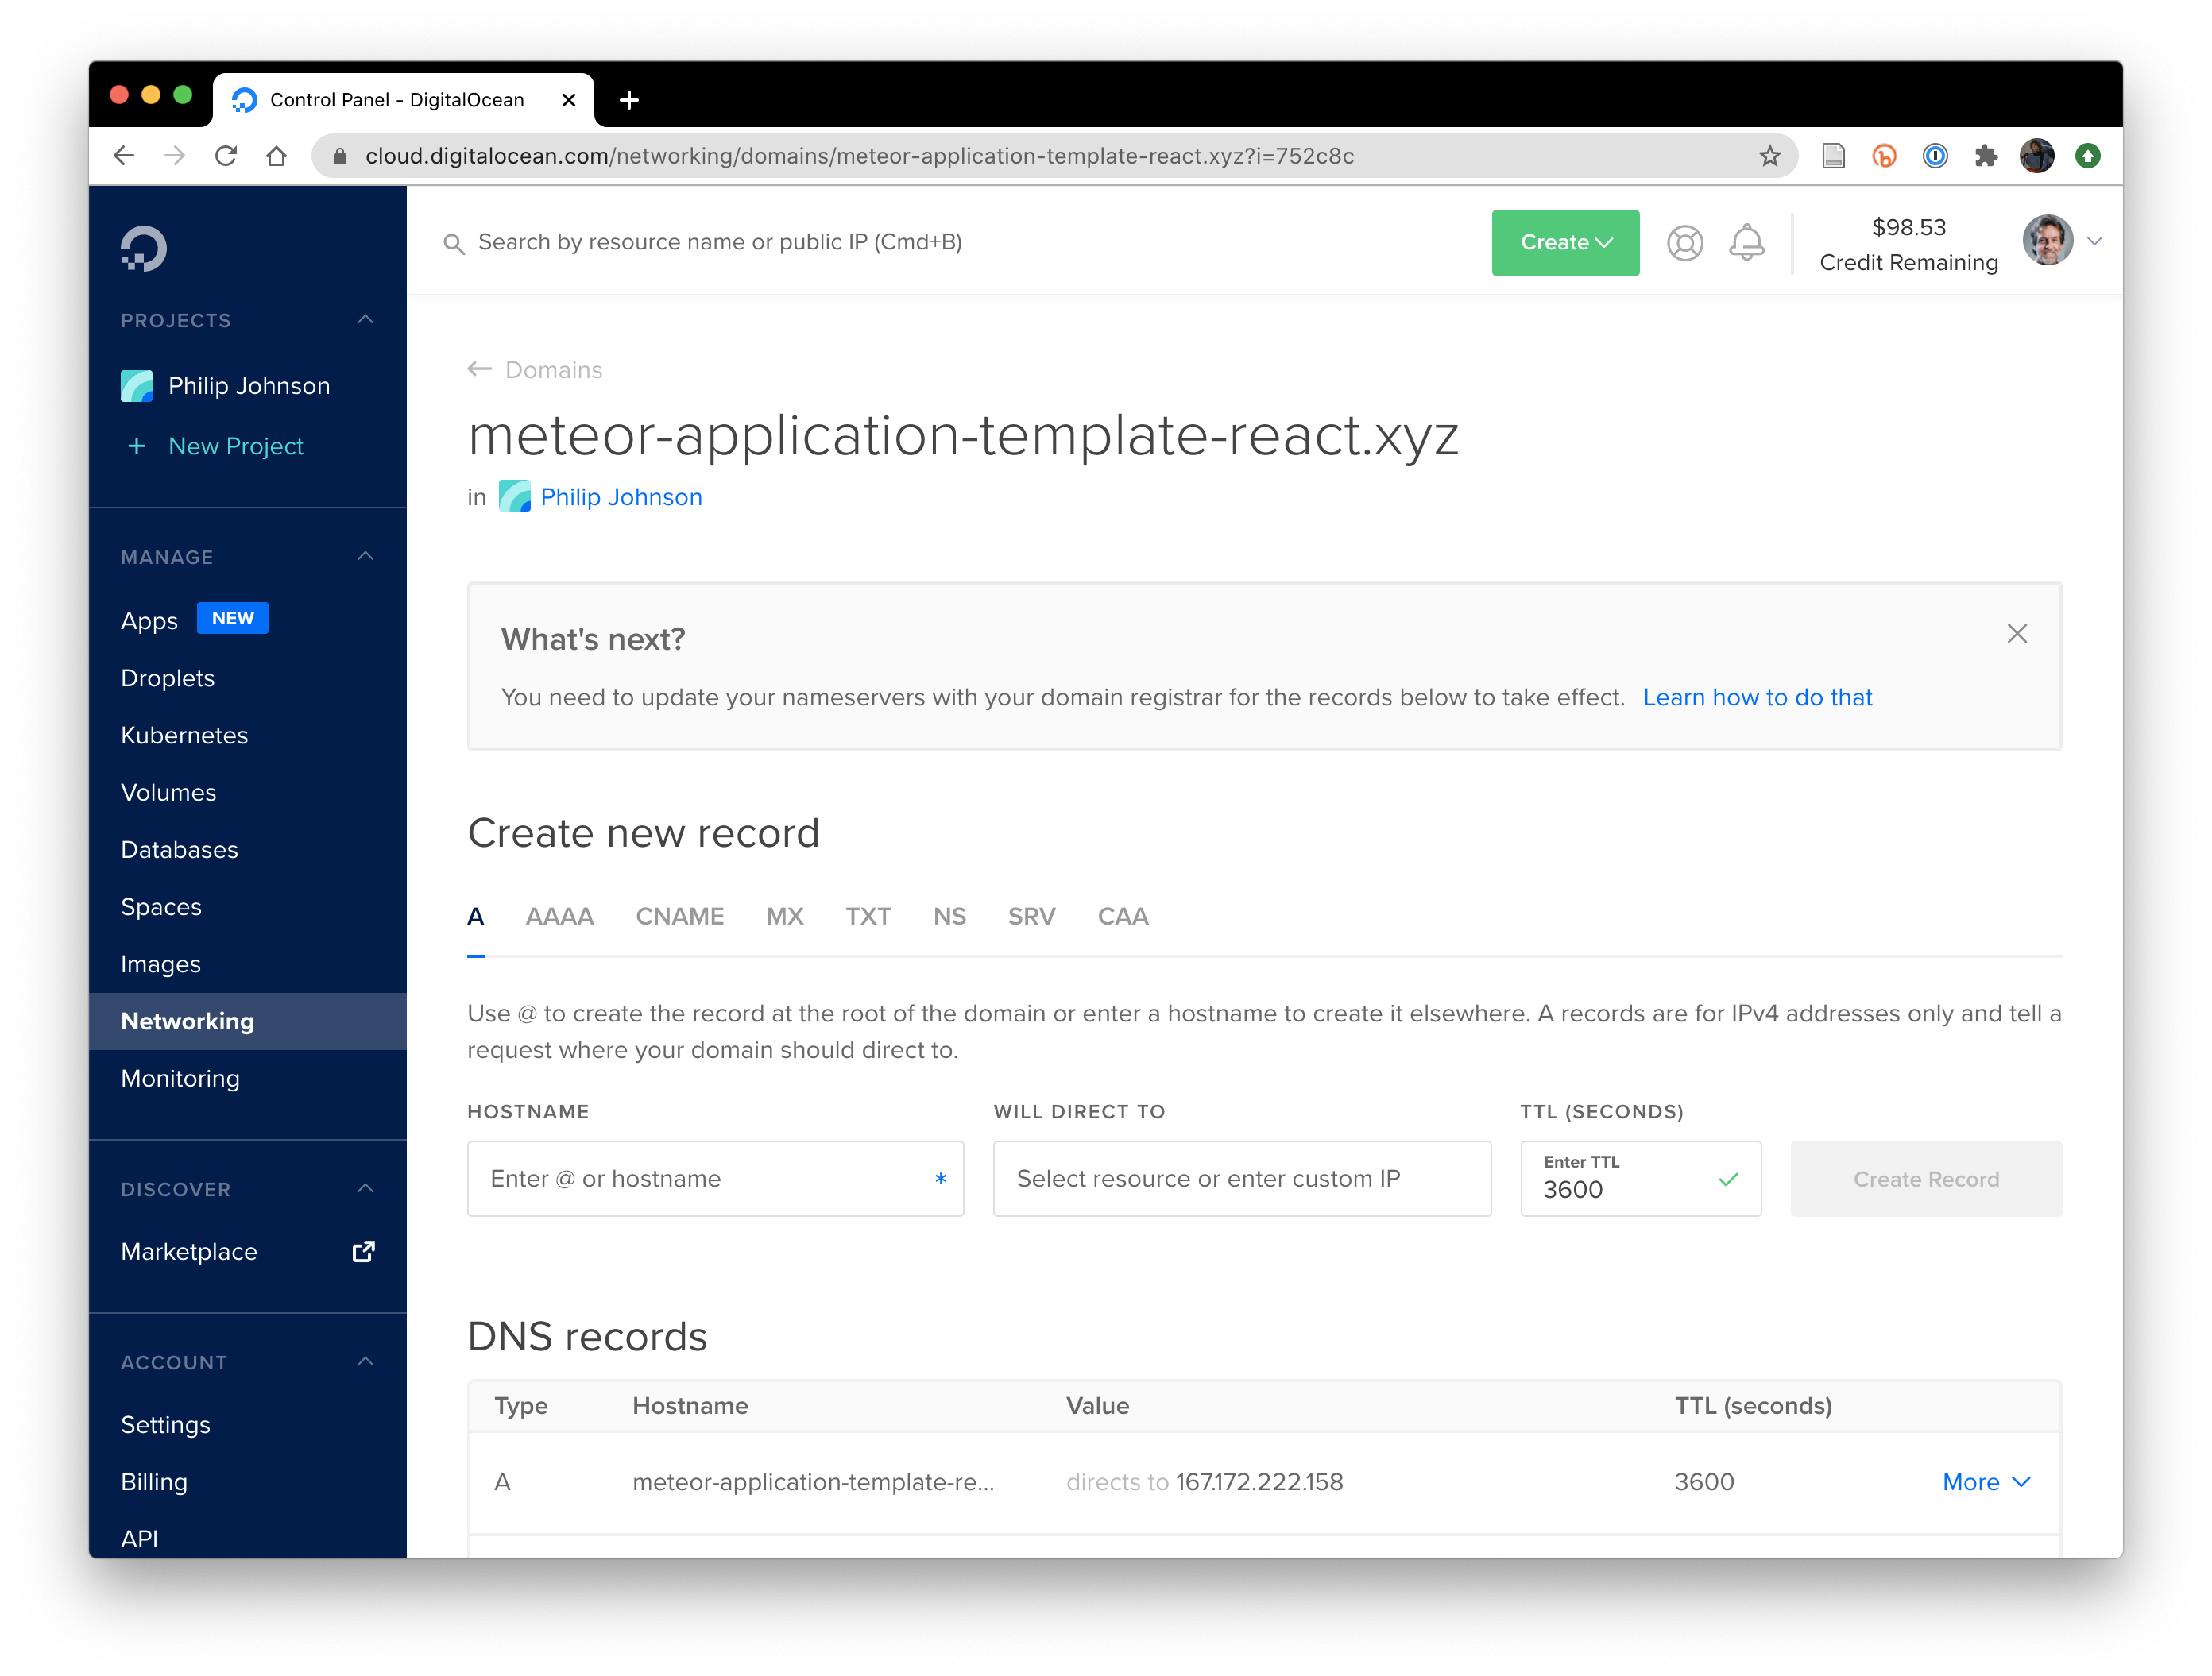
Click on “Create Record” and you’ll see a new DNS record appear:
You’re all set! Now try typing in your domain name to a browser, such as “http://meteor-application-template-react.xyz”:
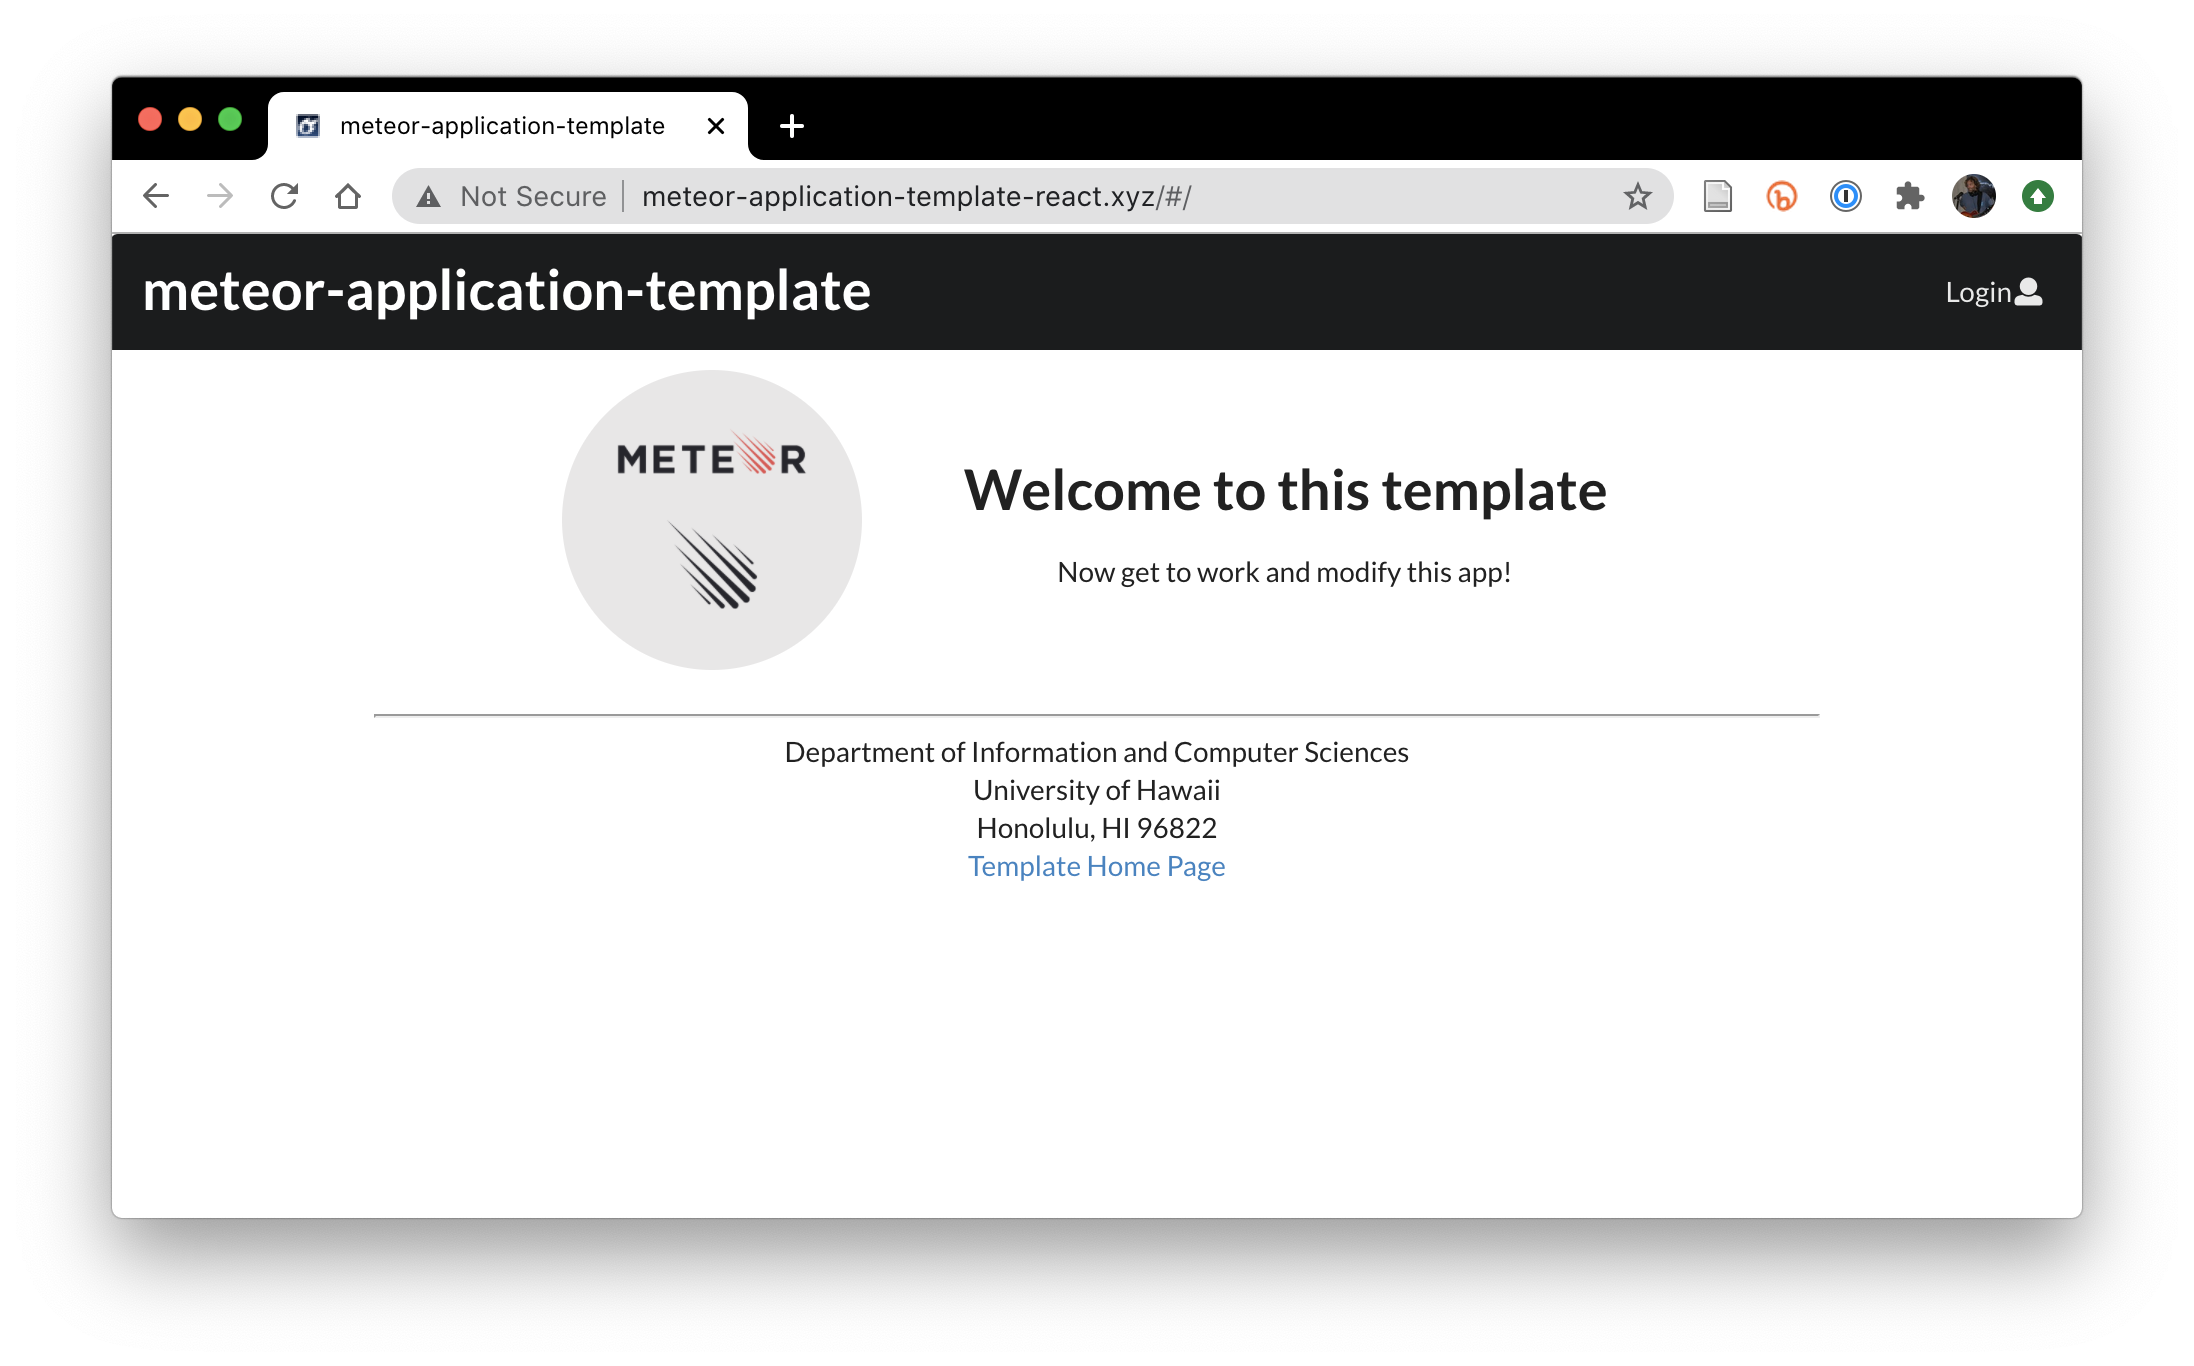
Notice that the browser indicates that your site is “Not Secure”. Don’t worry, we’ll fix this in Set up HTTPS.