E46: Meteor Island Snow
For this experience, you’ll create a version of your Island Snow in React mockup using Meteor.
To make this as easy as possible, you will be using meteor-application-template-react.
Before starting this experience, please listen to the 30 minute screencast so that you are familiar with the template.
If you like, you can also watch me demonstrate this practice WOD before trying it yourself. (See the video at the bottom of the page.)
Step 1: Setup your repo with the template
Create a private GitHub repo called “islandsnow-meteor”, and check the box to initialize it with a README.
Clone it to your local file space.
cd into your local islandsnow-meteor directory.
Download a zip file of meteor-application-template-react and uncompress it someplace other than your islandsnow-meteor directory.
Copy the app/ directory, the config/ directory, and the .gitignore file into your islandsnow-meteor directory.
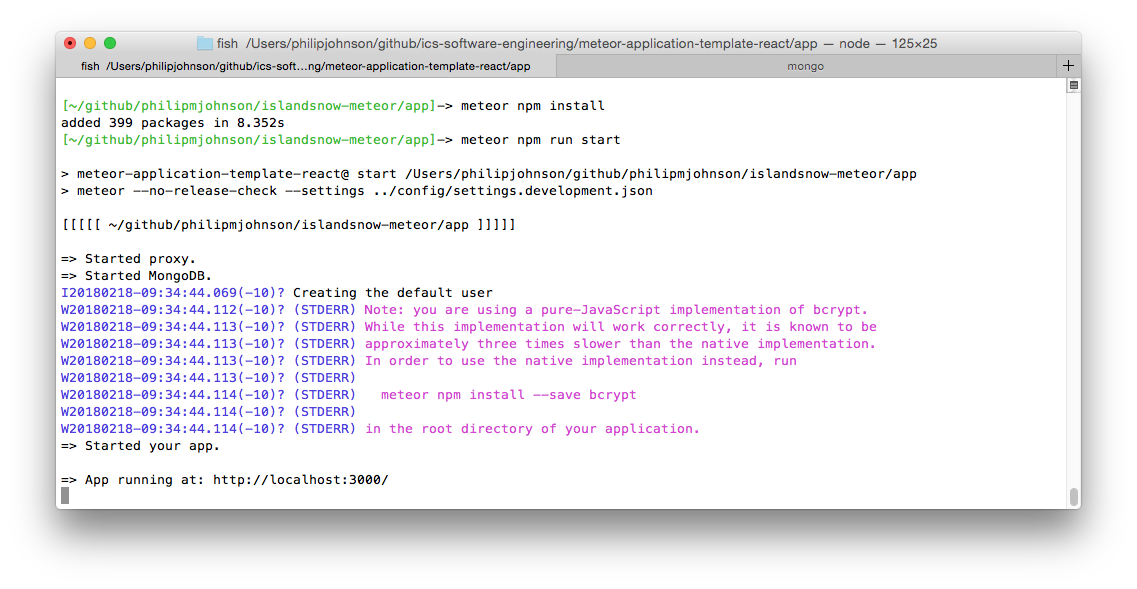
cd into the app/ directory, run meteor npm install and meteor npm run start to run the app. Go to http://localhost:3000 to see the app.
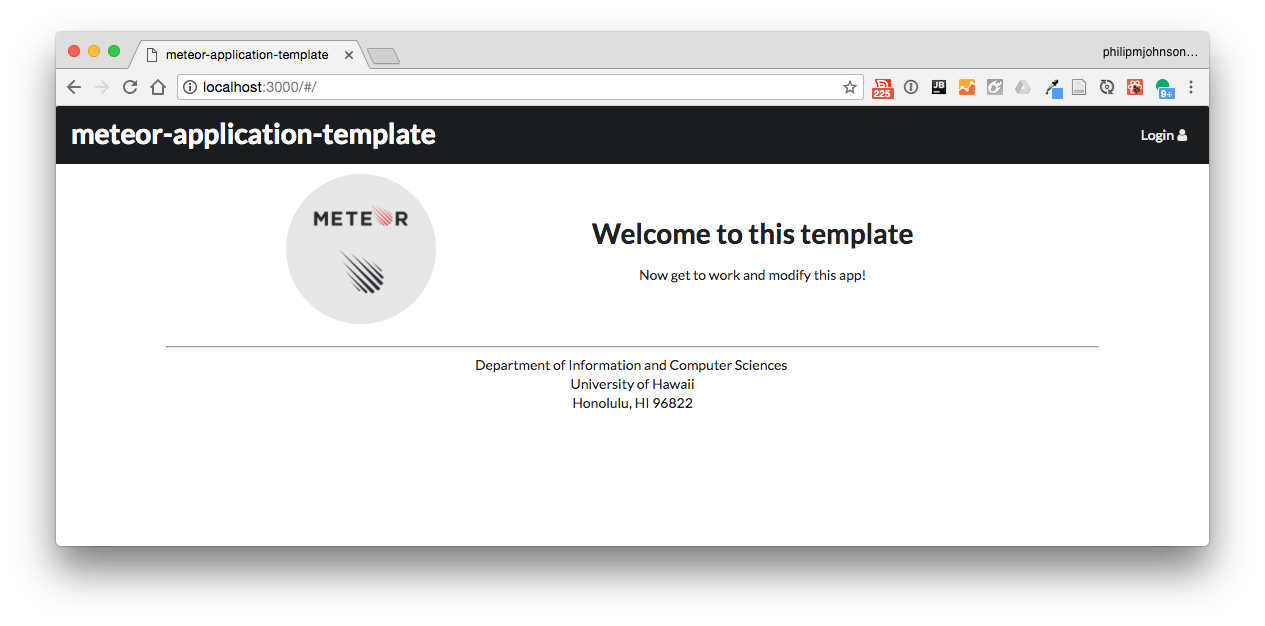
If you’ve done these steps correctly, the application template should now appear:
Your command shell should look like this:
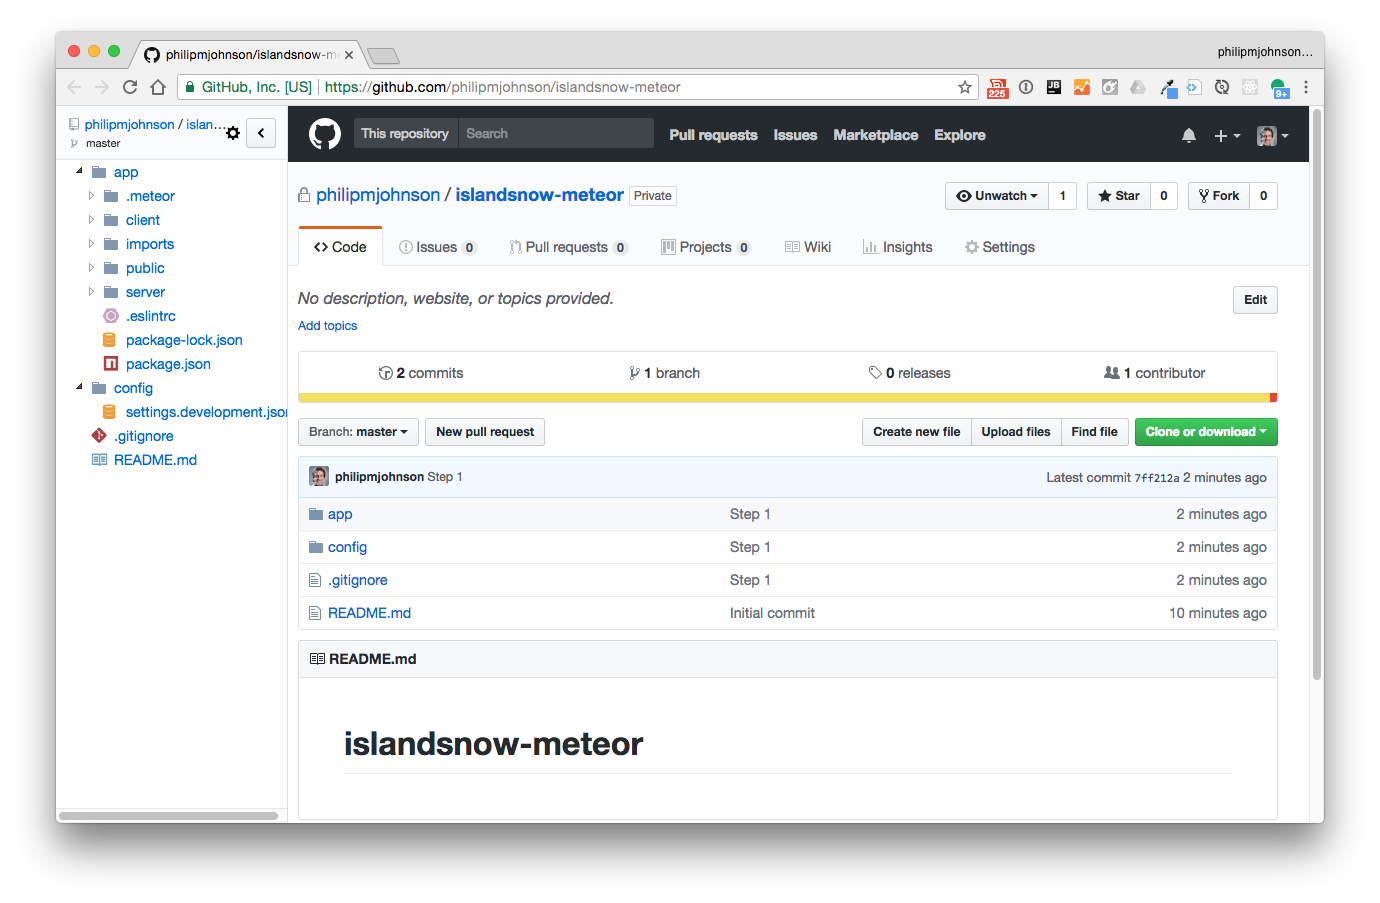
Now commit and push your repo to GitHub with the message “Template installed”. It should look like this:
Step 2: Setup IntelliJ and ESLint
Create an IntelliJ project called “islandsnow-meteor” that points to your repo.
Make sure that ESLint is configured correctly. Open a Javascript file such as imports/startup/client/startup.jsx. ESLint might complain “Error: Failed to load plugin meteor: Cannot find module ‘eslint-plugin-meteor’. Don’t worry: just click the “ESLint Settings” link and change the “ESLint Package” to the path to ESLint inside this project’s node_modules directory. (In my IntelliJ, just pulling down the menu shows that path as an option). Once you select the correct path to ESLint, the error should disappear.
To test that ESLint is working, add 3-4 blank lines to the bottom of the file. An ESLint error should now be displayed in the right margin in red. Now delete them, and a green checkmark should reappear. (If it doesn’t reappear immediately, then click on the red circle in the upper right side of the window, which should force re-inspection and generate the green checkmark.)
Step 3: Port the Island Snow React mockup to Meteor
Open your islandsnow-react project in IntelliJ so that you have easy access to the files.
3.1 Port the style.css definitions
Port the global CSS classes by copying the contents of src/style.css (from the islandsnow-react project) into app/client/style.css.
3.2 Port the page components
In a real application, each React.Component class definition should be in its own file. In your mockup, all of these class definitions are in a single file. Let’s start to fix that.
Your mockup’s src/index.js contains six React.Component definitions. In my version, they are named: TopMenu, IslandSnowLogo, MiddleMenu, FullWidthImage, FooterMenu, and IslandSnow.
Port the first five components (all except IslandSnow) to their own individual files in the imports/ui/components/ directory. For example, the TopMenu component should go into imports/ui/components/TopMenu.jsx. You will need to add import React from 'react';, and export this class by default. Make any other adjustments necessary to remove all ESLint errors.
For example, here is the contents of my TopMenu.jsx:
import React from 'react';
import { Container, Menu, Icon, Dropdown } from 'semantic-ui-react';

export default class TopMenu extends React.Component {
  render() {
    return (
        <Menu borderless className="topmenu">
          <Container>
            <Menu.Item fitted><Icon name="facebook f"/></Menu.Item>
            <Menu.Item fitted><Icon name="twitter"/></Menu.Item>
            <Menu.Item fitted><Icon name="pinterest"/></Menu.Item>
            <Menu.Item fitted><Icon name="instagram"/></Menu.Item>
            <Menu.Item fitted position="right"><Icon name="home"/></Menu.Item>
            <Menu.Item fitted><Icon name="search"/></Menu.Item>
            <Menu.Item fitted><Icon name="user"/></Menu.Item>
            <Dropdown item text="MY CART 0" icon="shop">
              <Dropdown.Menu>
                <Dropdown.Item>My cart is currently empty.</Dropdown.Item>
              </Dropdown.Menu>
            </Dropdown>
          </Container>
        </Menu>
    );
  }
}
3.3 Port the page definition
The sixth component, IslandSnow, defines a “page”. Create a file called IslandSnow.jsx in the imports/ui/pages directory to hold that component. You will need to import React and all the page components. When you are done, the file should look like this:
import React from 'react';
import TopMenu from '../components/TopMenu';
import IslandSnowLogo from '../components/IslandSnowLogo';
import MiddleMenu from '../components/MiddleMenu';
import FullWidthImage from '../components/FullWidthImage';
import FooterMenu from '../components/FooterMenu';

export default class IslandSnow extends React.Component {

  render() {
    return (
        <div>
          <TopMenu/>
          <IslandSnowLogo/>
          <MiddleMenu/>
          <FullWidthImage/>
          <FooterMenu/>
        </div>
    );
  }
}
3.4 Make http:/localhost:3000/ point to the IslandSnow page
Now that we have an IslandSnow page, change the App component to route to IslandSnow instead of Landing when the path is “/”. You’ll need to fix the imports.
When you’ve done it, the landing page should look like this:
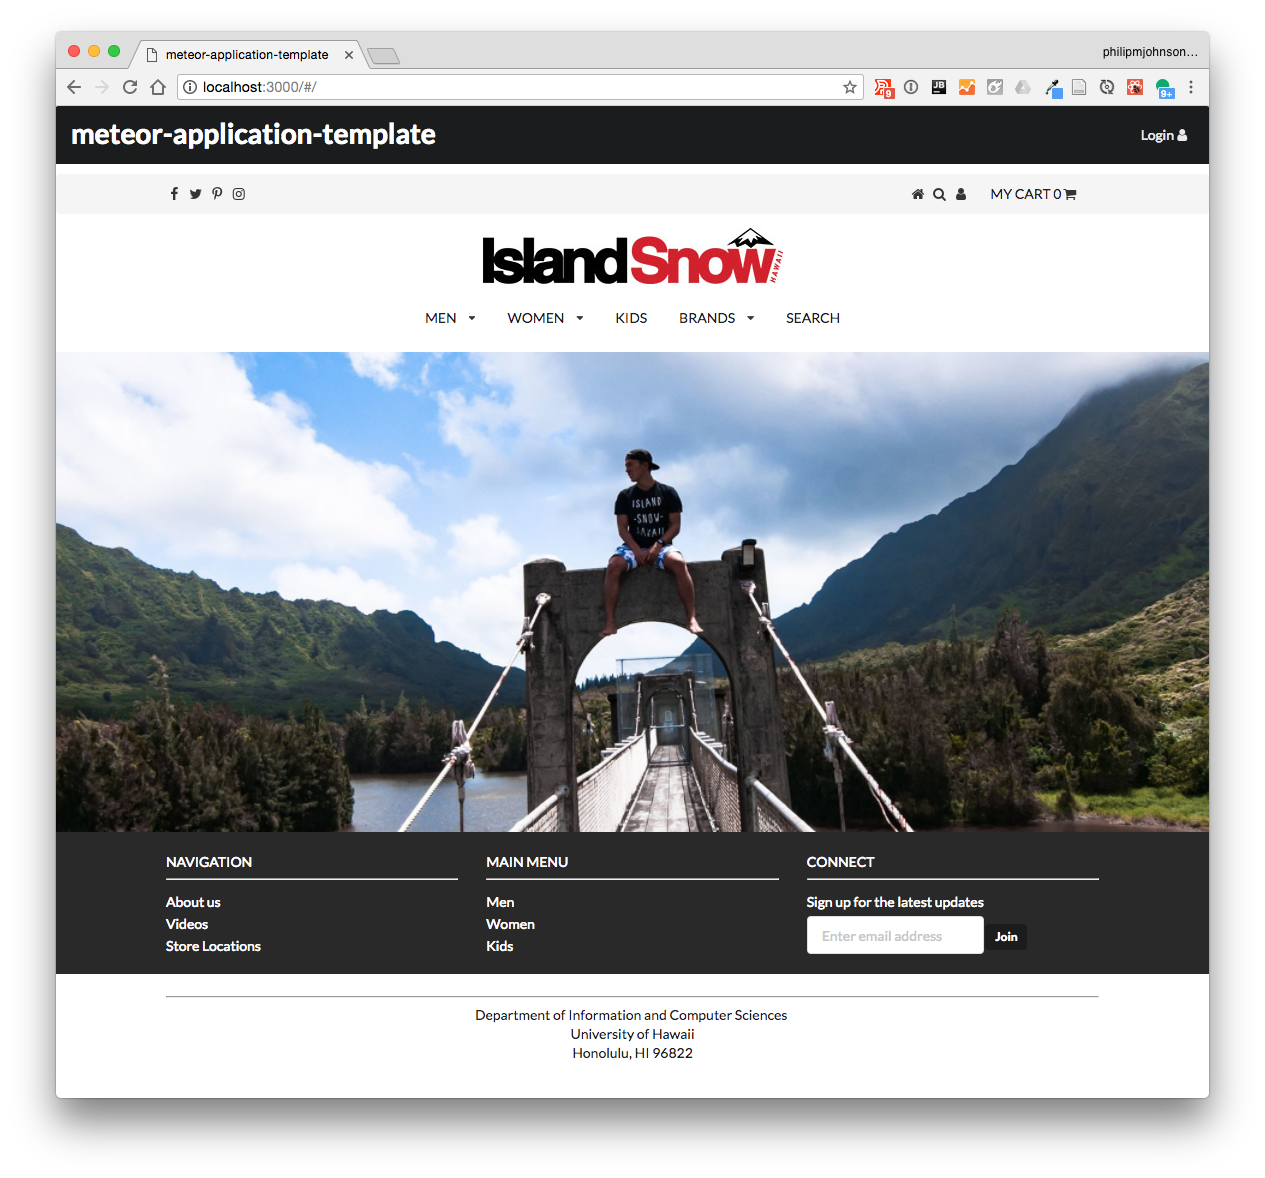
Almost perfect, except that we are still displaying the NavBar and the Footer from meteor-application-template!
3.5 Fix the NavBar and the Footer
To fix the NavBar, remove the invocation of the TopMenu component inside the IslandSnow page, and replace the invocation of NavBar in the App layout with an invocation of TopMenu. Now “TopMenu” will appear by default at the top of every page.
Similarly, remove the invocation of FooterMenu inside the IslandSnow page, and replace the invocation of Footer in the App layout with an invocation of FooterMenu. Now “FooterMenu” will appear by default at the bottom of every page.
After doing these changes, http://localhost:3000 should display this:

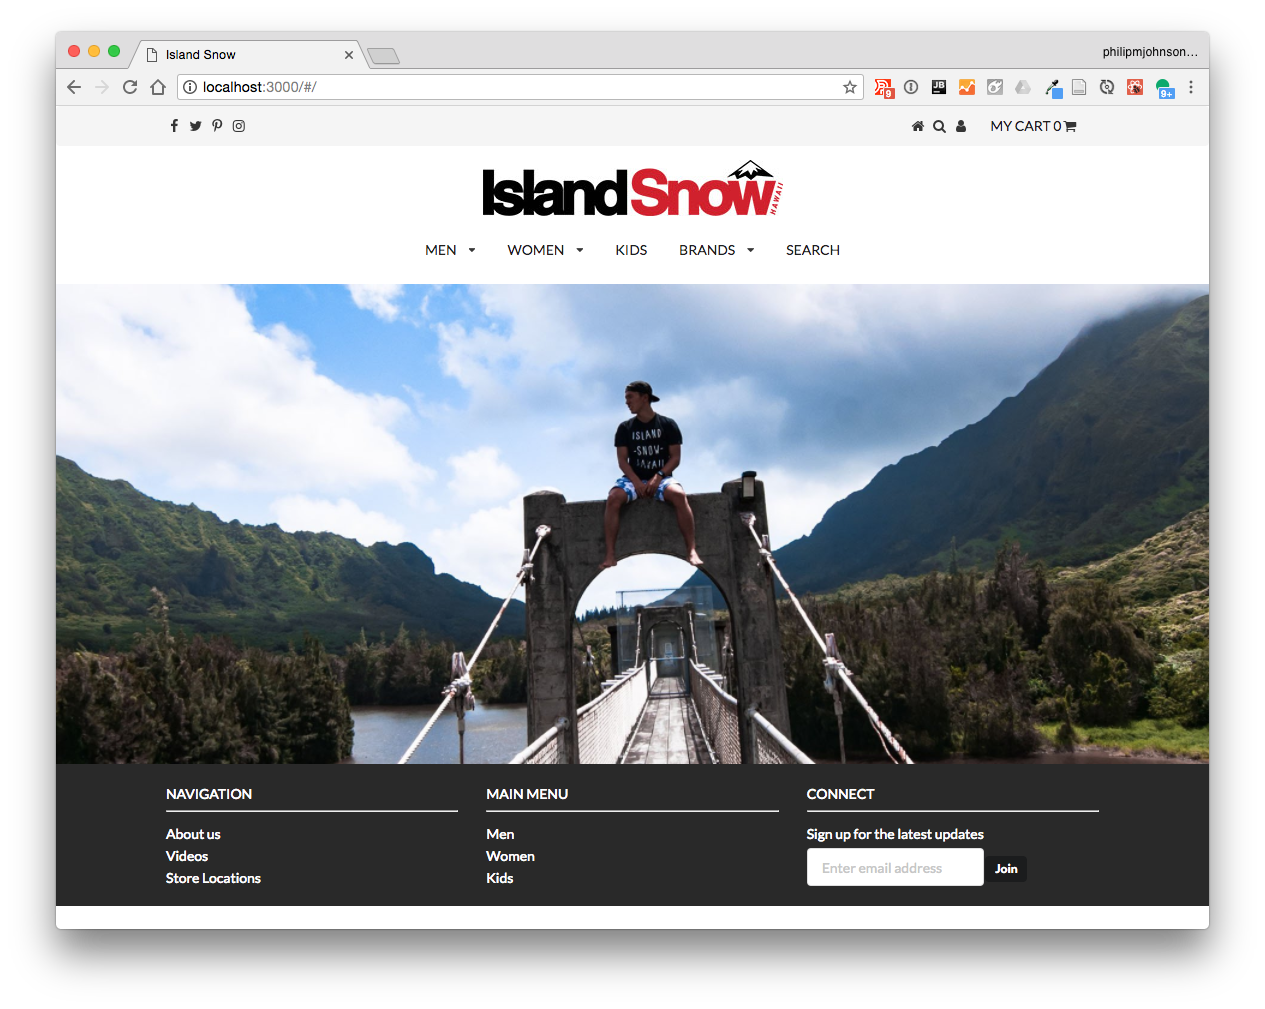
3.5 Fix the title
In the last screenshot, notice that the Chrome tab for the page says “meteor-application-template”. To fix that, go to app/client/main.html, and change the title element text to “Island Snow”. Here’s what it should look like:
Step 4: Clean up the UI code
The last step is to remove the components and pages that you no longer need from your app. For now, we’ll just clean up the UI side of the system.
First, though, commit and push your code to GitHub!
Now, go through imports/ui/pages and imports/ui/components and delete the files associated with the template pages. If you make a mistake and the application breaks, you can simply go into GitHub Desktop and undo your mistake by right-clicking on the problematic file and selecting “Discard changes”.
When you’ve deleted the template pages and components, commit and push your code to GitHub with the message “Completed islandsnow mockup”.
Demonstration
Since the readings don’t adequately prepare you for this WOD, you can try this WOD by yourself first, or watch me do it first, whichever you prefer.
Submission instructions
By the time and date indicated on the Schedule page, submit this assignment via Laulima. You should submit the complete URL to the GitHub repo containing your code for this assignment. There should be commits associated with each step.