E53: Digits, Part 5 (Notes)
For this experience, you will add the ability to save timestamped notes that document conversations you’ve had with your contacts. When finished, each Contact card will provide the ability to add a Note, and display all the Notes associated with this contact:
The more important goal of this experience is to learn how to design and implement multiple, inter-related collections. In essence, this experience illustrates the creation of a simple data model.
Prelude
First, I suggest you watch my screencast before trying this WOD for the first time. I have not been able to find suitable resources for you to read prior to doing this WOD to cover all of the Meteor concepts I will cover. So, it’s best for you to watch the solution one time through to orient yourself.
Data Models!
Second, let’s discuss how to implement a set of one or more Notes, each associated with a specific Contact. Your first instinct might be to expand the Contacts collection with a Notes field that contains an array of objects. This would work, but becomes unwieldy as soon as you want to expand the system to support more sophisticated operations (such as, for example, listing all notes across all contacts in chronological order).
The better way to implement Notes functionality is to create a new Collection where each document contains a single Note, and where each document also provides fields to indicate which Contact (and Owner) this Note belongs to. In database terms, these fields are known as foreign keys. Once you get the hang of it, it is simple and fast to implement separate collections for each entity in your system along with foreign keys to indicate their interdependencies.
To make it clear how this works, let’s look at the collections we have so far. Here is a representation of the Users collection:

Each user actually has two unique IDs: the _id field, which is generated by Mongo, and the username field, which is guaranteed to be unique by Meteor.
Let’s now look at the Contact collection:

As with all Mongo collections, the _id field contains a unique ID for each Contact document. In addition, the owner field must contain a username from the Users collection. We could have used the _id value for a User just as easily.
And now let’s look at the way we’ll implement the Notes collection. Remember that a given Contact can have multiple Notes associated with it, and each Note is associated with exactly one Contact.

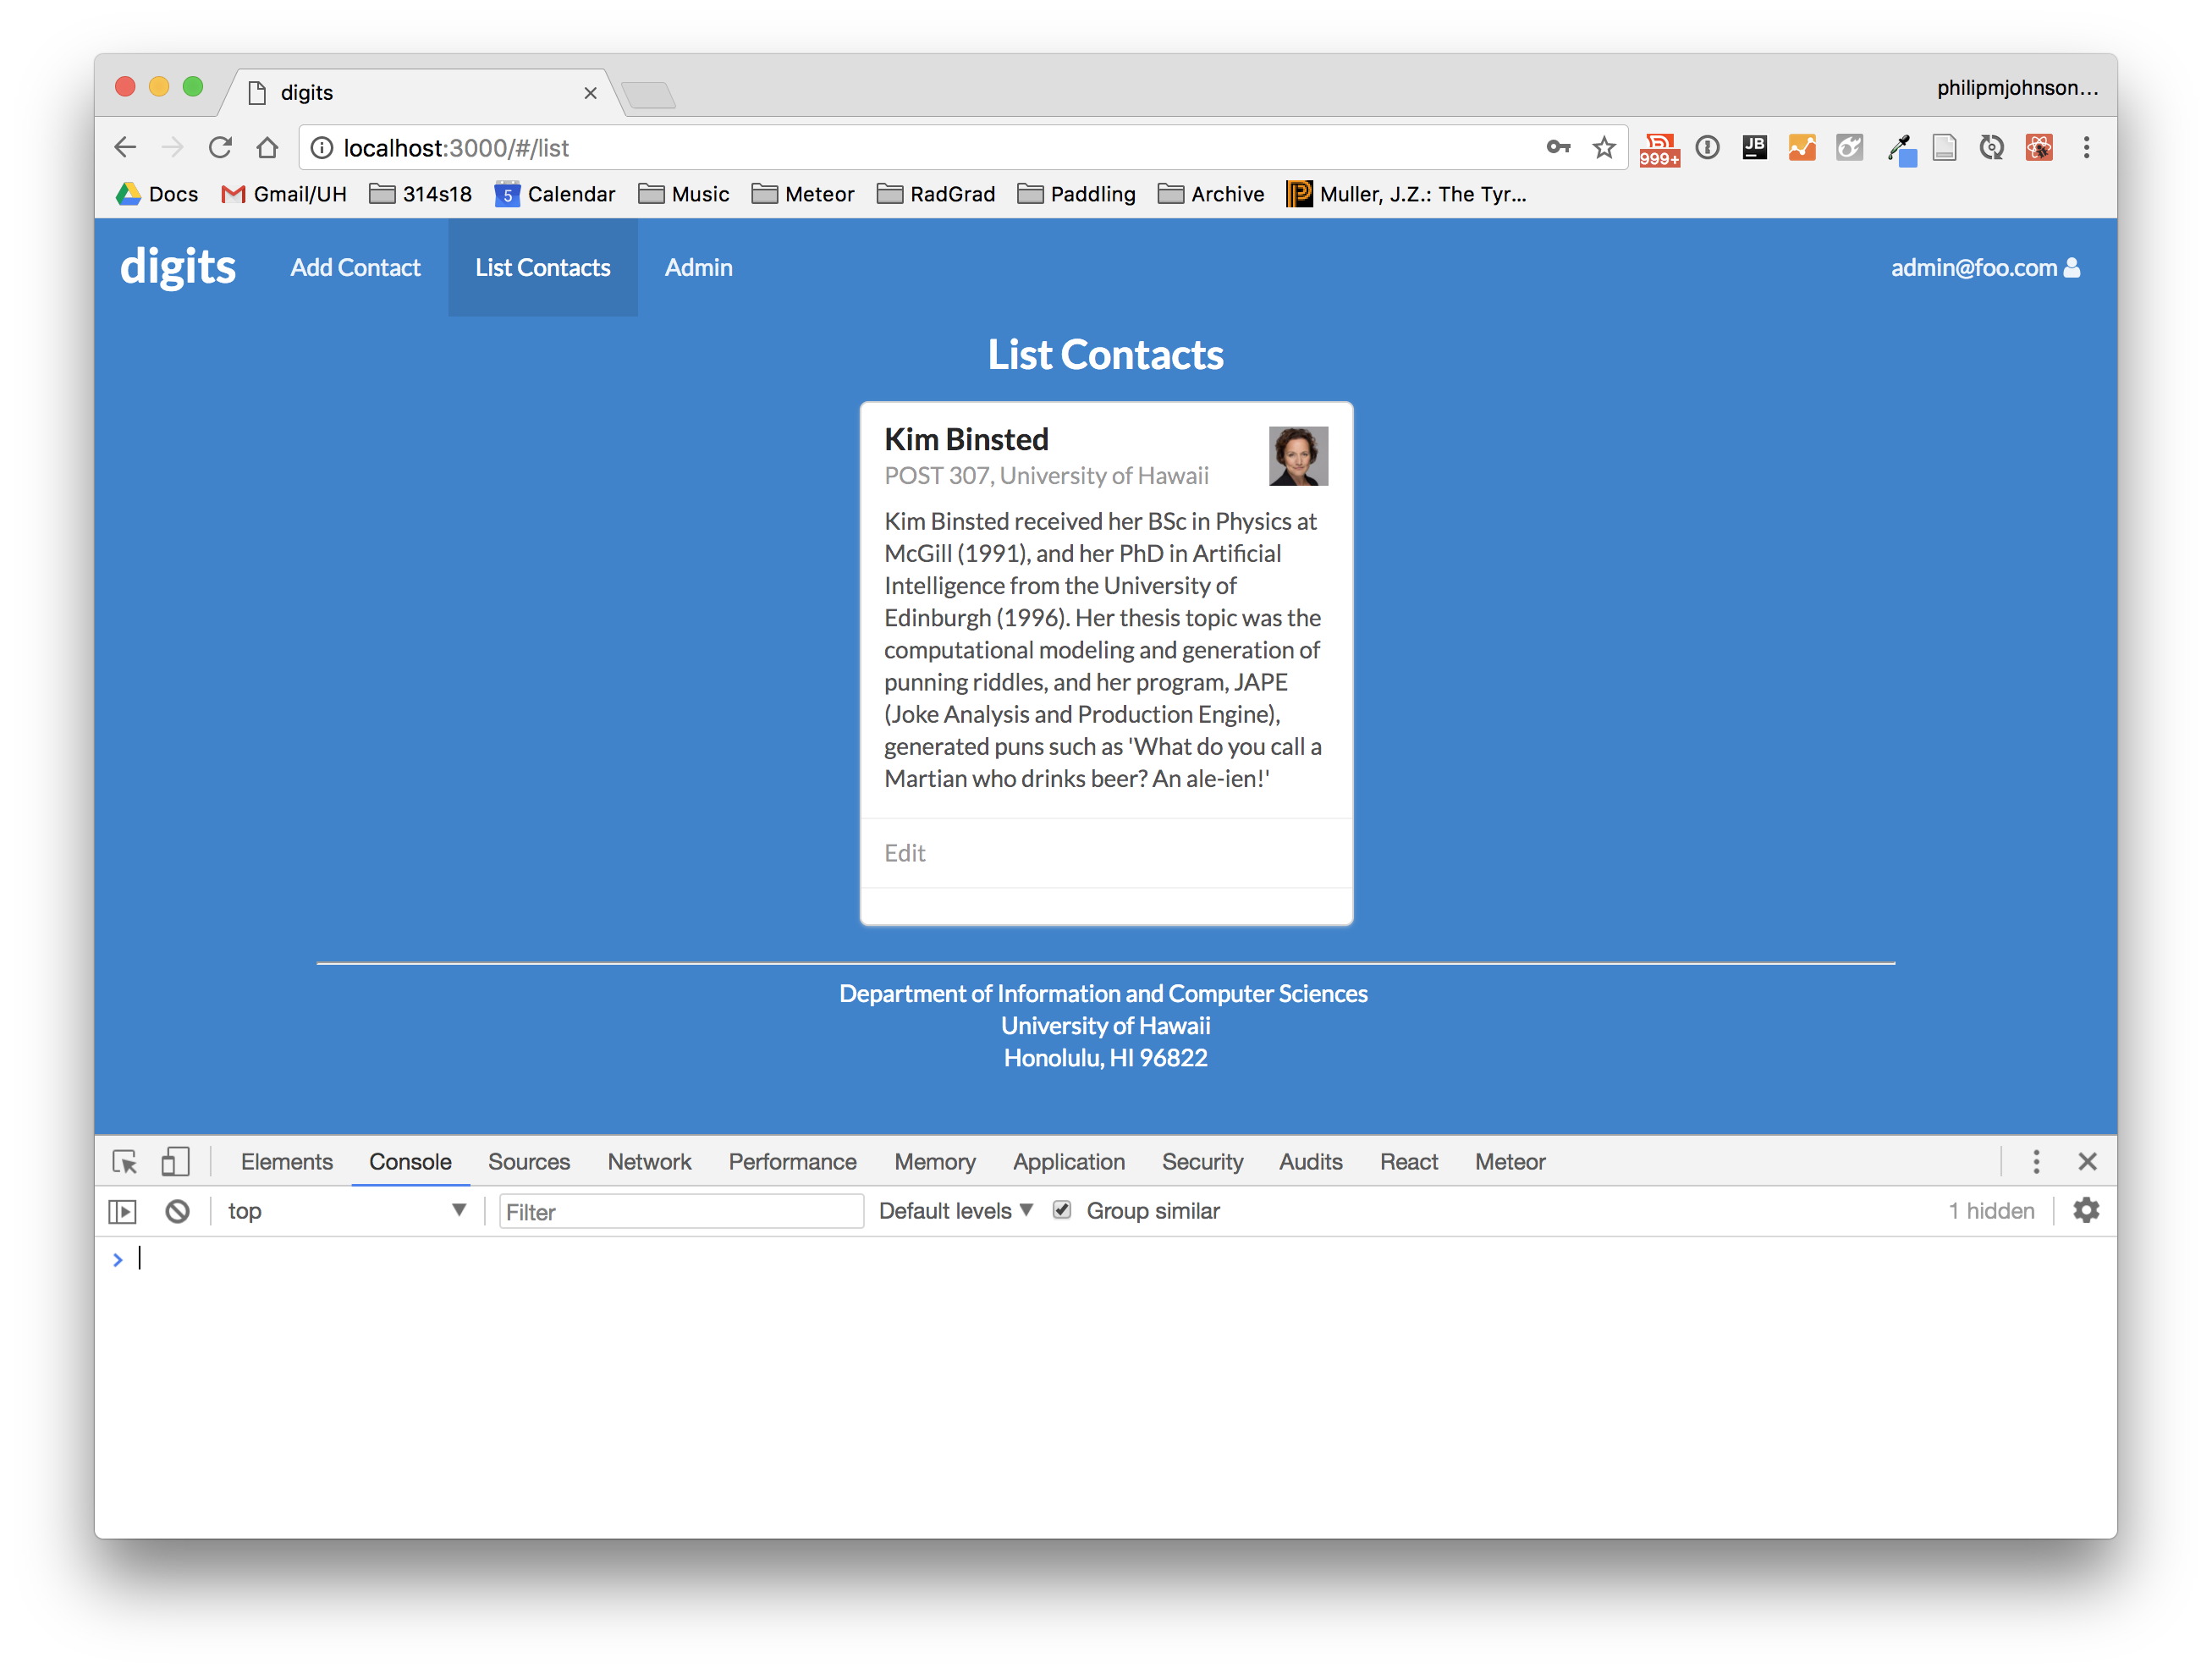
As always, the _id field is a unique ID for each Note. The note and createdAt fields provide the contents of the note and the time it was created. The contactId field contains the _id value of the Contact document the Note is associated with. So, the first two Notes in this collection are associated with the Contact “Philip Johnson”, and the last Note is associated with the Contact “Kim Binsted”.
You might wonder why we also provide an owner field with each Note document. We could infer the owner from the contactId, but if we add the owner field explicitly, it makes it trivial to create a Publication for Notes that only publishes the documents associated with the current user (just the same way we do it for Contacts).
So, there’s the design of the system. When you are designing your own data models, it can be helpful to create a set of tables like this that indicate the fields associated with each collection and how you will connect them together. It only takes a few minutes and can make your implementation process much easier.
Merge your contact-forms branch into master
At the conclusion of the last WOD, your contact forms mockup was in a branch called contact-forms-1 (and contact-forms-2).
Quit meteor if it is running.
Now switch to the master branch in GitHub Desktop, and merge one of your contact-forms branches into it. Push your master branch to GitHub after the merge completes.
Start meteor using meteor npm run start, and check http://localhost:3000 (and the console) to ensure that the merge worked correctly.
The WOD
Now you’re ready to do this practice WOD. There are two rounds to this WOD, each timed individually.
Round 1
Start your timer.
Create a branch called notes-1 using GitHub Desktop, and publish this branch to GitHub.
If necessary, start up your application using meteor npm run start. Check to see that it’s running at http://localhost:3000. Take a look at the console to be sure there are no errors.
Create the Note collection.
Make a copy of the app/imports/api/contact directory, and paste it to the same location, calling the directory “note”. Edit note/index.js to import ./note.js, and edit note/note.js to define the Note collection. The schema should specify fields “note”, “contactId”, and “owner” as String, and createdAt as a Date.
Edit app/imports/startup/both/index.js to import ‘/imports/api.note’. Now the Notes collection will be defined on both client and server.
Make a copy of app/imports/startup/server/contact.js called note.js. We will not create any default Notes on startup, so the only thing this file should do is to define a publication called “Notes” that publishes all of the notes associated with the current logged in user.
Edit app/imports/startup/server/index.js to import note.js.
Create the Note Component.
Make a copy of app/imports/ui/components/Contact.jsx called Note.jsx. This will display each Note. One way to format Notes is using the Semantic UI Feed Component, where each Note is a Feed.Event. For example:
<Feed.Event >
  <Feed.Content>
    <Feed.Date content={this.props.note.createdAt.toLocaleDateString('en-US')} />
    <Feed.Summary>
      {this.props.note.note}
    </Feed.Summary>
  </Feed.Content>
</Feed.Event>
Each Note component must be passed a Note document as a property called note.
Add the Note Feed to each Contact.
Now that you have a Note component, you need to display all the Notes associated with a Contact. Edit Contact.jsx to include the following section at the bottom of each Card:
<Card.Content extra>
  <Feed>
    {this.props.notes.map((note, index) => <Note key={index} note={note}/>)}
  </Feed>
</Card.Content>
You’ll need to import Feed, and add a new prop called notes that is an array.
Update ListContacts to pass each Contact its associated Notes.
Now, let’s edit ListContacts to pass each Contact its Notes:
- Subscribe to the Notes publication as well as the Contacts collection.
- Pass notes as a prop just like Contacts.
- Change the ready prop to be true only when both subscriptions are ready.
- Update propTypes to include an array of notes.
Update the Contact component to pass in the associated notes. Here’s one way to do it:
<Contact key={index}
         contact={contact}
         notes={this.props.notes.filter(note => (note.contactId === contact._id))}/>
The idea is to take this.props.notes, which contains all of the Notes for all of the contacts associated with this user, and filter that list down to only those Notes where the Note’s contactId matches this contact’s ID.
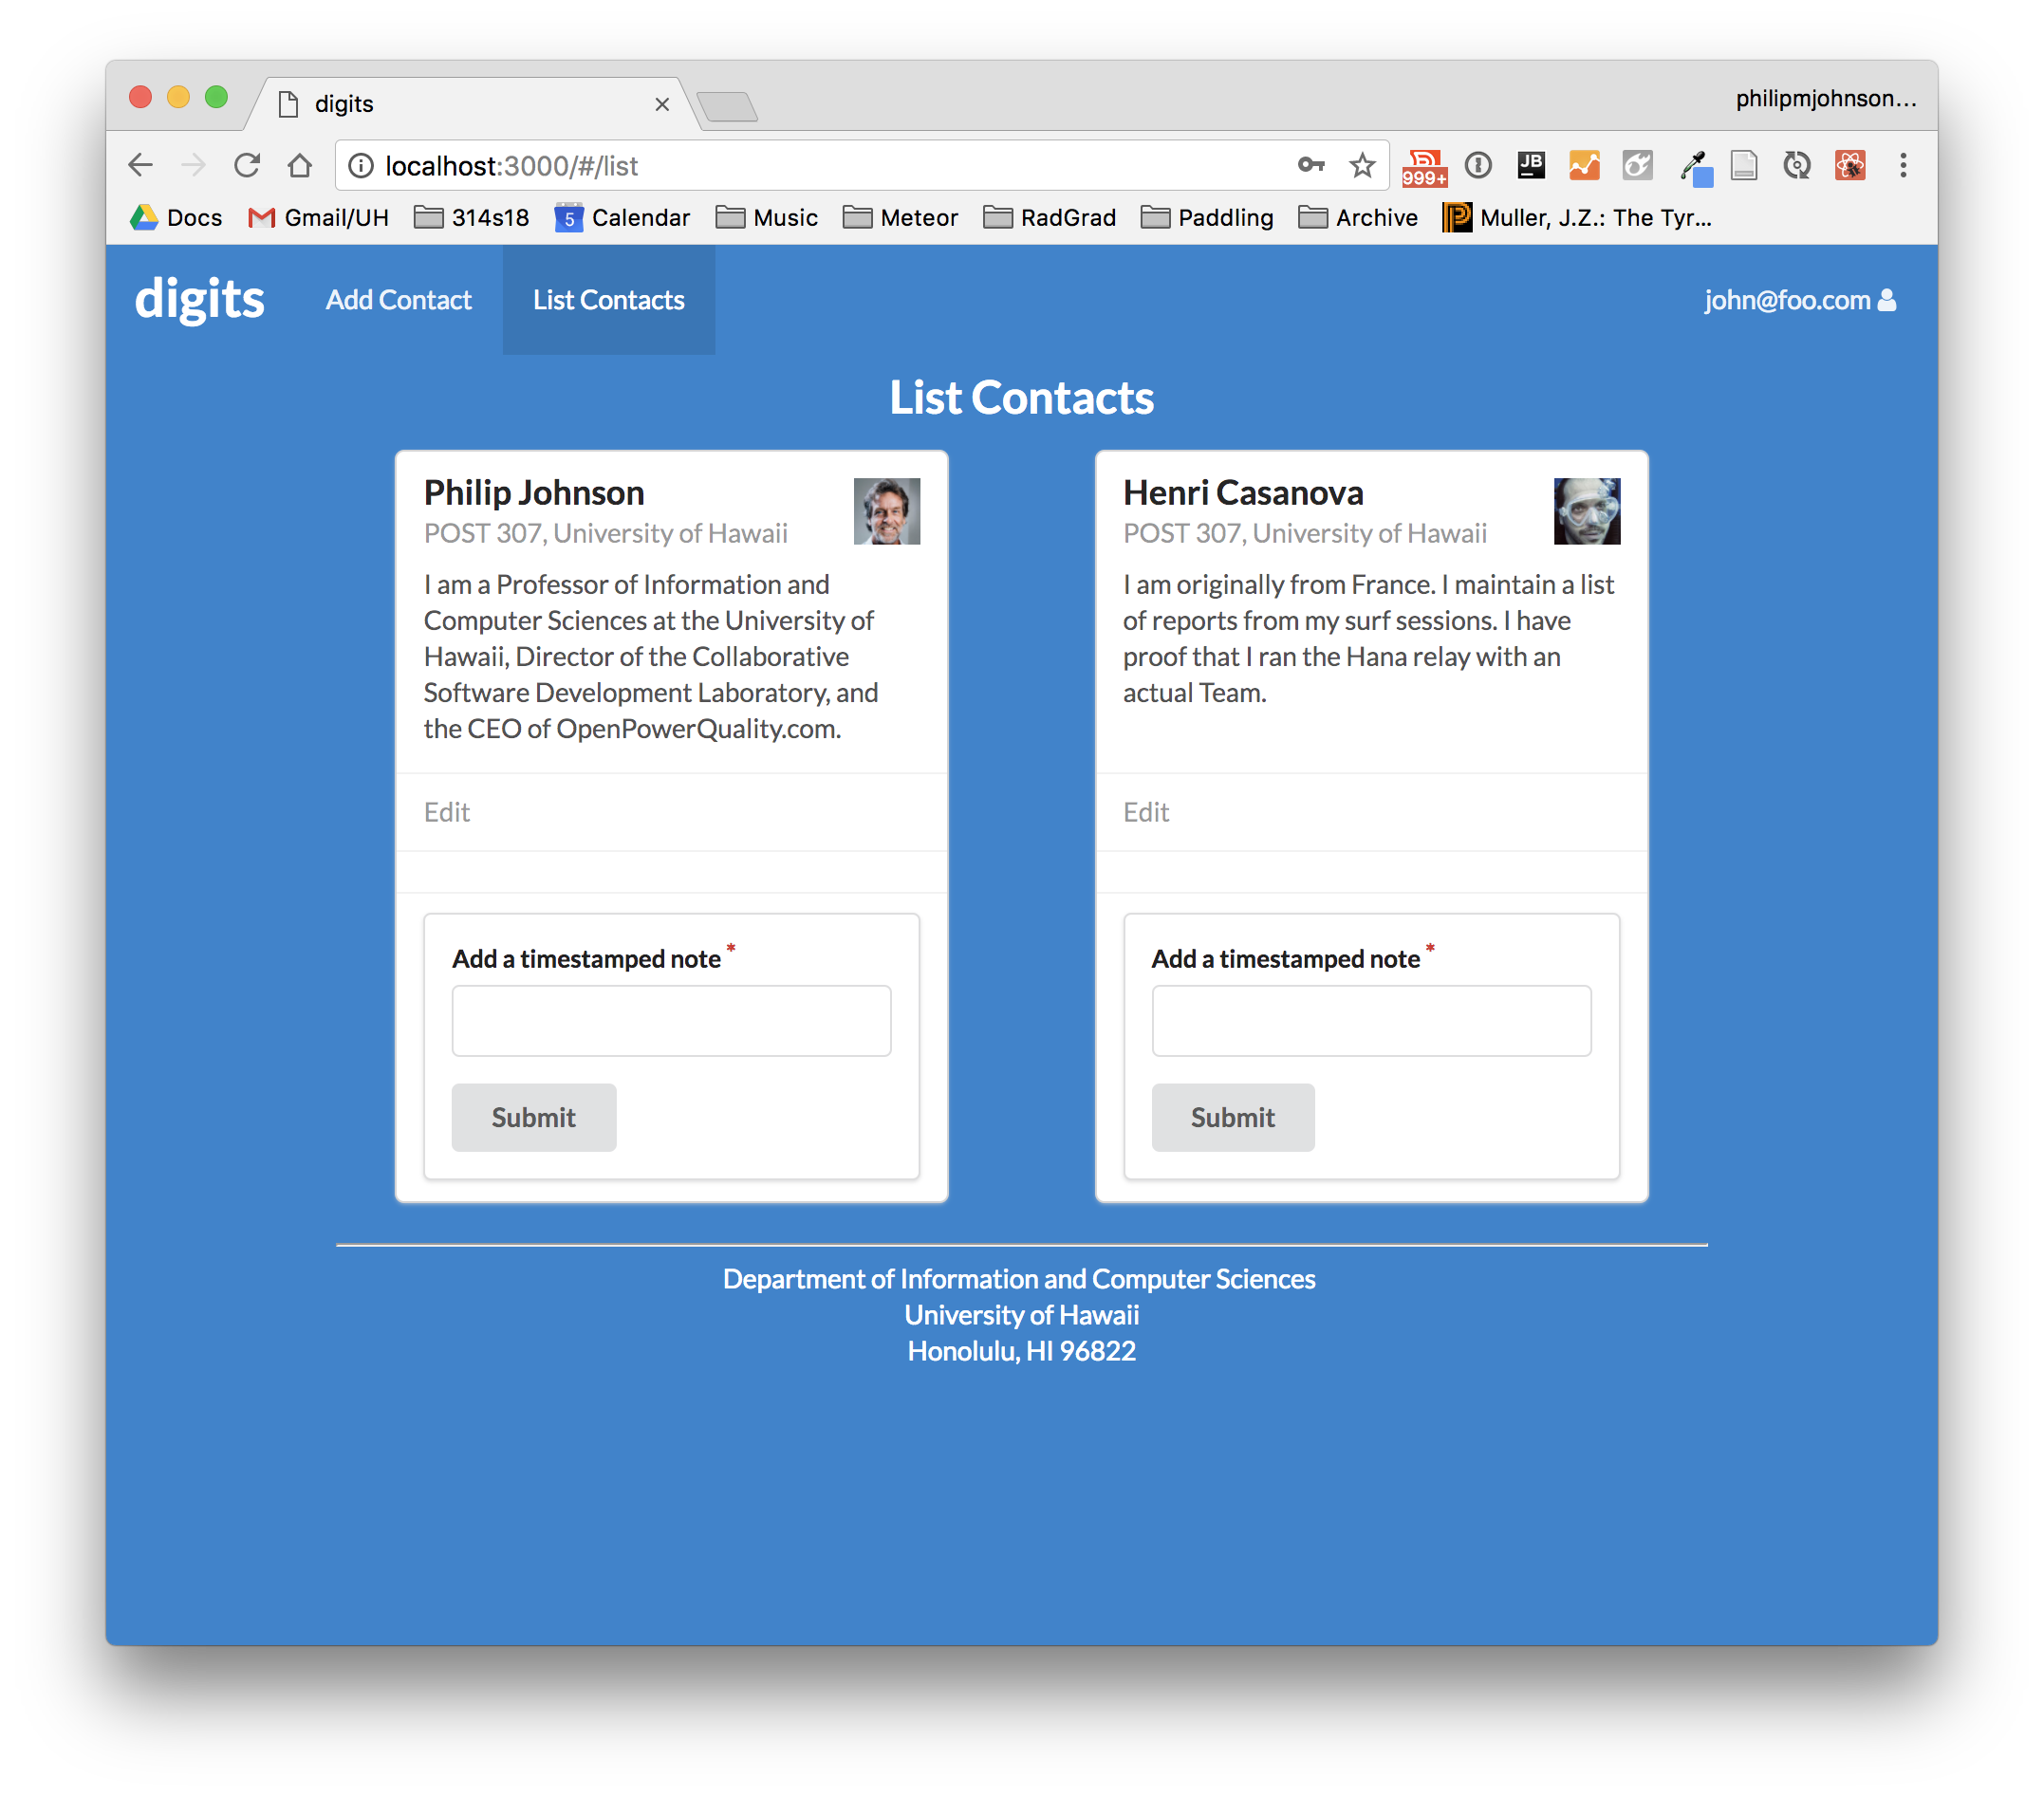
If you’ve implemented everything correctly so far, you should be able to display the ListContacts page without any errors in the page or console. You won’t have any Notes, because we haven’t defined any yet, but the page should look like this:
You can see that at the bottom of the contact, below the Edit link, there is new section about 5px high that is empty whitespace. That’s the area containing the (empty) Feed.
Implement AddNote.
Create a copy of app/imports/ui/pages/AddContact.jsx called AddNote.jsx, but put AddNote.jsx into the components directory, not the pages directory. That’s because the form to add a Note is a component of a page, not an entire page in and of itself.
As noted above, each Note has a note, an owner, a contactId, and a createdAt field. The AutoForm’s Segment should look like this:
<Segment>
  <TextField label="Add a timestamped note" name='note'/>
  <SubmitField value='Submit'/>
  <ErrorsField/>
  <HiddenField name='owner' value={this.props.owner}/>
  <HiddenField name='contactId' value={this.props.contactId}/>
  <HiddenField name='createdAt' value={new Date()}/>
</Segment>
You can delete the Grid, GridColumn, and Header components surrounding the call to AutoForm.
As you can see, the user only fills in the note field. All of the other fields are provided automatically.
You can also see from this that the AddNote component needs to be passed an owner and a contactId as a property from the component that calls it. Because of this, you’ll need to add a call to AddNote.propTypes to declare the owner and contactId properties.
Add AddNote to Contact.
Now let’s add a call to AddNote in our Contact component. You can add Card.Content to provide an AddNote below the Card.Content for the feed. Here’s what it could look like:
<Card.Content extra>
  <AddNote owner={this.props.contact.owner} contactId={this.props.contact._id}/>
</Card.Content>
Note that we pass the owner and contactId into the AddNote component.
If you’ve implemented this correctly, then the Contact component should now look like this:
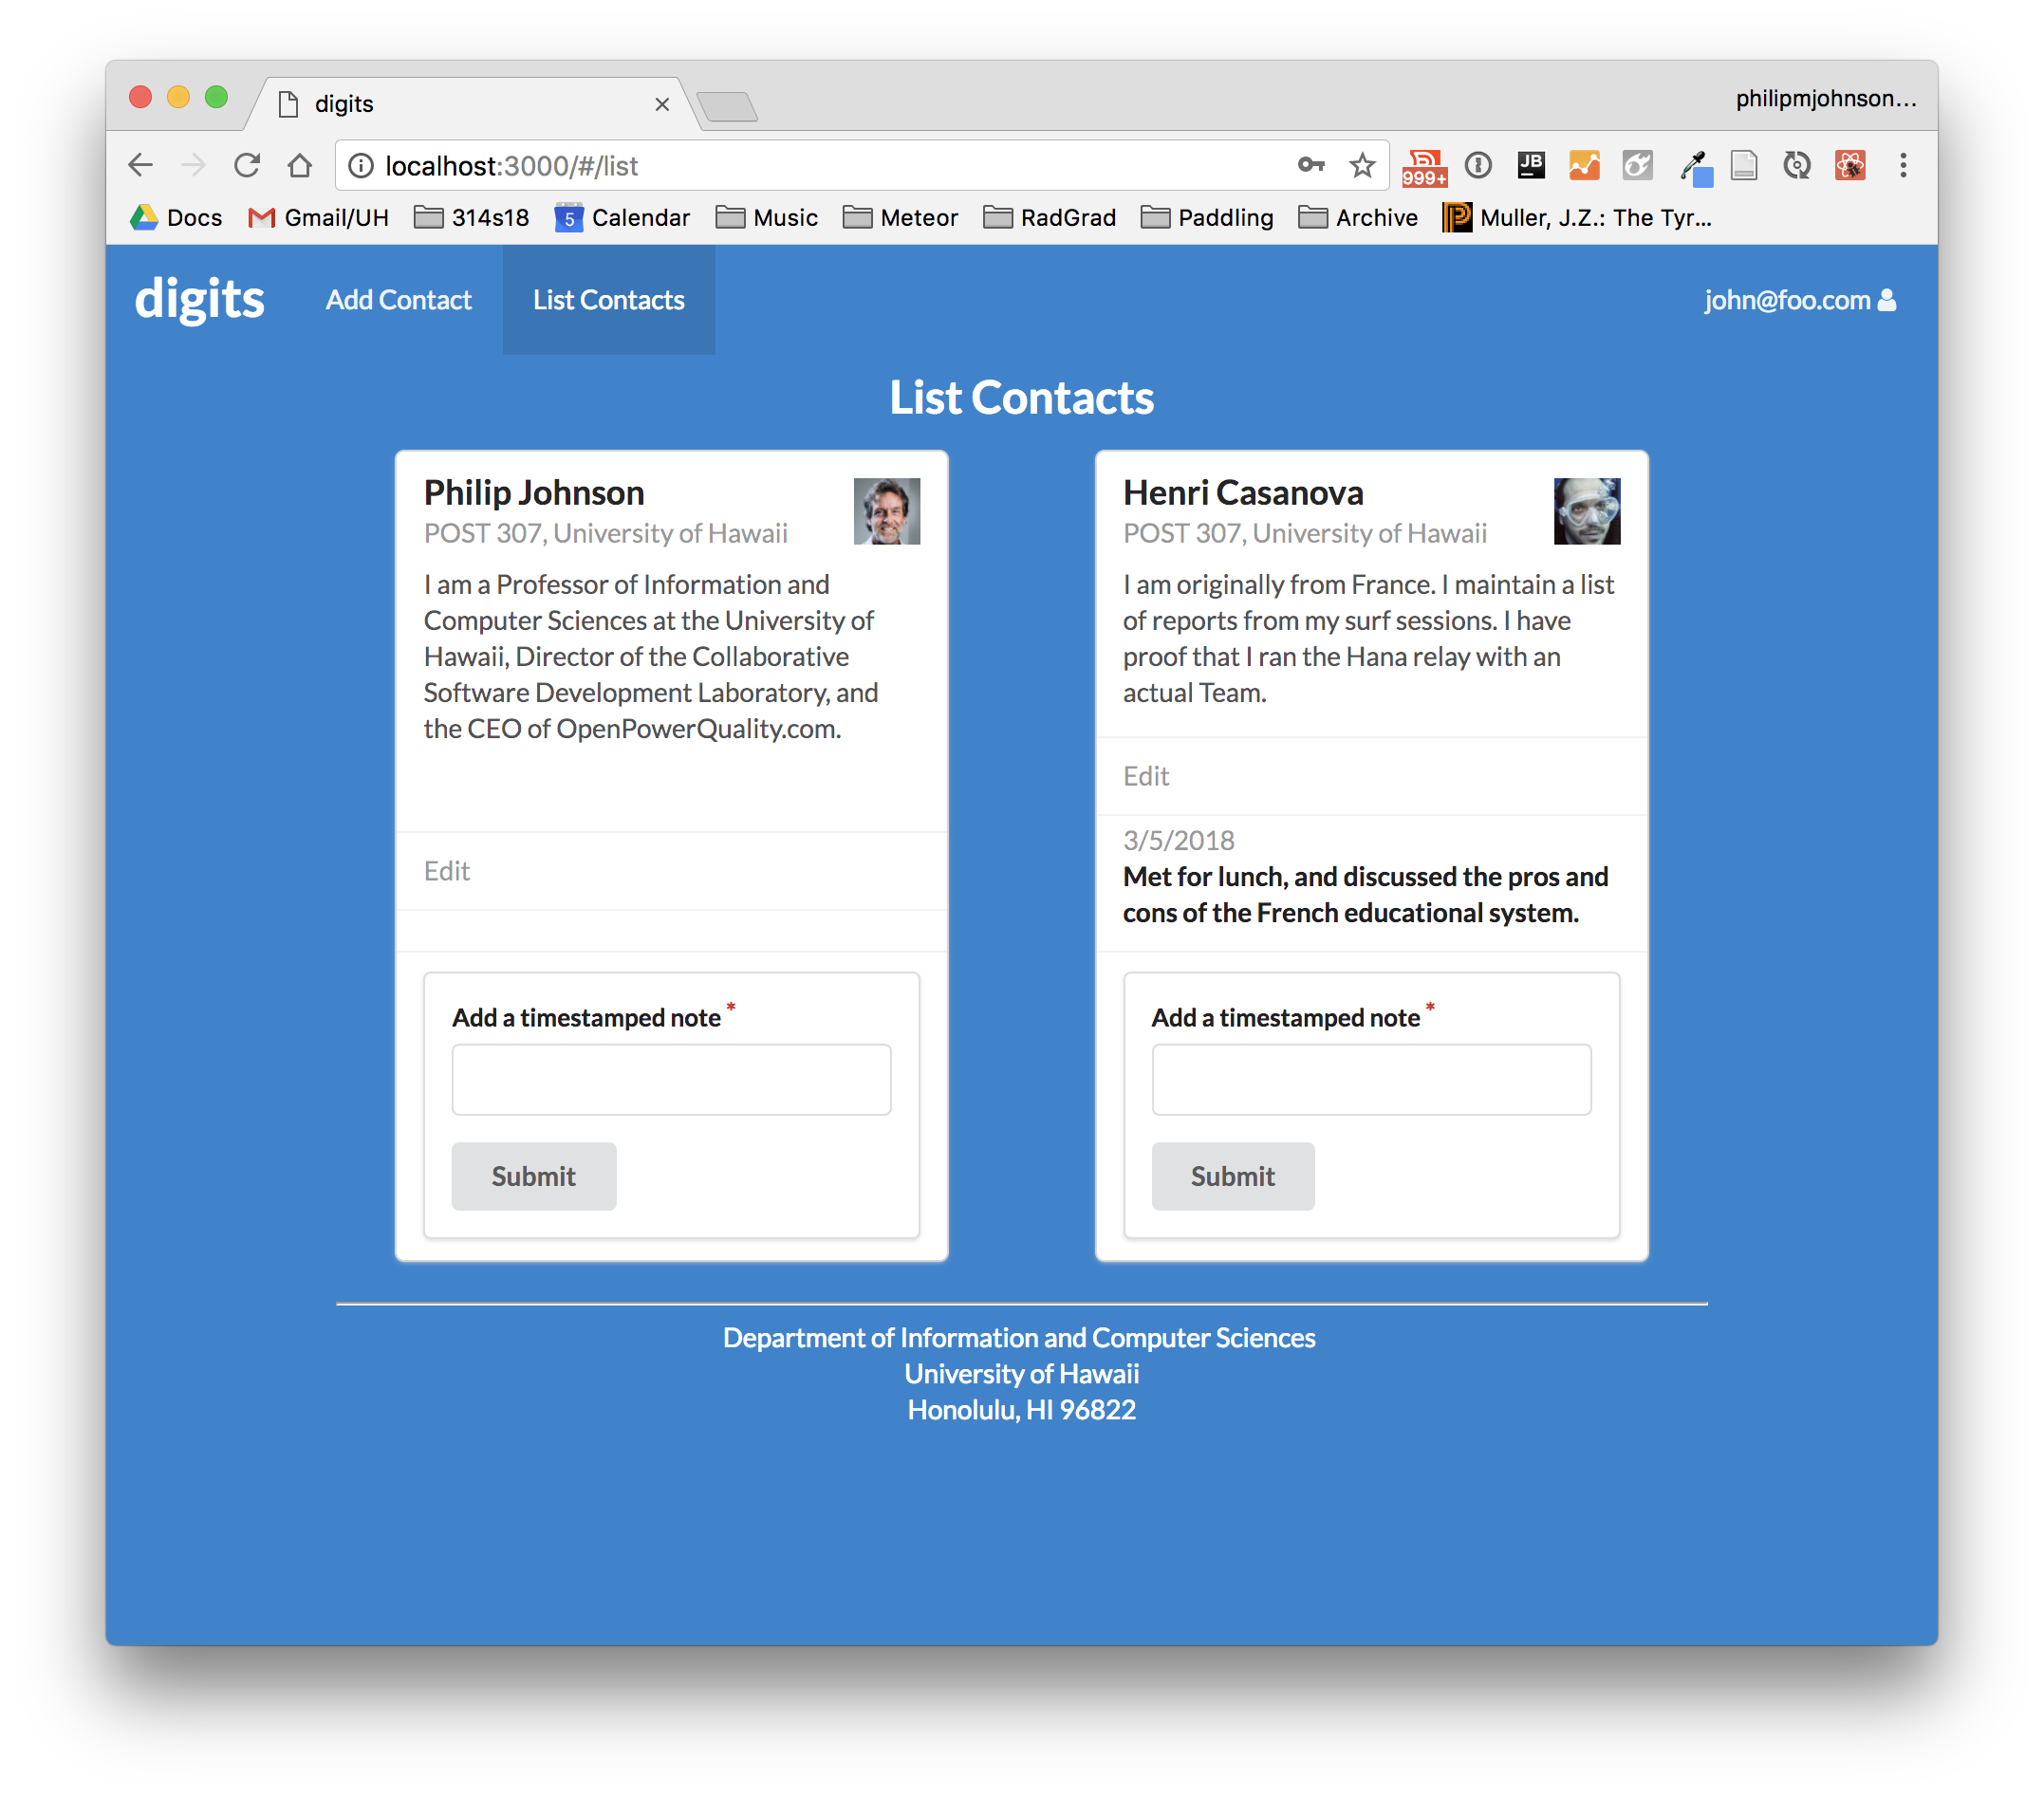
And after adding a note and pressing submit, you should see something like this:
Note that your Note is only added to a single Contact.
When your page renders correctly,
- control-c to stop Meteor.
- Stop your timer and note your time.
- Commit and push your notes-1 branch to GitHub with the message ‘notes-1 finished in NN minutes.’, where NN is the number of minutes it took you to do it according to your timer.
Round 2
To ensure that you understand this material, you must do this WOD a second time.
Switch back to the master branch. This will revert your local repo to its state just before starting the WOD.
Create a new branch called notes-2.
Go through the WOD again. When you’re done, commit and push your notes-2 branch to GitHub with the message ‘notes-2 finished in NN minutes.’, where NN is the number of minutes it took you to do it according to your timer.
Danny will be checking to see that both branches are in GitHub.
Rx: <32 min Av: 32-42 min Sd: 42-50 min DNF: 50+ min
Demonstration
Here’s a screencast of me working through this problem. You can watch this prior to attempting it for the first time yourself.
Submission instructions
By the time and date indicated on the Schedule page, submit this assignment via Laulima.
Your submission should contain:
- A link to each branch of the GitHub repository created as a result of your latest attempt at this practice WOD. Make sure you include the complete URLs for all branches so that I can click on them in my mailer. Note: the final commit for these branches must have been made before the submission time and date, otherwise you will not receive credit for this assignment.
You will receive full credit for this practice WOD as long as you have attempted it the required number of times and submitted the email with all required data before the due date. Your code does not have to run perfectly for you to receive full credit. However, if you do not repeat each practice WOD until you can finish it successfully in at least AV time, you are unlikely to do well on the in-class WOD. To reduce the stress associated with this course, I recommend that you repeat each practice WOD as many times as necessary to achieve at least AV before its due date.