E41: Experience the MongoDB Shell
The goal of this experience is for you to become comfortable with the basic ideas behind data storage and retrieval using Mongo.
Task 1: Initial setup
In this experience, you will play around with the MongoDB process that runs whenever the Meteor server is running. So, if you haven’t already, install Meteor. Meteor ships with a version of MongoDB (currently Version 4.0)
Now create a temporary directory to hold your work for this experience. Call it “experience-mongodb/”. (Note: Your life will be better if the full path to this directory does not contain any directories whose name contains spaces. So, for example, don’t put any of your code for this class in a subdirectory such as “Documents and Settings”).
Now cd into the experience-mongodb/ directory, can invoke meteor create app. This will create the default Meteor app in a new directory called ‘app’.
Task 2: Bring up a MongoDB server-side shell
Now you’re going to play with the server-side MongoDB process, and learn how to create a collection, add documents to it, and retrieve them.
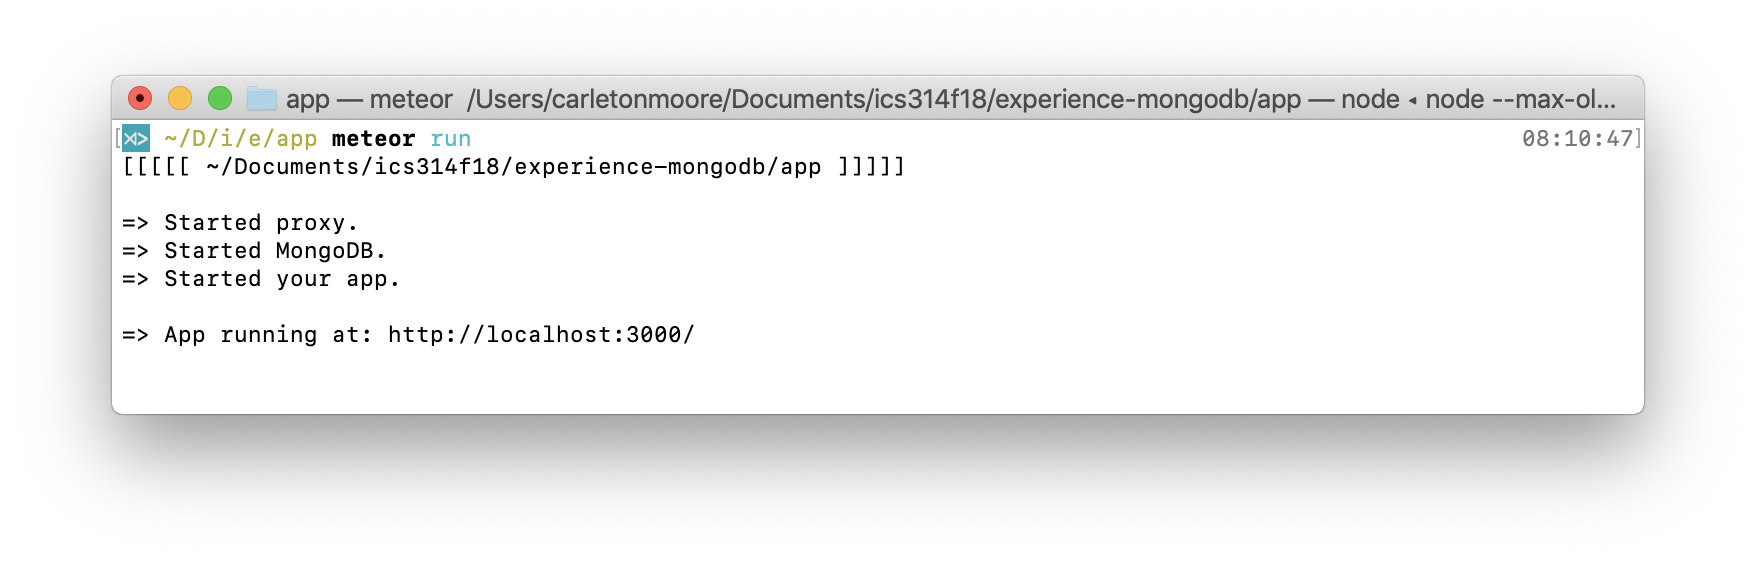
To access the MongoDB process, you must first have Meteor running. So, in a shell window, cd into the experience-mongodb/app directory and invoke meteor run to bring up Meteor (and Mongo) for your sample app. Here’s what the shell running Meteor should look like:
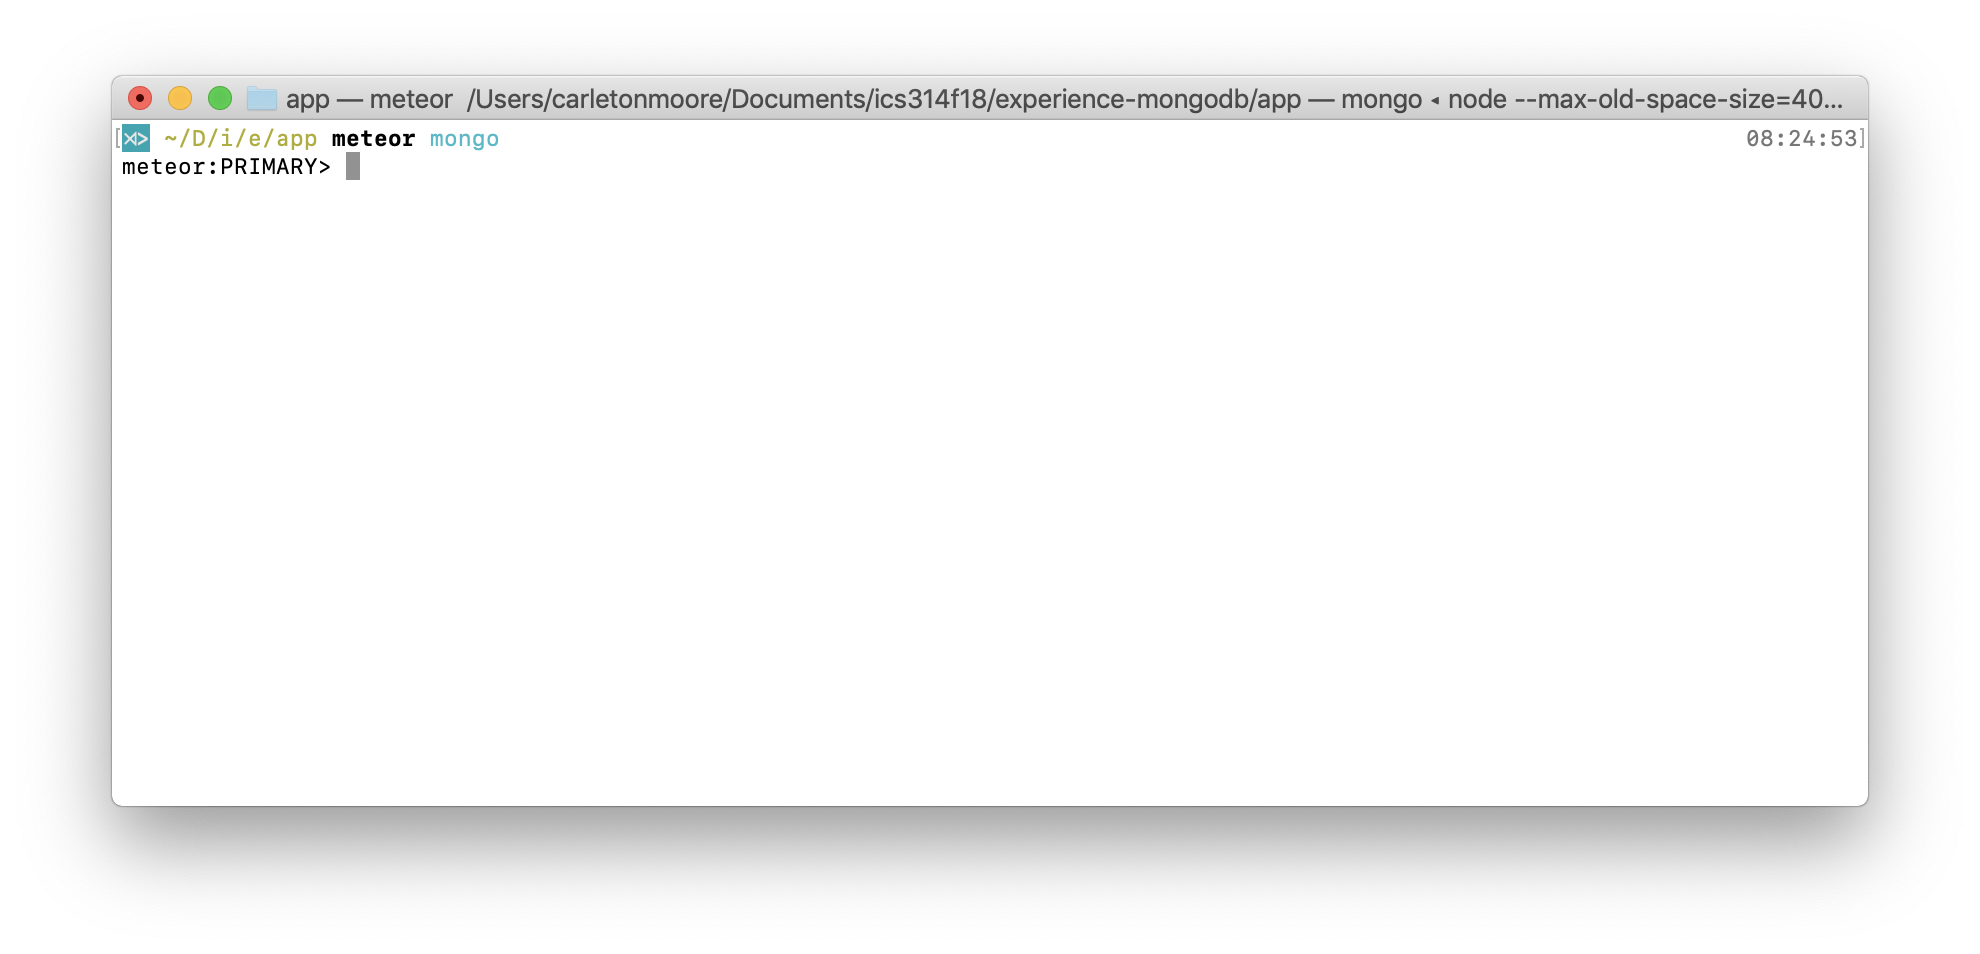
Now create a second shell window, cd into the mongo-practice/app directory, and invoke meteor mongo to create a shell command line interface to the running MongoDB process. If you’re successful, you should now have two shell windows, one running Meteor, and one that gives you access to the Mongo process started with Meteor. This second shell window should look like this:
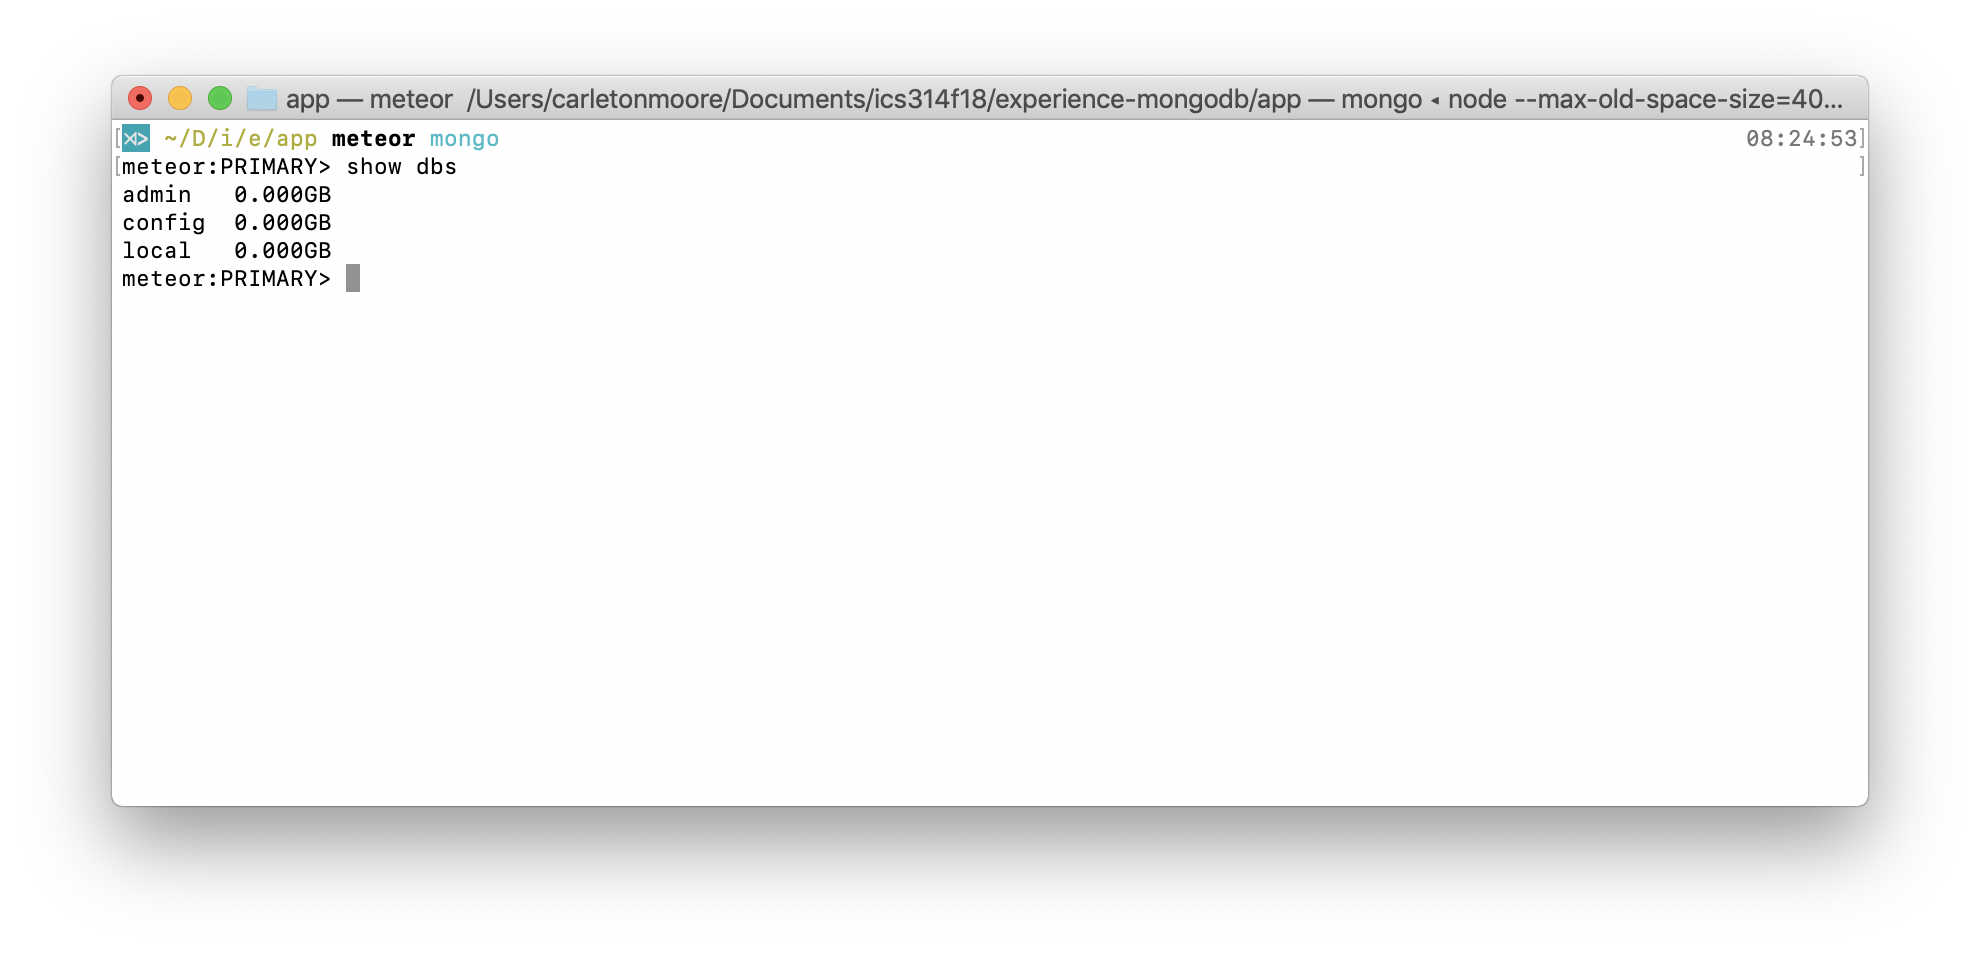
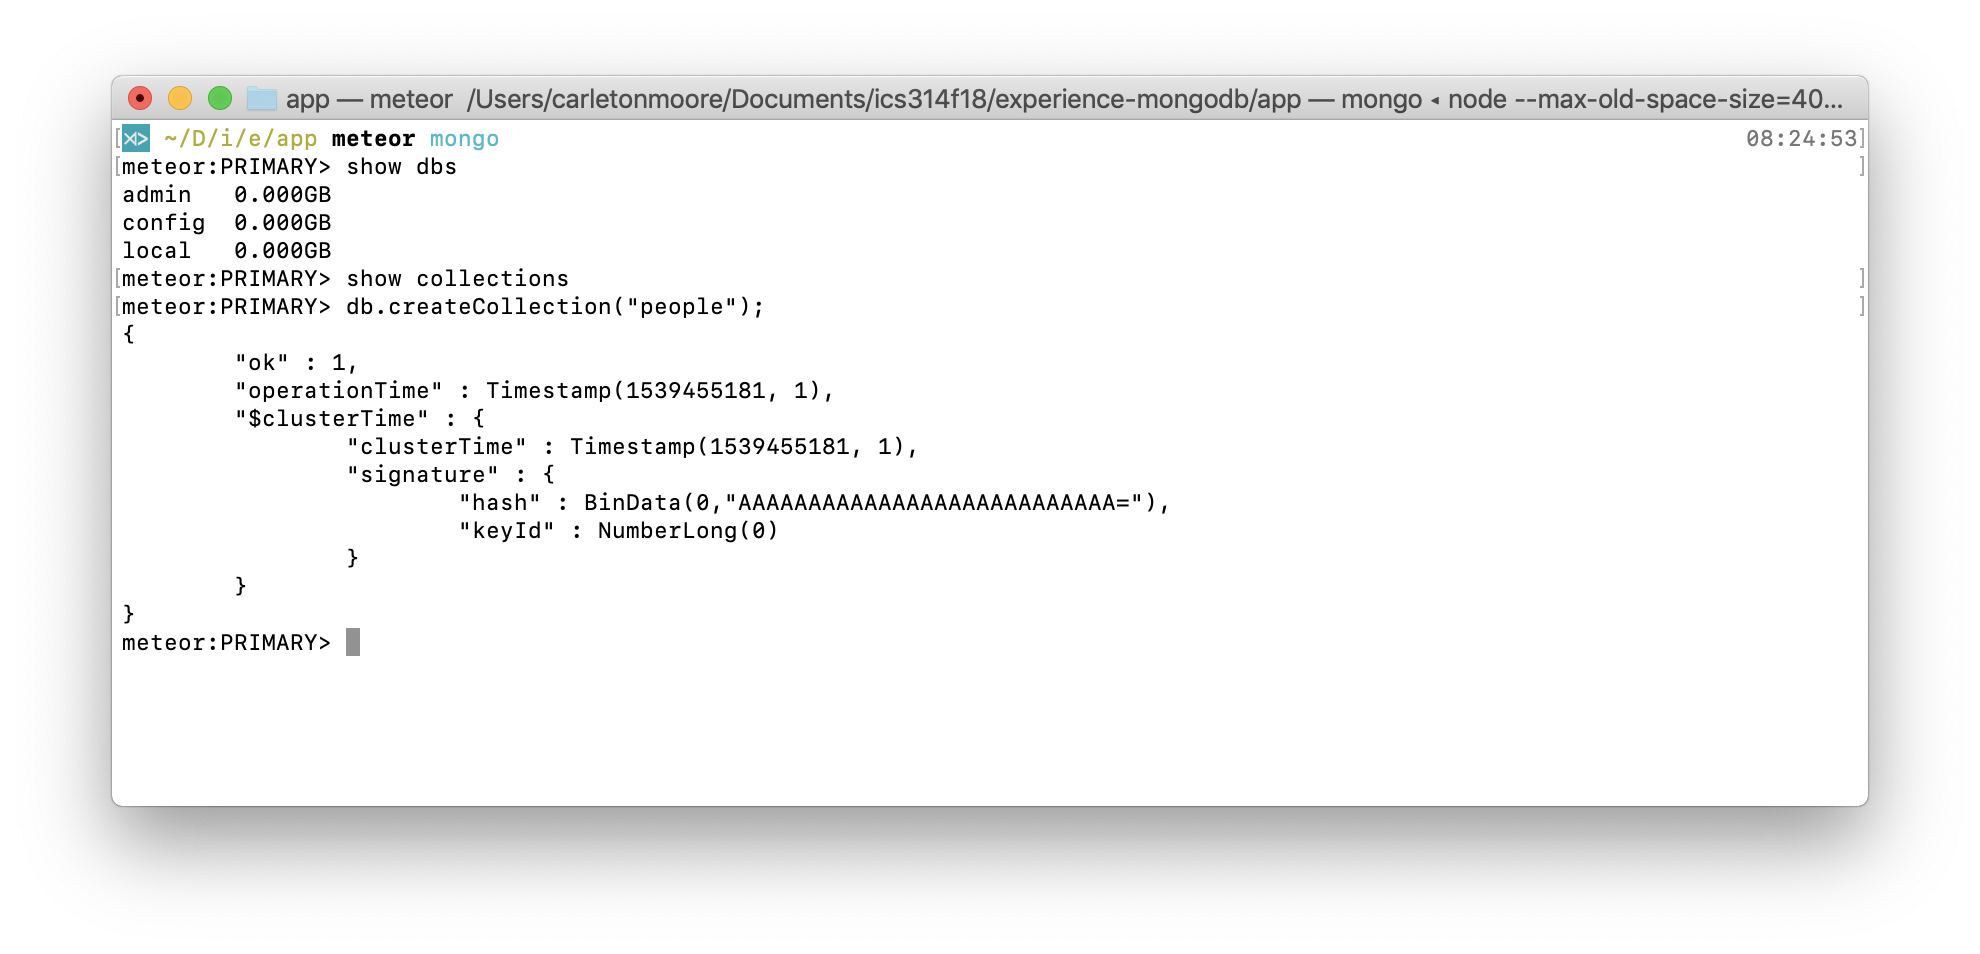
This MongoDB process has a single database called “local” (created by default). You can see this by running the command “show dbs”. Try it. Here’s what should happen:
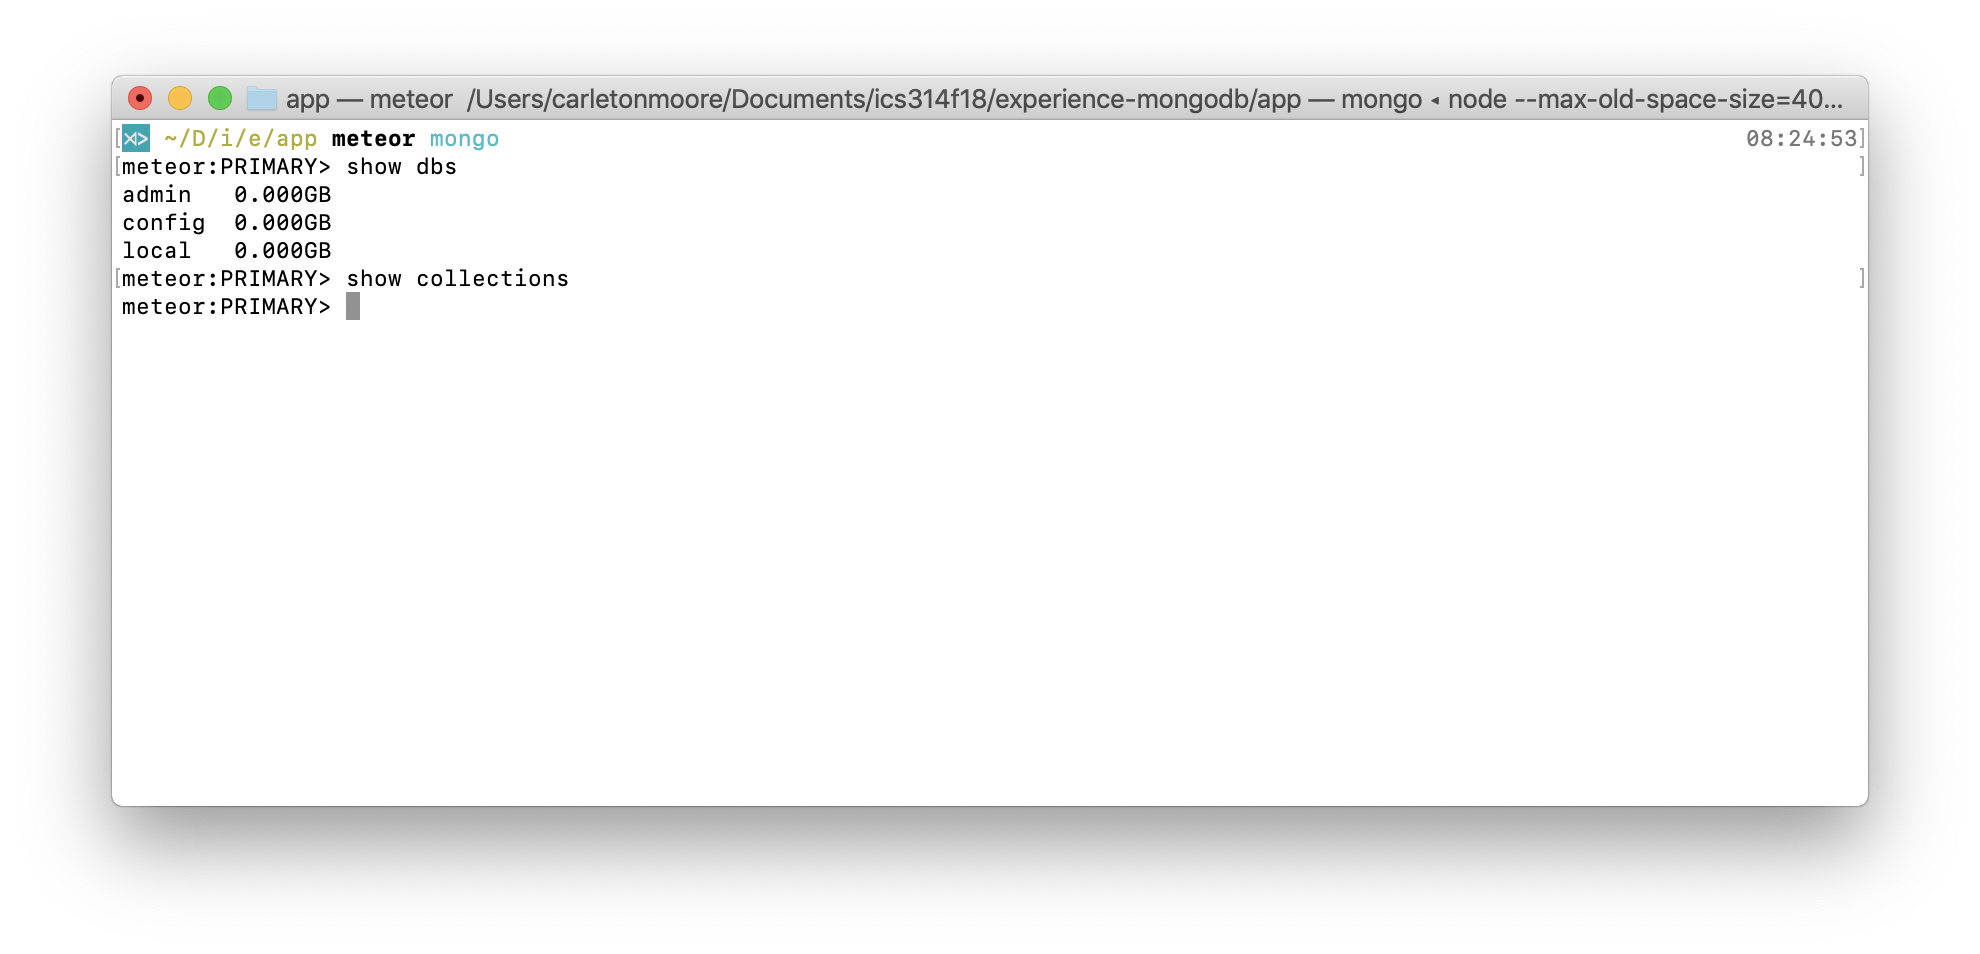
You can also see that there are no collections (and thus no data) in this database. You can see this by running the command “show collections”. Try it. Here’s what should happen:
Task 3: Create a collection
For NoSQL databases like MongoDB, “collections” are the relational database equivalent of a “Table”. Collections store records, called “Documents”. A single MongoDB database can have any number of distinct Collections. For this task, let’s create a Collection called “people”. To do this in the MongoDB shell, you can invoke db.createCollection("people");. Try it. Here’s what should happen:
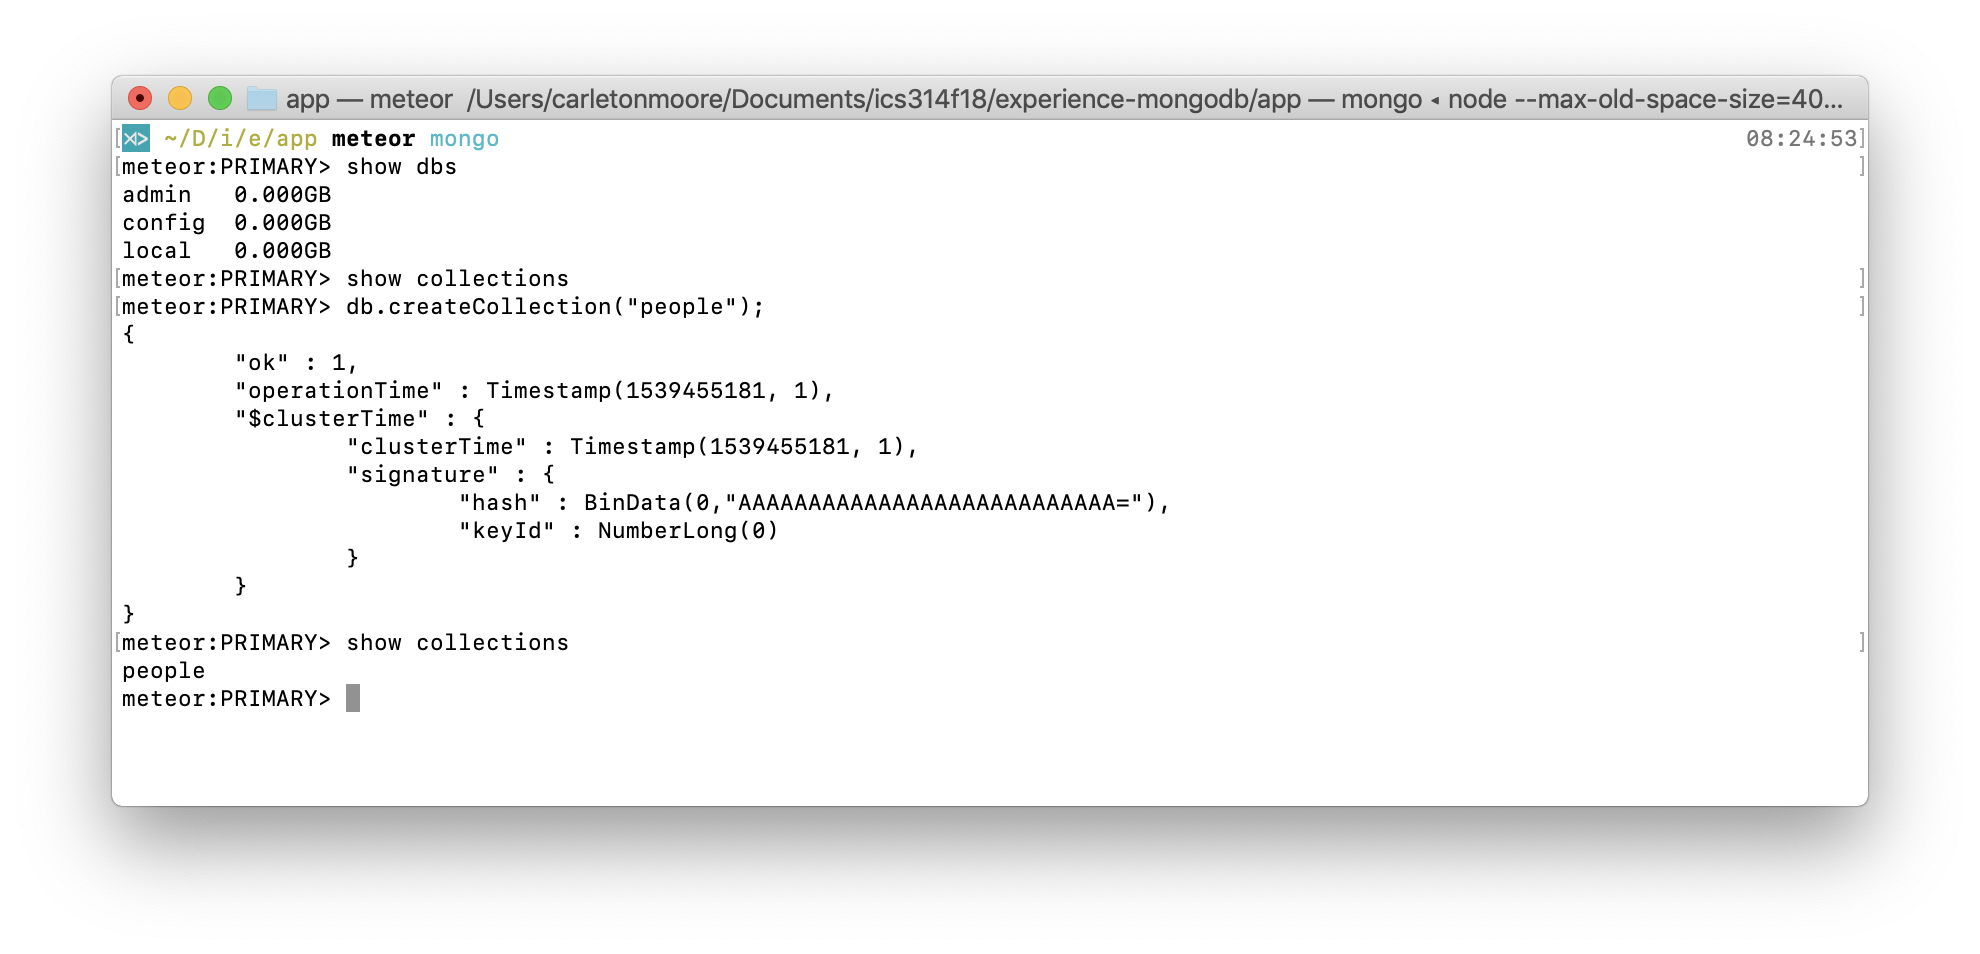
Now if you invoke “show collections”, you should see the people collection. Try it. Here’s what should happen:
Task 4: Add a document to the people collection
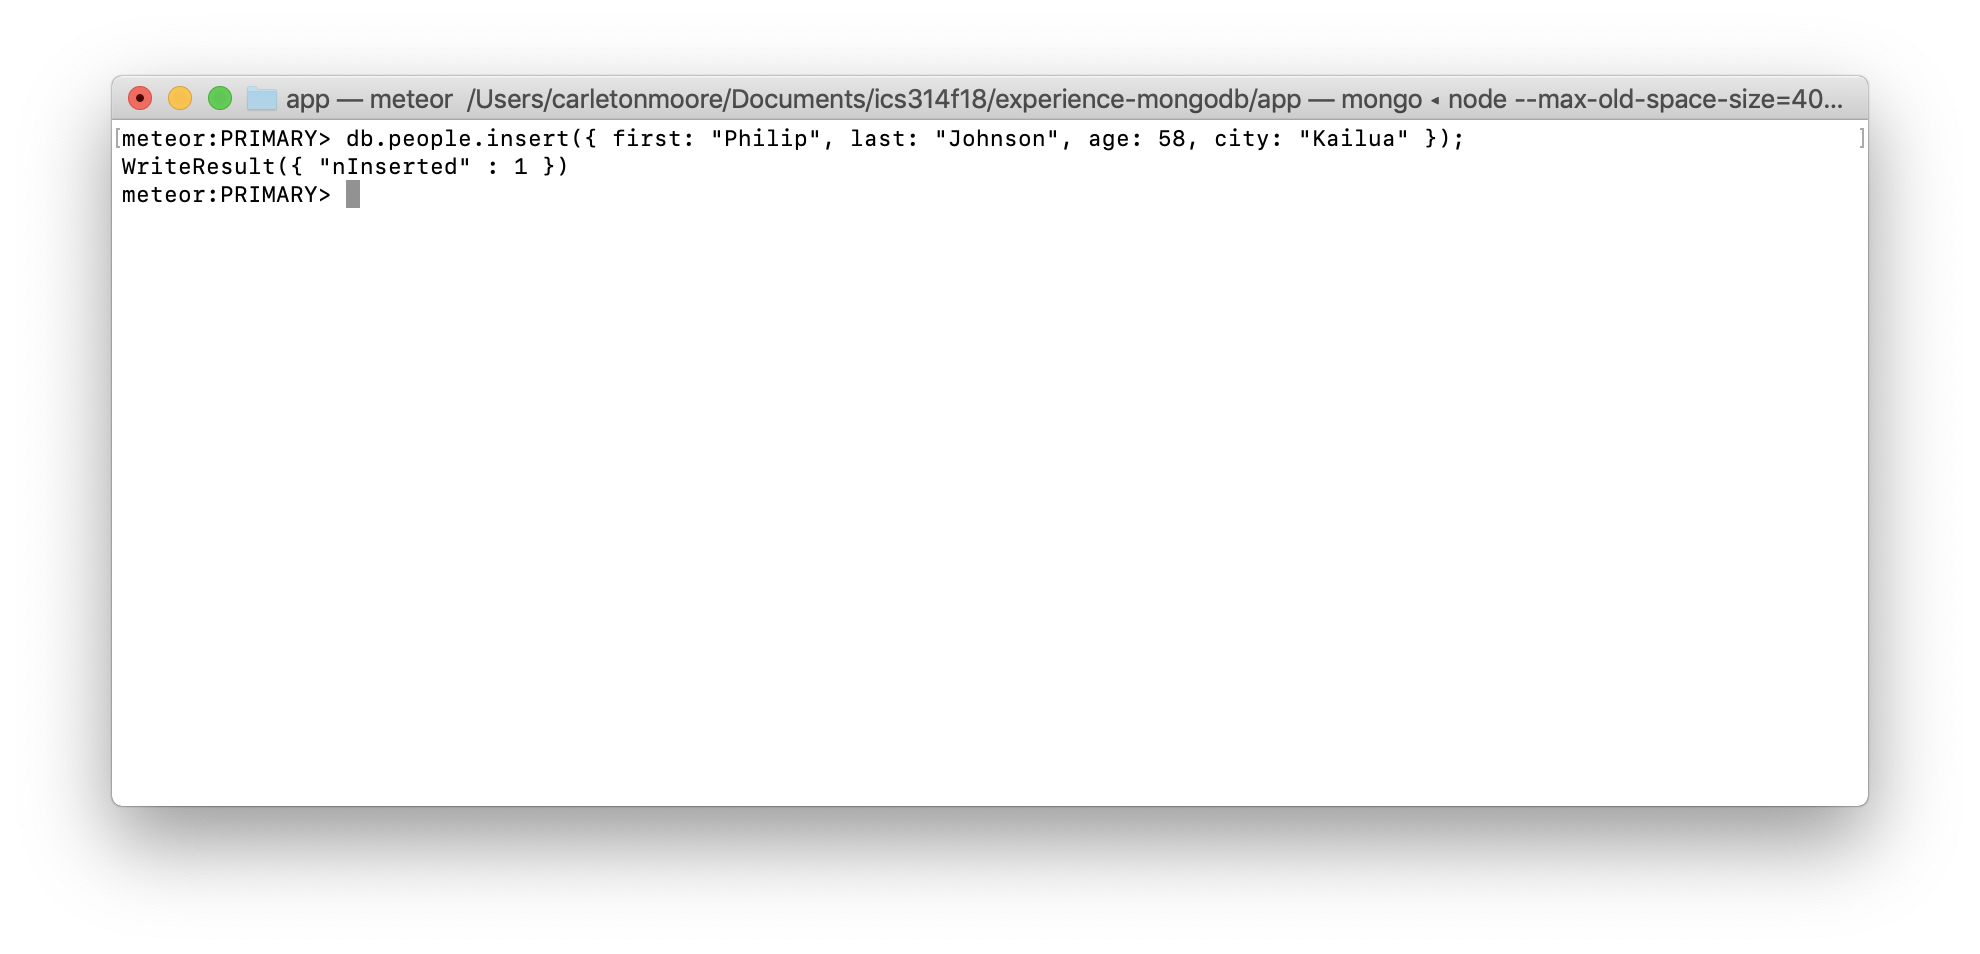
Now that we have a collection, let’s add some data to it. In Mongo, each element of a collection is called a “document”, and a document is basically (but not exactly) like a Javascript object. To add a document to a collection, you use the MongoDB insert function. An example invocation in the MongoDB shell is db.people.insert({ first: "Philip", last: "Johnson", age: 58, city: "Kailua" });. Try it. Here’s what should happen:
Task 5: Add some more documents
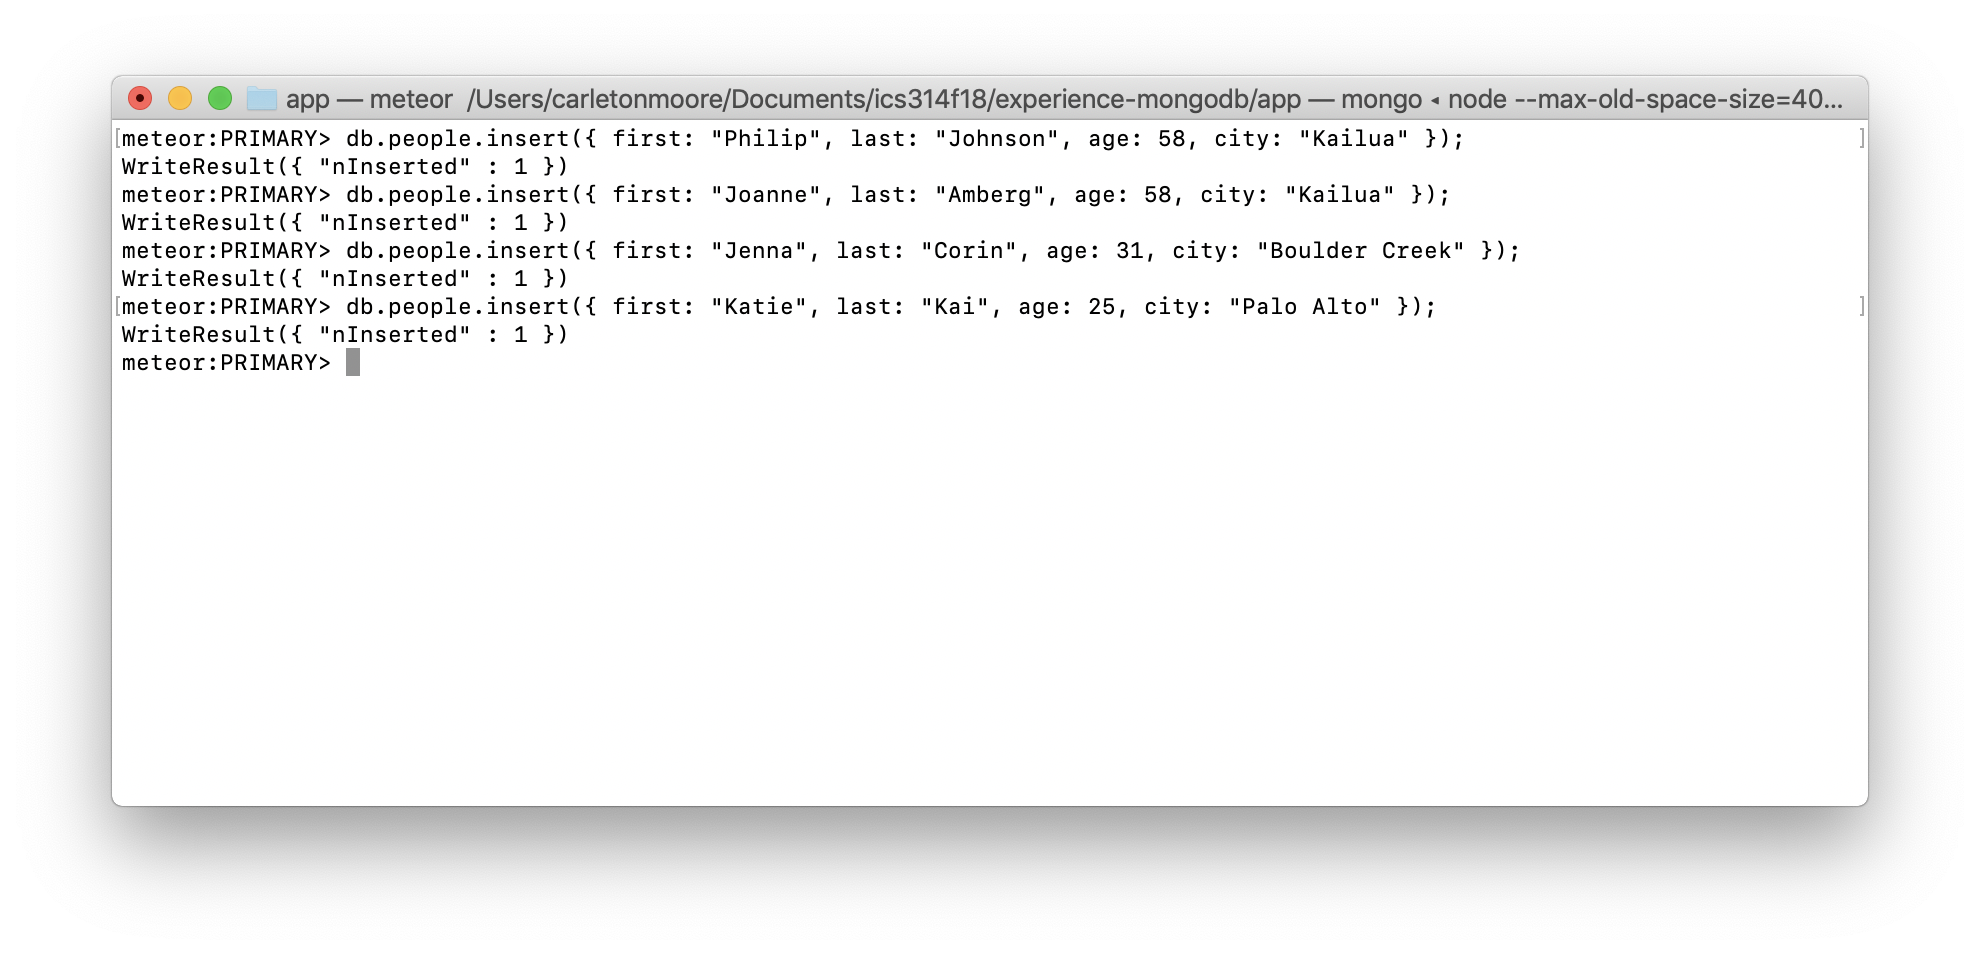
Now that you’ve seen how to add a single record, let’s add a few more. You can just copy and paste the following into your shell:
db.people.insert({ first: "Joanne", last: "Amberg", age: 58, city: "Kailua" });
db.people.insert({ first: "Jenna", last: "Corin", age: 31, city: "Boulder Creek" });
db.people.insert({ first: "Katie", last: "Kai", age: 25, city: "Palo Alto" });
Press return after you paste this code into your shell. Here’s what should happen:
Task 6: Retrieve documents with find()
The find function is the primary way to retrieve data from Collections. Find takes two arguments, both optional. The first argument, called the “query”, specifies selection criteria. The second argument, called the “projection”, controls how results are returned. For example, the projection can specify which fields to return from the documents.
If you invoke find() with no arguments, then all of the documents are retrieved. For example, try invoking db.people.find();. Here’s what should happen:
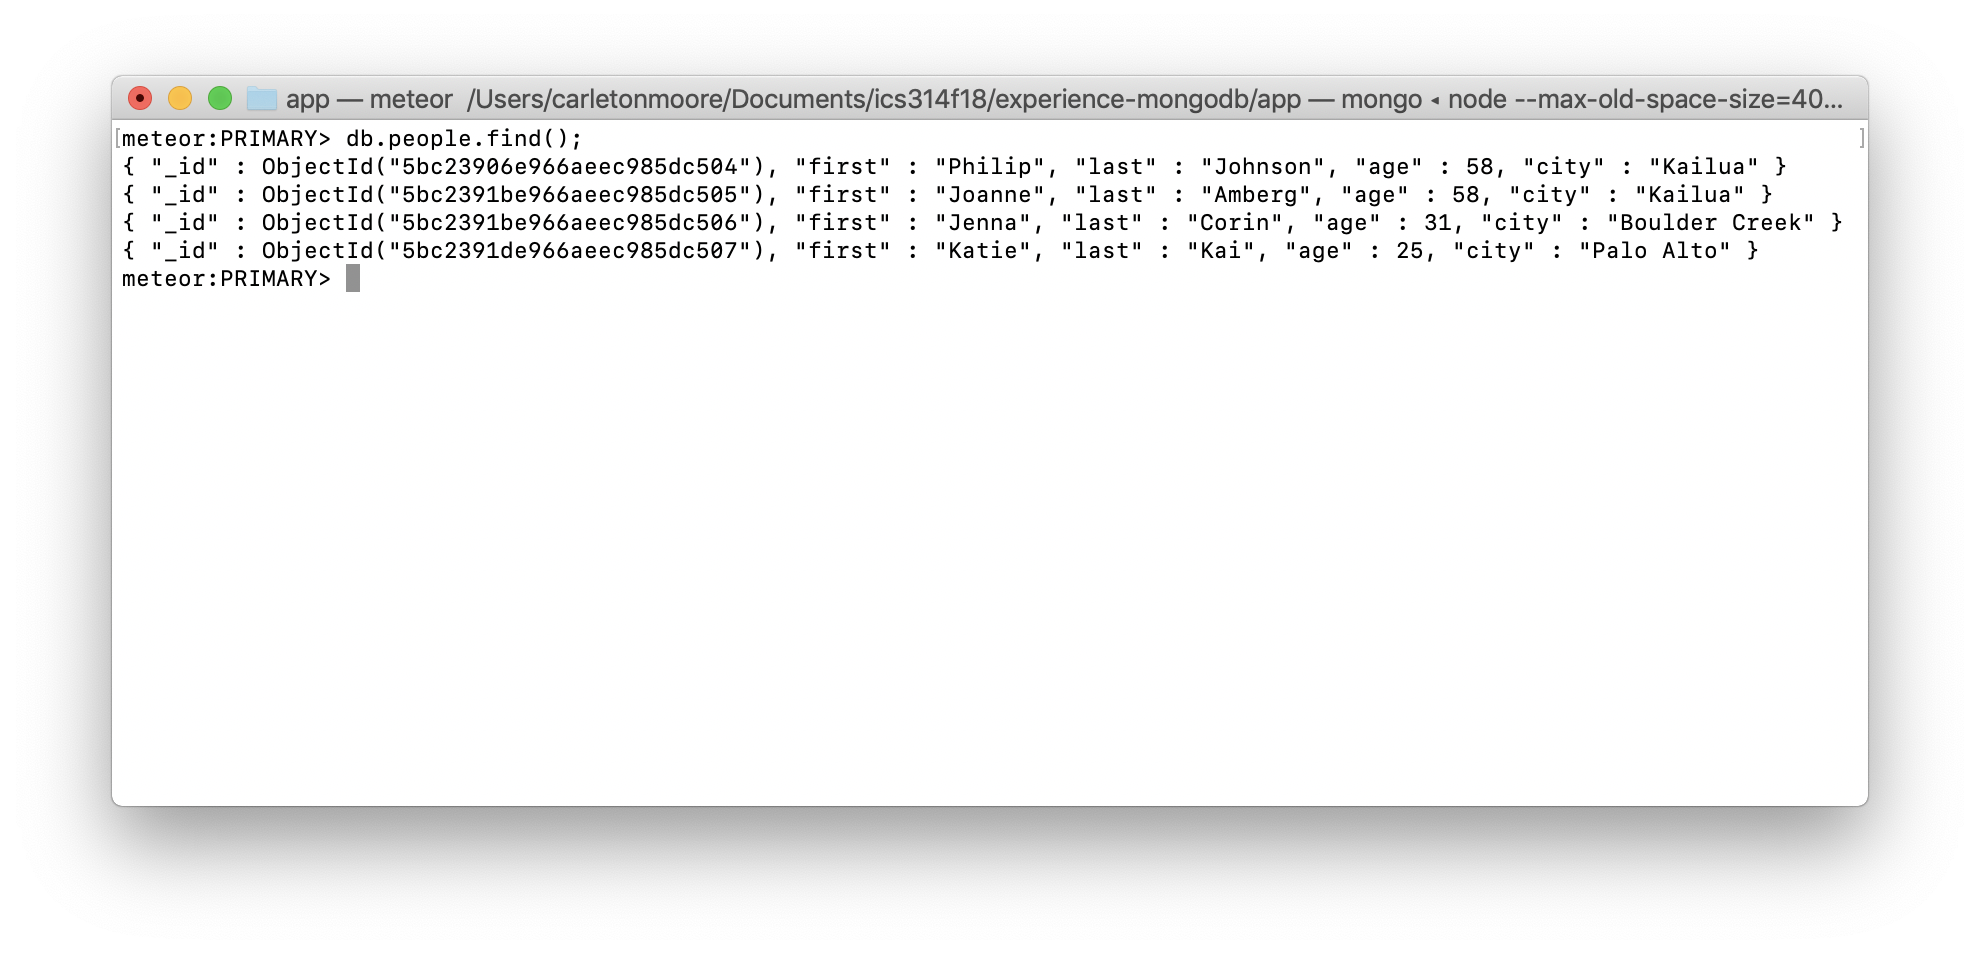
One thing you can see from this result is that MongoDB implicitly creates a field called “_id” which contains a unique ID for each document.
A simple way to retrieve a subset of documents is to provide a query object that specifies the field and value of interest. For example, to retrieve all of the documents which contain “Kailua” as the city, use db.people.find({ city: "Kailua" });. Try it. Here’s what should happen:
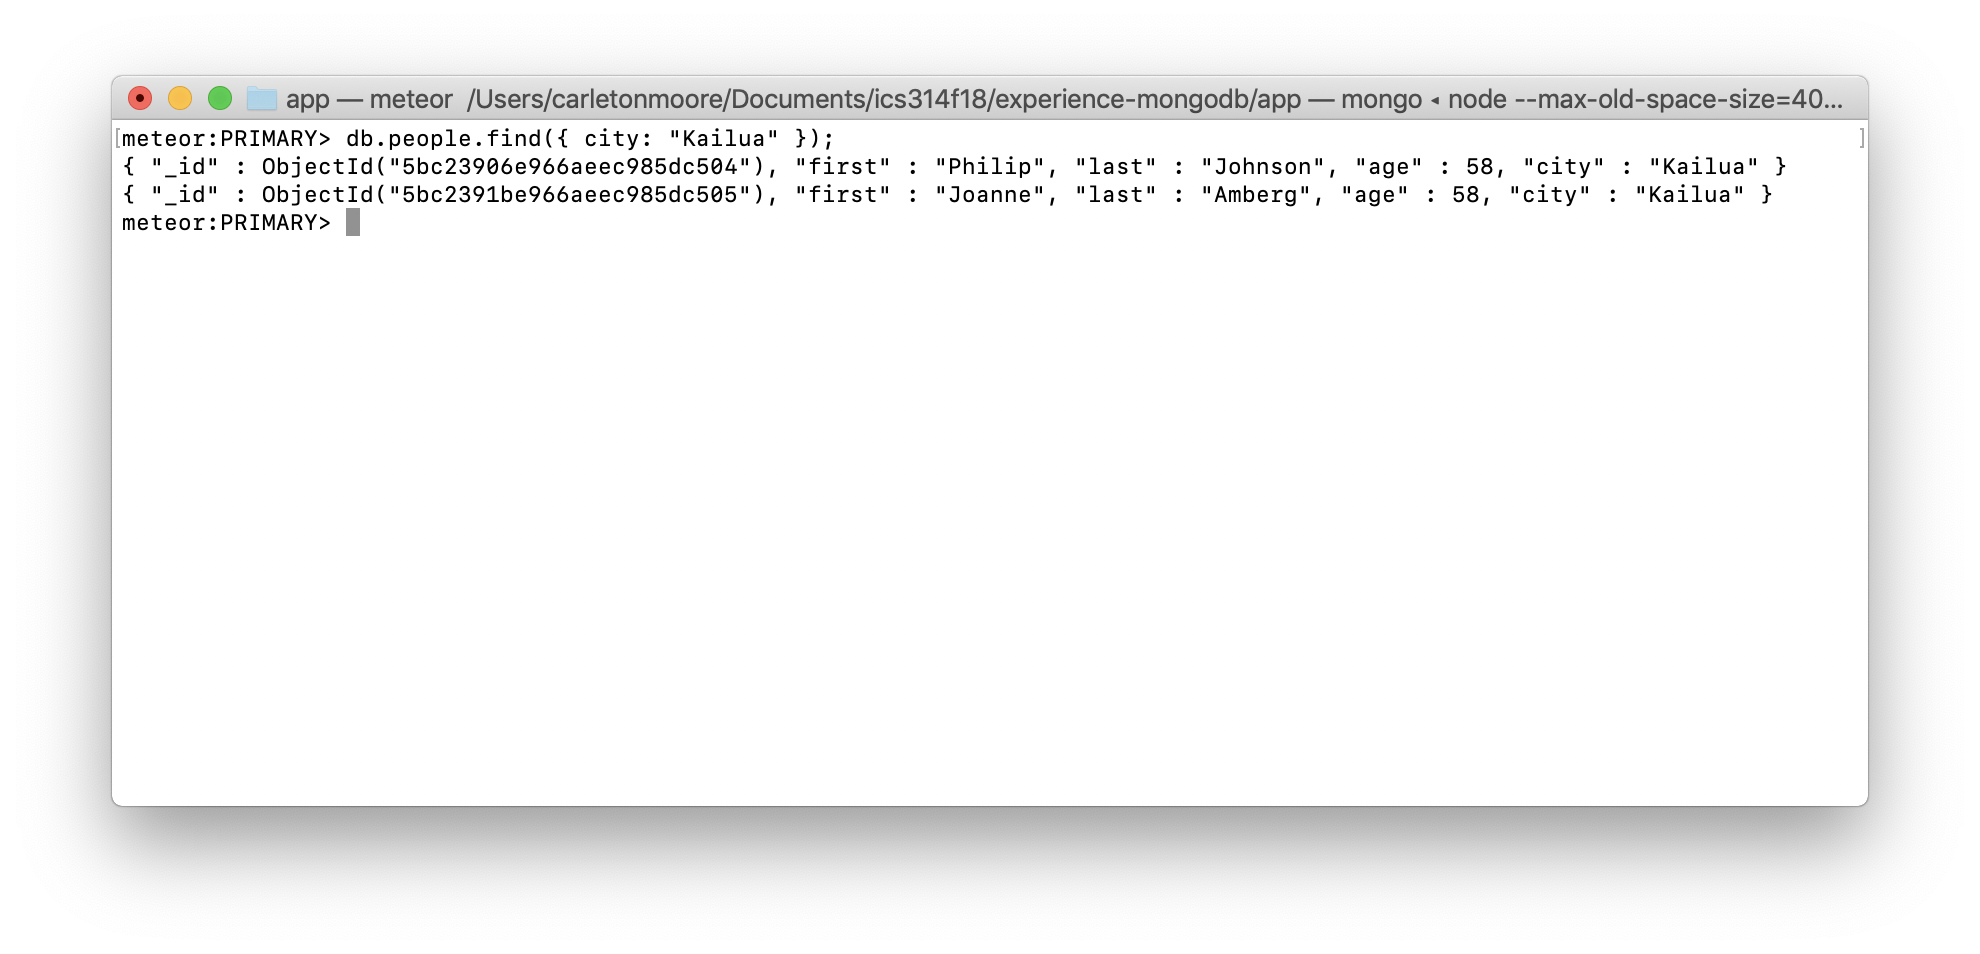
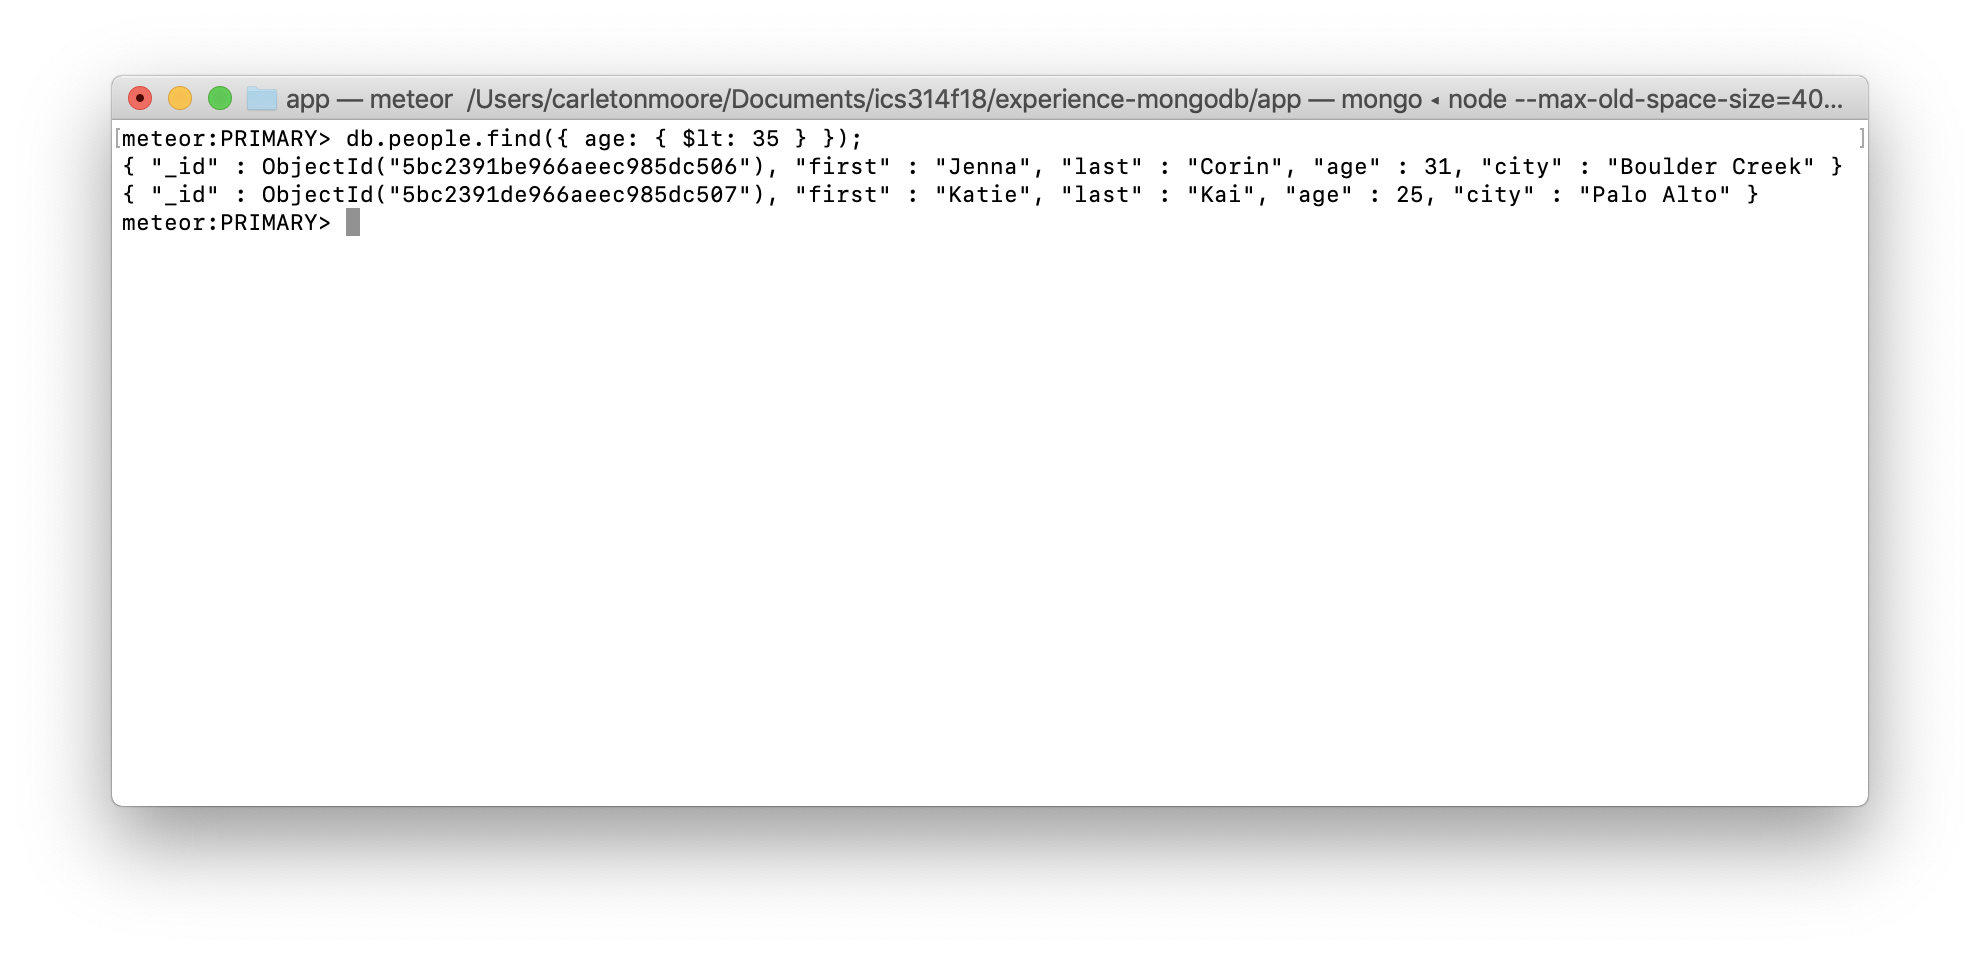
If you provide a string value for a field, as we did above, then that string must match the field’s value exactly. You can also provide an object s the value for a field to specify a constraint that the document should satisfy in order to be returned.
For example, to retrieve all documents with people younger than 35, you can use db.people.find({ age: { $lt: 35 }});. Try it. Here’s what should happen:
Task 7: Update an existing document
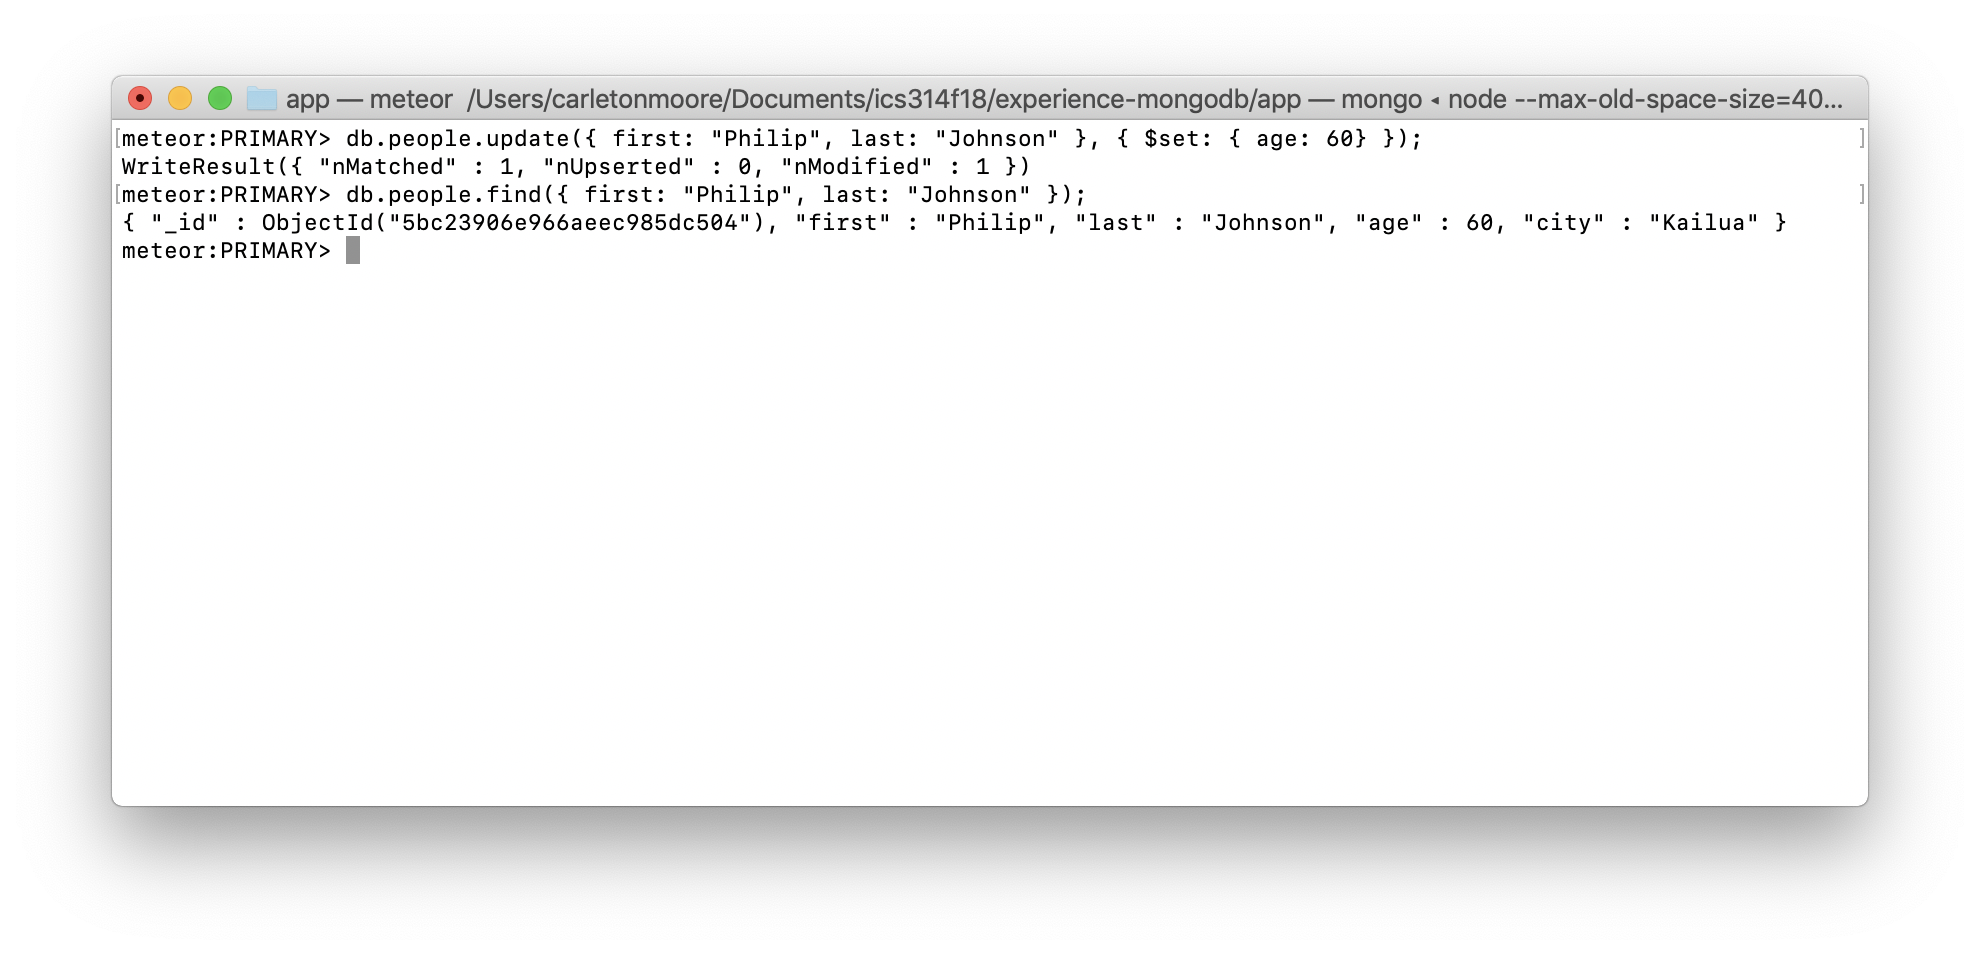
Use the update() function in combination with the $set operator to change the value of a field. For example, if Philip has a birthday, you might want to change his age with db.people.update({ first: "Philip", last: "Johnson" }, { $set: { age: 60} });. The first argument selects the document associated with Philip Johnson, and the second argument specifies the new field values.
Then you can do a db.people.find({ first: "Philip", last: "Johnson" }); to verify that his age is changed. Try these out yourself. Here’s what should happen:
Task 8: Delete a document
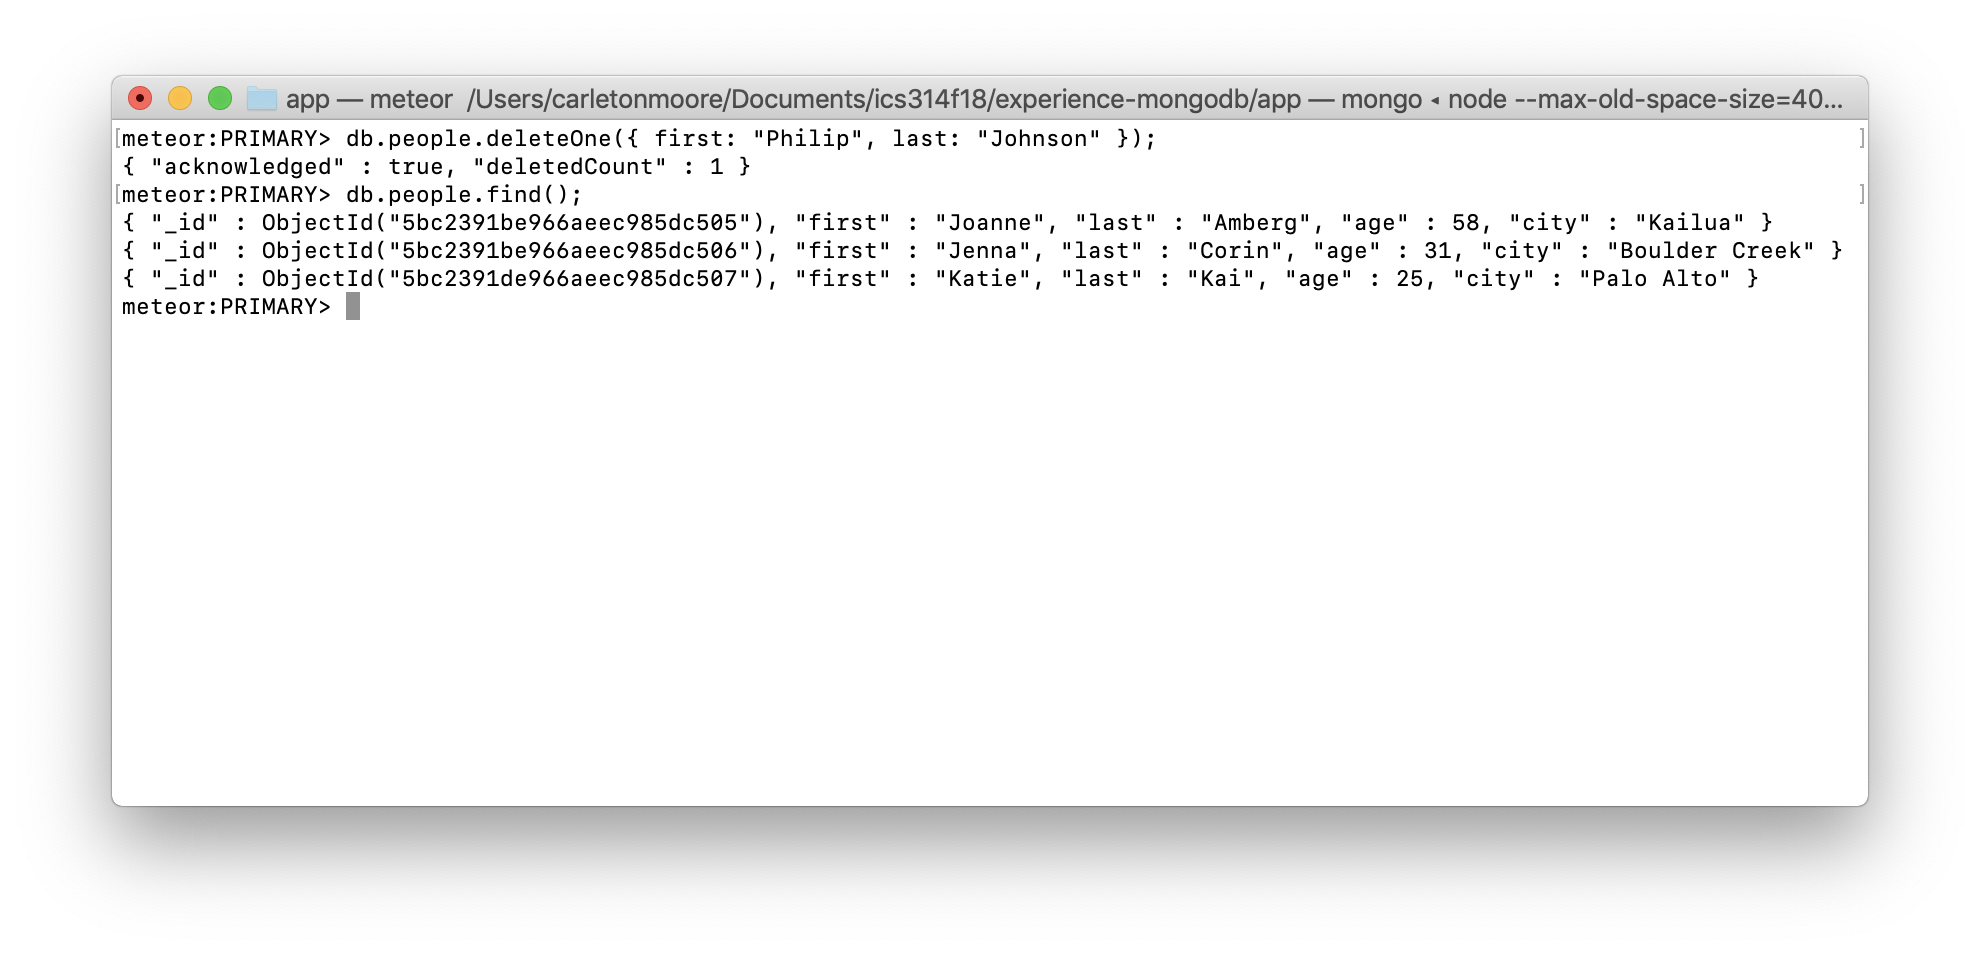
Let’s get rid of Philip with db.people.deleteOne({ first: "Philip", last: "Johnson" });. You can then verify that Philip is no longer in the collection with db.people.find();. Try it. Here’s what should happen:
Task 9: Expand your understanding
Now you know the very basics of MongoDB: how to create a collection, and how to insert, find, update, and delete documents.
There are a gazillion different functions and parameters you can invoke on MongoDB collections, which will slice and dice your data in every conceivable way. The MongoDB collection documentation provides a reference guide.
For this final task, implement the following:
- Add two more documents to the collection.
- Find and return all the documents in the people collection, sorted by last name. (See MongoDB find documentation on sort) for the syntax.)
- Try to add the following document to the people collection:
{ species: "canis lupus", location: "Boulder Creek" }. Does it succeed? Why?
Summary
Hopefully you now have a basic idea of how to manipulate data in MongoDB. You also now know how to access the server-side database that is created while developing a Meteor application. That will come in handy.
However, it is important to note that the syntax used to manipulate your MongoDB database in the shell is slightly different from the Javascript syntax you will use when developing your Meteor apps (although the basic ideas won’t change). We will learn more about these syntax differences in the next experience for this module.
Submission instructions
By the time and date indicated on the Schedule page, submit this assignment via Laulima. To submit, please cut and paste your entire MongoDB session (tasks 3-9) into the Laulima text field.