Homework Assignment #5 [0 pts]
How to turn in?
Assignments need to be turned in via Lamaku
What to turn in?
You must turn in a zip archive named ics312_hw5_xxx.zip, where “xxx” is your UH user name (e.g., for me, it would be ics312_hw5_henric.zip). The archive must contain a single top-level directory called ics312_hw5_xxx, where “xxx” is your UH user name (e.g., for me, it would be ics312_hw5_henric). In that directory you must have all the files named exactly as specified in the questions below.
Expected contents of the ics312_hw5_xxx directory:
- rgb2ascii.asm: code for Exercise #1
- rgb2lumhist1.asm: code for Exercise #2 (Question #1)
- rgb2lumhist2.asm: code for Exercise #2 (Question #2)
- asm_io.asm: I/O functions source code
- asm_io.inc: I/O include file
- driver.c: C driver
- Makefile: A makefile that compiles all your programs into executables (we must just be able to type “make” and generate all your executables). See this page for how to have a makefile compile multiple executables. We will only grade those executables that are generated by typing “make”.
Software to install (on your Linux box)
The goal here is to have access on your system to an executable called png2rgb, which I implemented for you.
If you are running Docker, nothing to install
If you are running on UHUNIX, nothing to install: The png2rgb should be in your path.
If you are running your own Ubuntu machine / virtual machine: Then you need to follow the steps below:
I have developed a small software package that you must install on your Linux box for this assignment. It is hosted in a github repo, and is installed in the standard way for open-source software for Linux. Specifically, in a terminal on your Linux box do the following commands:
sudo apt update
sudo apt install cmake
sudo apt install libjpeg-dev
sudo apt install libpng-dev
cd /tmp
git clone https://github.com/henricasanova/rgbimageops.git
cd rgbimageops
mkdir build
cd build
cmake ..
make
sudo make install
cd
If any command fails, contact the instructor/TA for help. In case you’re curious, here is what each command does:
sudo apt update: update package listsudo apt install cmake: install the cmake package (Makefile generator)sudo apt install libjpeg-dev: install the libjpeg library (Jpeg file manipulation)sudo apt install libpng-dev: install the libpng library (PNG file manipulation)cd /tmp: go to the /tmp directorygit clone ...: check out a copy of my rgbimageops github repocd rgbimageops: go into the checked out copymkdir build: create a build directorycd build: go to itcmake ..: generate a Makefilemake: Invoke the generated Makefile to buildsudo make install: Install the executables in the /usr/local/bin directorycd: go back to your home directory
Checking that it works
Once you’ve done the above (or perhaps even nothing), you will have access to the png2rgb executable. To check that it all works you can try invoking png2rgb on the command-line (without “./” in front) and see if you get some output (i.e., not a “command not found” error, but some “Usage: …” message).
Exercise #1: PNG to ASCII art [0 pts]
Overview
In this exercise we develop a program that displays an image as ASCII art in the terminal. The input to the program is a set of integers (one per line). The first two integers are the image width and height measured in pixels. For each pixel, listed by rows, the input then has 3 integers: Red, Green, and Blue (known together as the pixel’s RGB values). Each RGB integer is between 0 (darkest) to 255 (lightest). For instance, a (0,0,0) RGB value is “black”, while a (0,200,200) RGB value is some kind of “turquoise” and a (255,255,255) RGB value is “white”.
To make this exercise easier you have installed above the png2rgb program. This program takes two command-line arguments, a path to a PNG image file and a desired maximum width (this second argument is optional). It outputs (on stdout) and image width, and image height, and RGB values for each pixel in the output image (one integer per line) in row-major order (i.e., listing rows after rows of pixels). In other words, it produces the exact input that the program you must write in this exercise needs. PNG is a popular image file format that uses lossless compression (unlike Jpeg), and is thus often used for image processing tasks.
Converting RGB values to ASCII characters
As we explained above, each pixel is described by three integers, the RGB values. The luminance of the pixel is defined as the sum of these three integers and can be used to convert a color image to a grayscale image. To convert from grayscale to ASCII art, we simple assign ASCII characters to grayscale ranges. The luminance of a pixel is a number between 0 and 255*3=765. To create our ASCII art we use use 9 ASCII characters: period, backtick, comma, colon, lower case i, lower case l, lowercase w, uppercase x, uppercase w. If the luminance of a pixel if between 0 and 84 then we print ‘.’ in the terminal, if it is between 85 and 169 then we print ‘`’, … if it is between 680 and 765 (inclusive) then we print ‘W’. (Note that the last range is larger by 1 item, which you need to handle in your program.)
Because in typical terminal fonts a character’s height is larger than a character’s width, for each pixel your program should actually print the corresponding character twice. For instance, for a 2-by-2 image, which is described as (say entered by the user on the keyboard once your program has started):
2
2
100
100
230
50
60
10
250
250
250
1
50
2
its ASCII art version should be as follows (2 4-character rows):
ll``
WW..
On a 2x2 image it is hard to see anything (although it’s useful for debugging). But on larger input, as long as you zoom out and/or reduce the font size in the terminal, the result can be quite pleasing. For instance, here is an example PNG image on the left and the resulting ASCII art on the right:
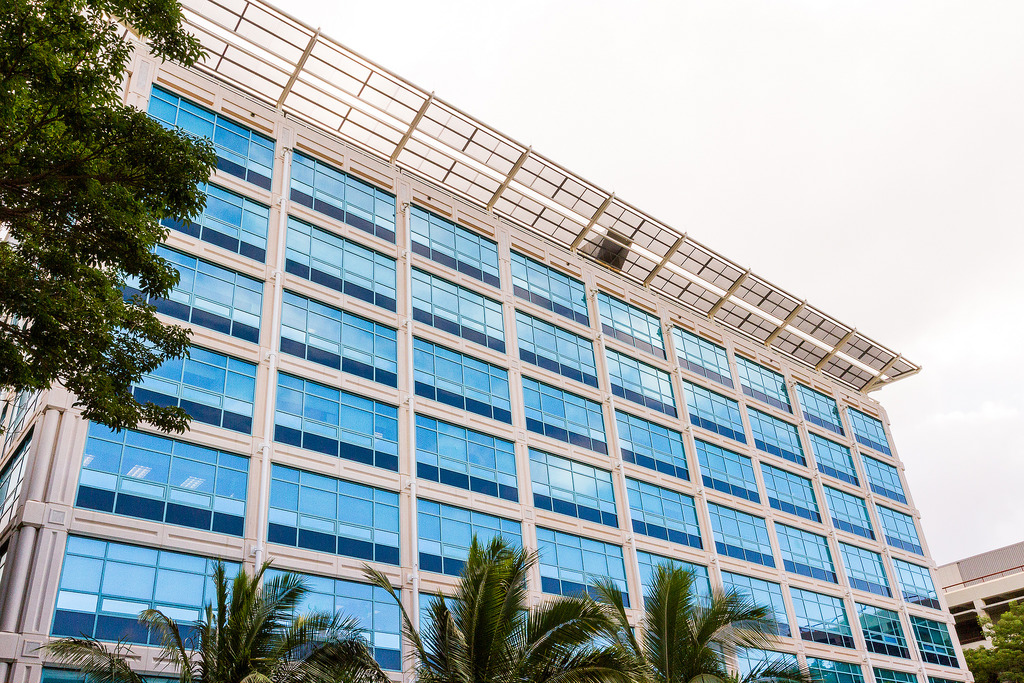 Click for larger view |
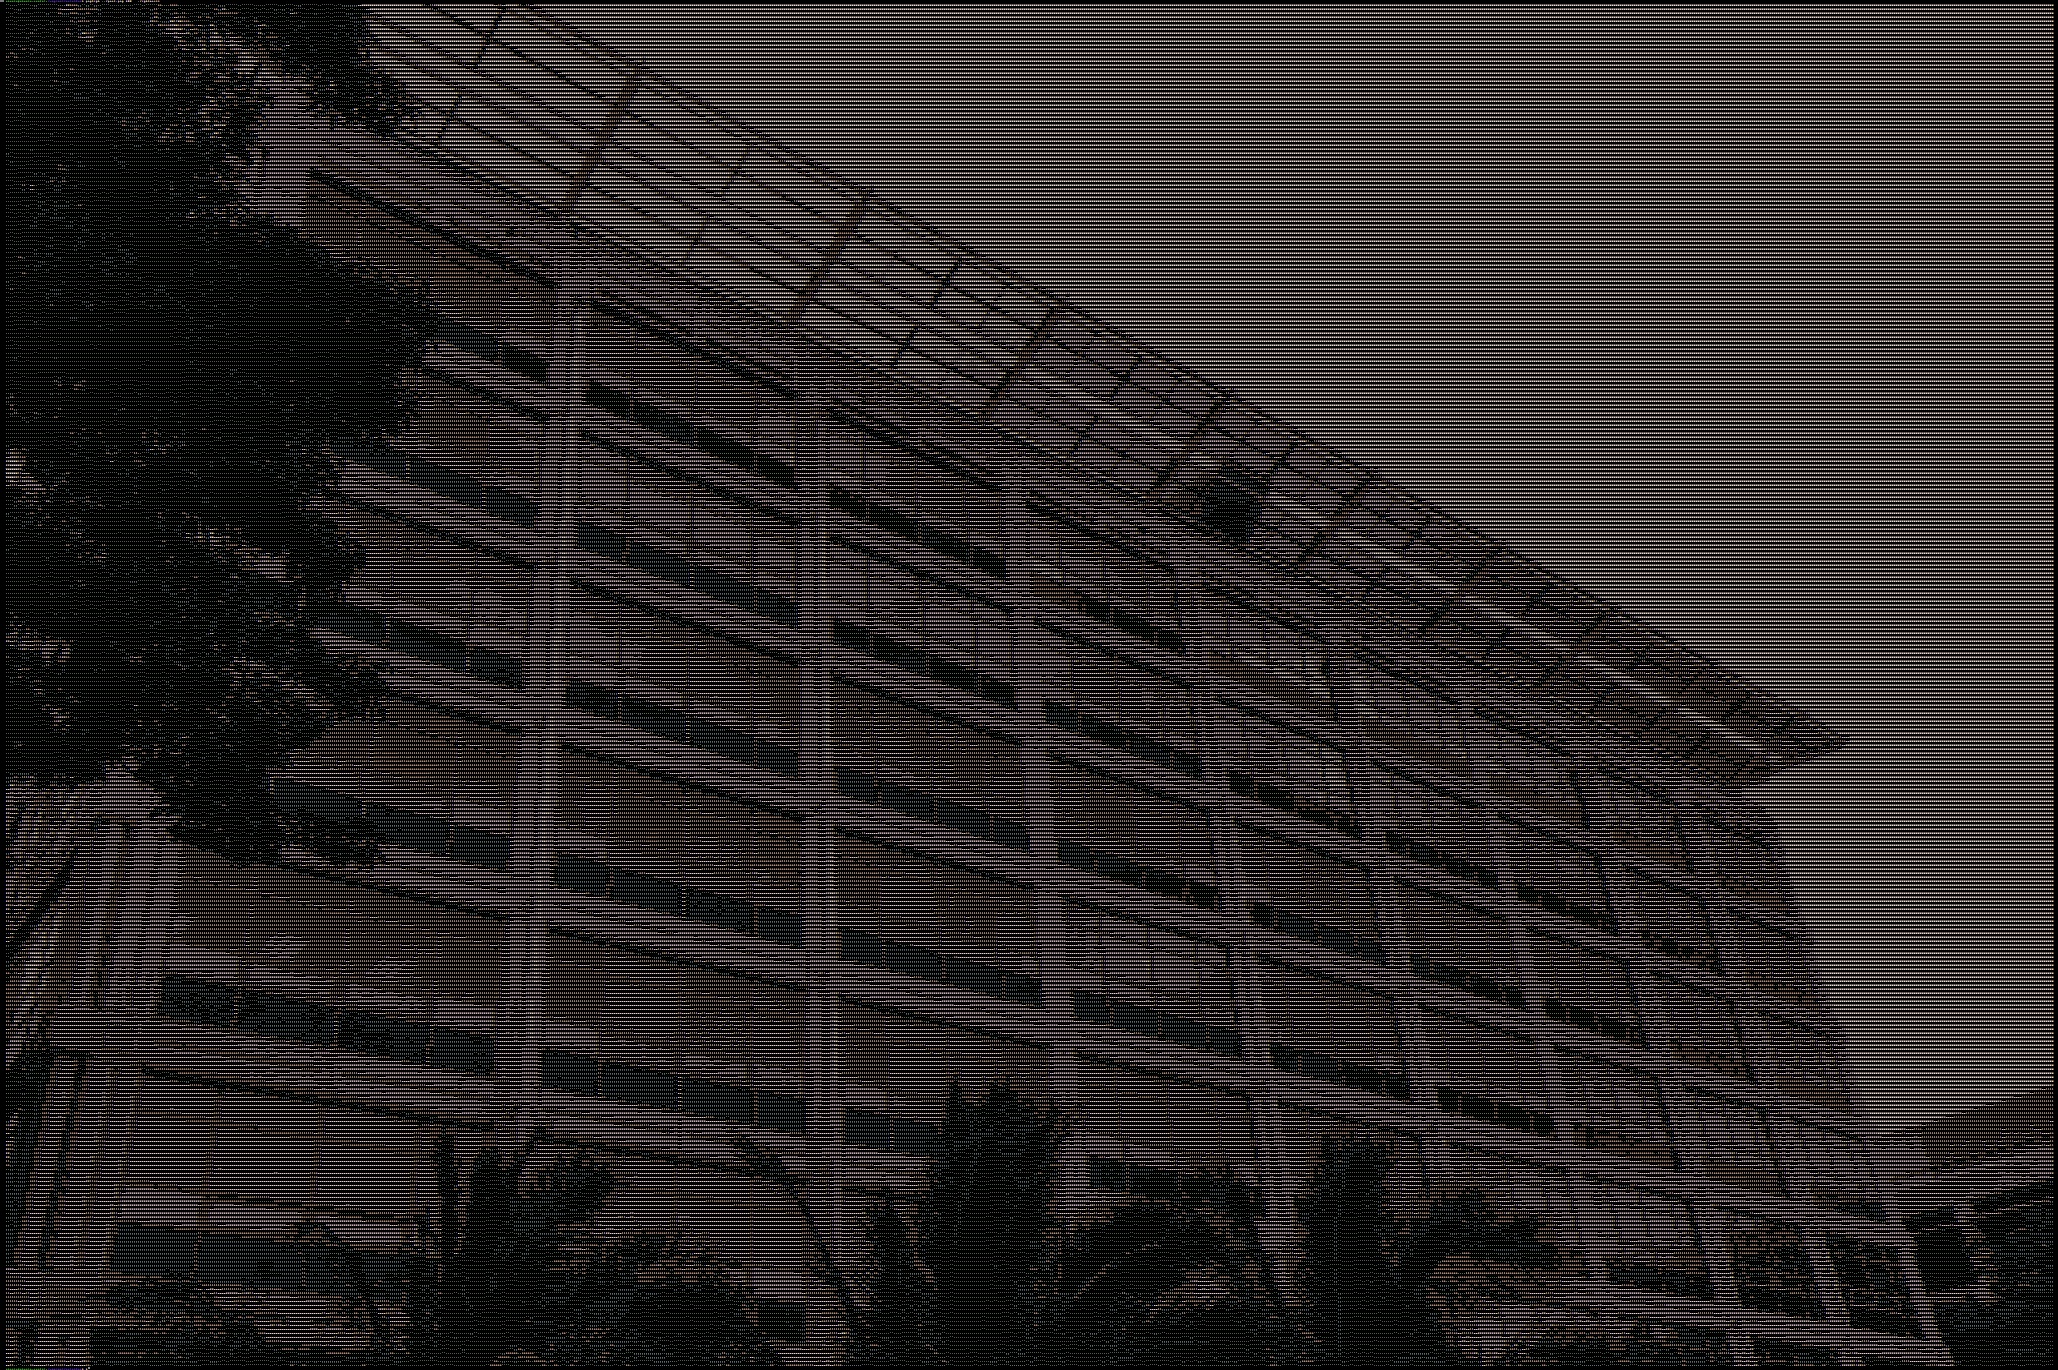 Click for larger view |
It is not practical to manually type on the keyboard all integers that describe a large image (for an n by m image, that would mean typing 2 + 3 * n * m integers!). Instead, we’ll simply “pipe” the output produced by png2rgb to your program using the Linux command-line pipe operator (‘|’). See examples later on.
The configuration of your terminal highly impacts the look of the ASCII art (background color, text color, font). So your ASCII art could be different from what is shown on this page, which is fine as long as the ASCII output is correct.
Question #1: Develop rgb2ascii [45 points]
You goal is to develop a program called rgb2ascii (code in rgb2ascii.asm) that, given an image’s RGB content, produces the ASCII art version of it. The input to your program is produced by the png2rgb program. For instance, assuming an image file path /tmp/some_image.png, ASCII art, with a width of (at most) 200 pixels, would be displayed by the following command:
png2rgb /tmp/some_image.png 200 | ./rgb2ascii
The pipe (|) operator above simply takes the output from the command to the left of it and feeds it as input to the command to the right of it.
To help you test whether your program produces the correct output you are provided below with a few test cases. For each test case the command-line to generate the ASCII output is given (a screenshot of the ASCII output is shown to the right of the original image, and the ASCII output itself can be downloaded for you to check your output against it):
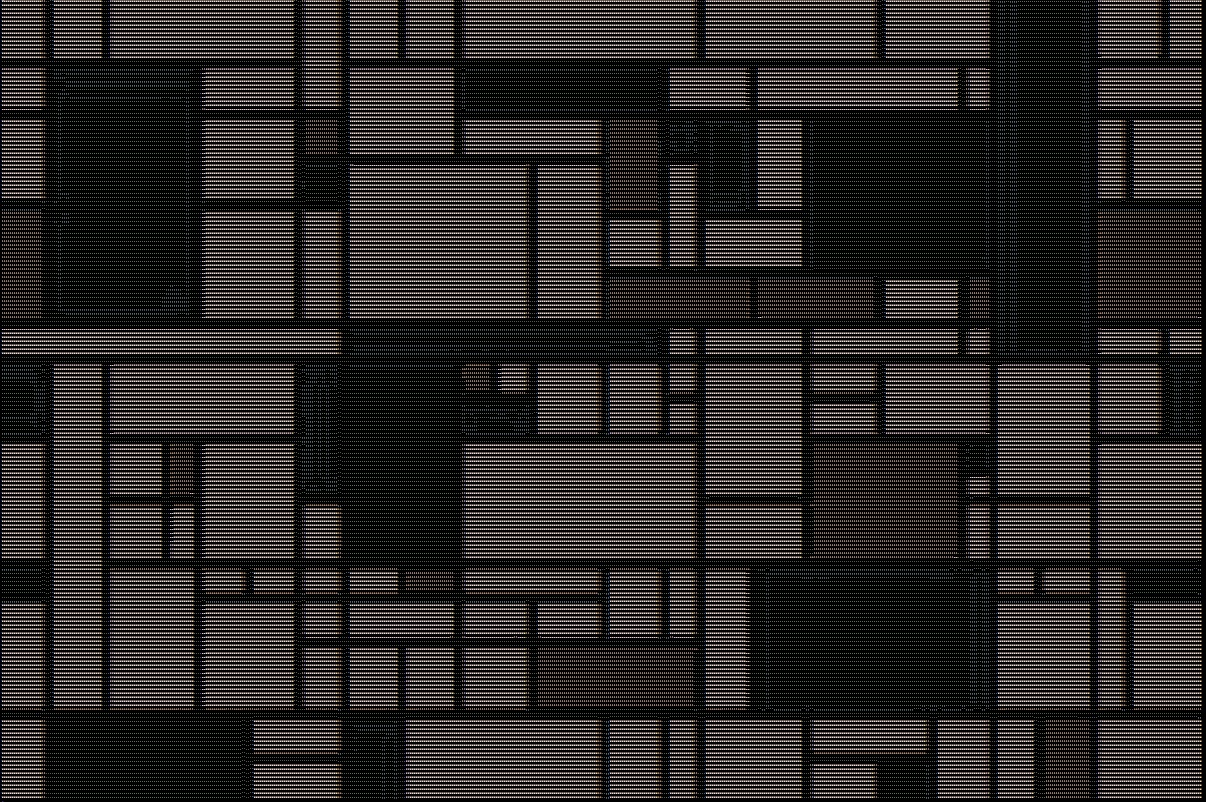
png2rgb jungle.png 50 | ./rgb2ascii > jungle_ascii_50.txt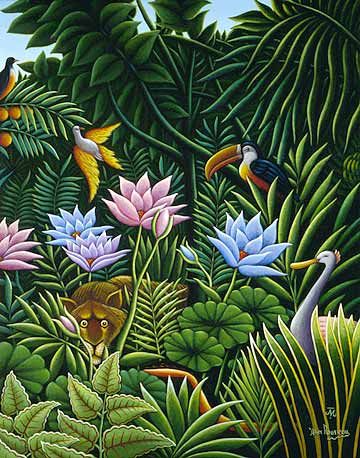 |
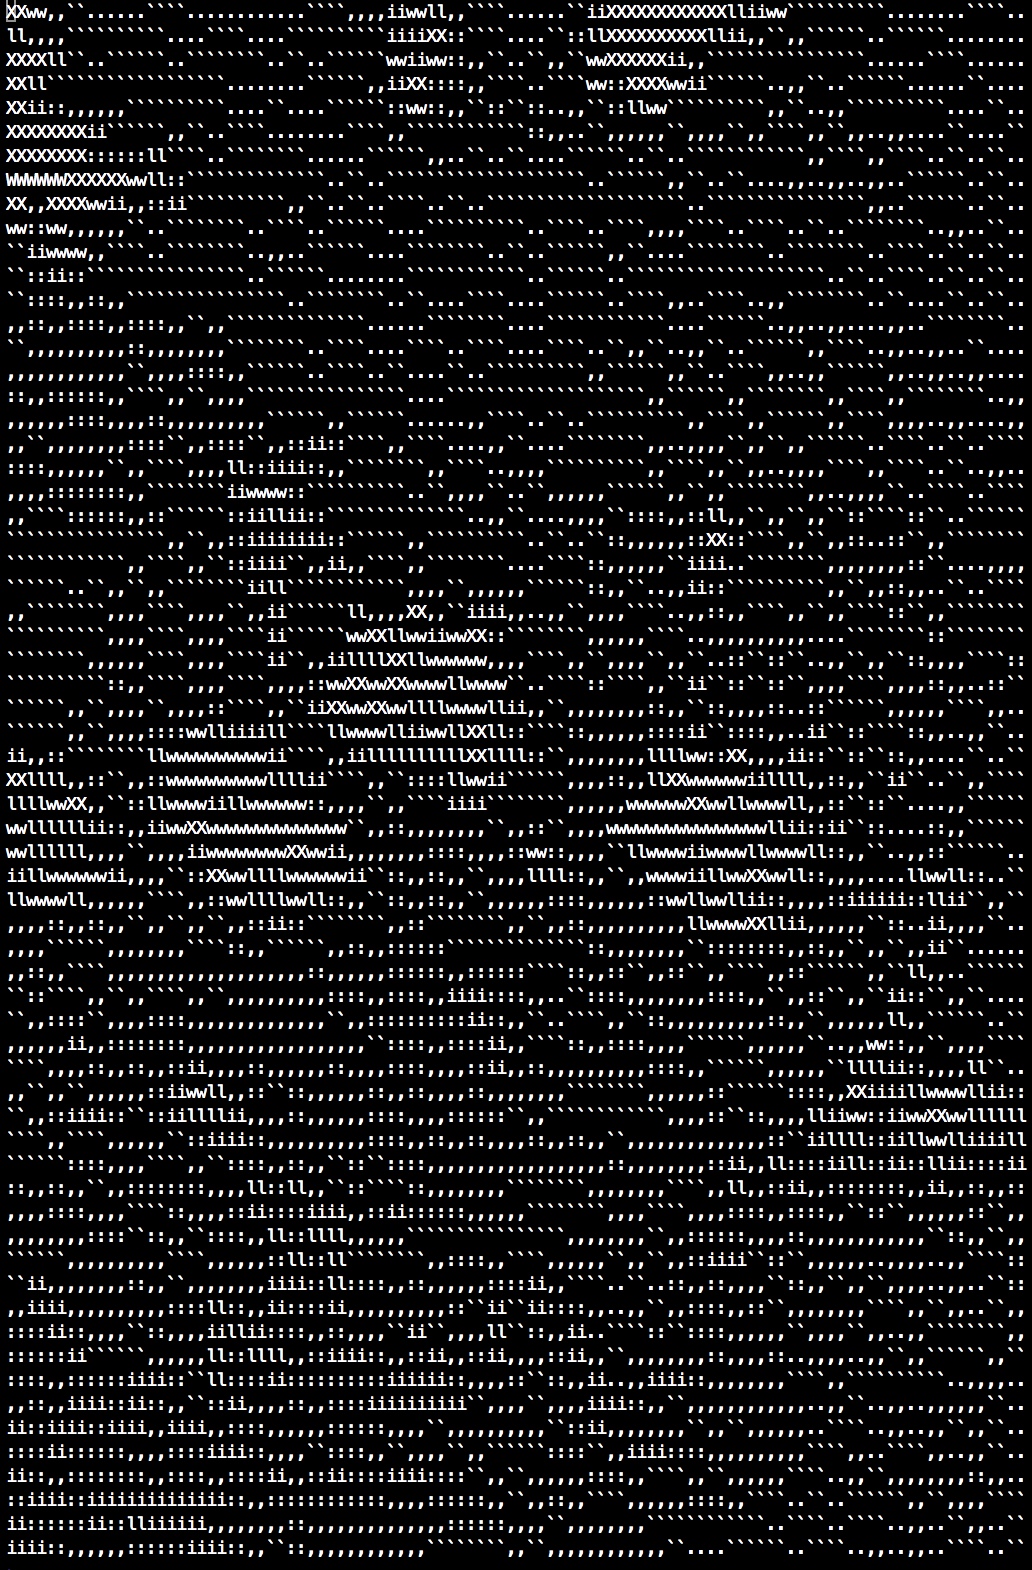 |
|
| [jungle_ascii_50.txt] |
png2rgb jungle.png 400 | ./rgb2ascii > jungle_ascii_400.txt |
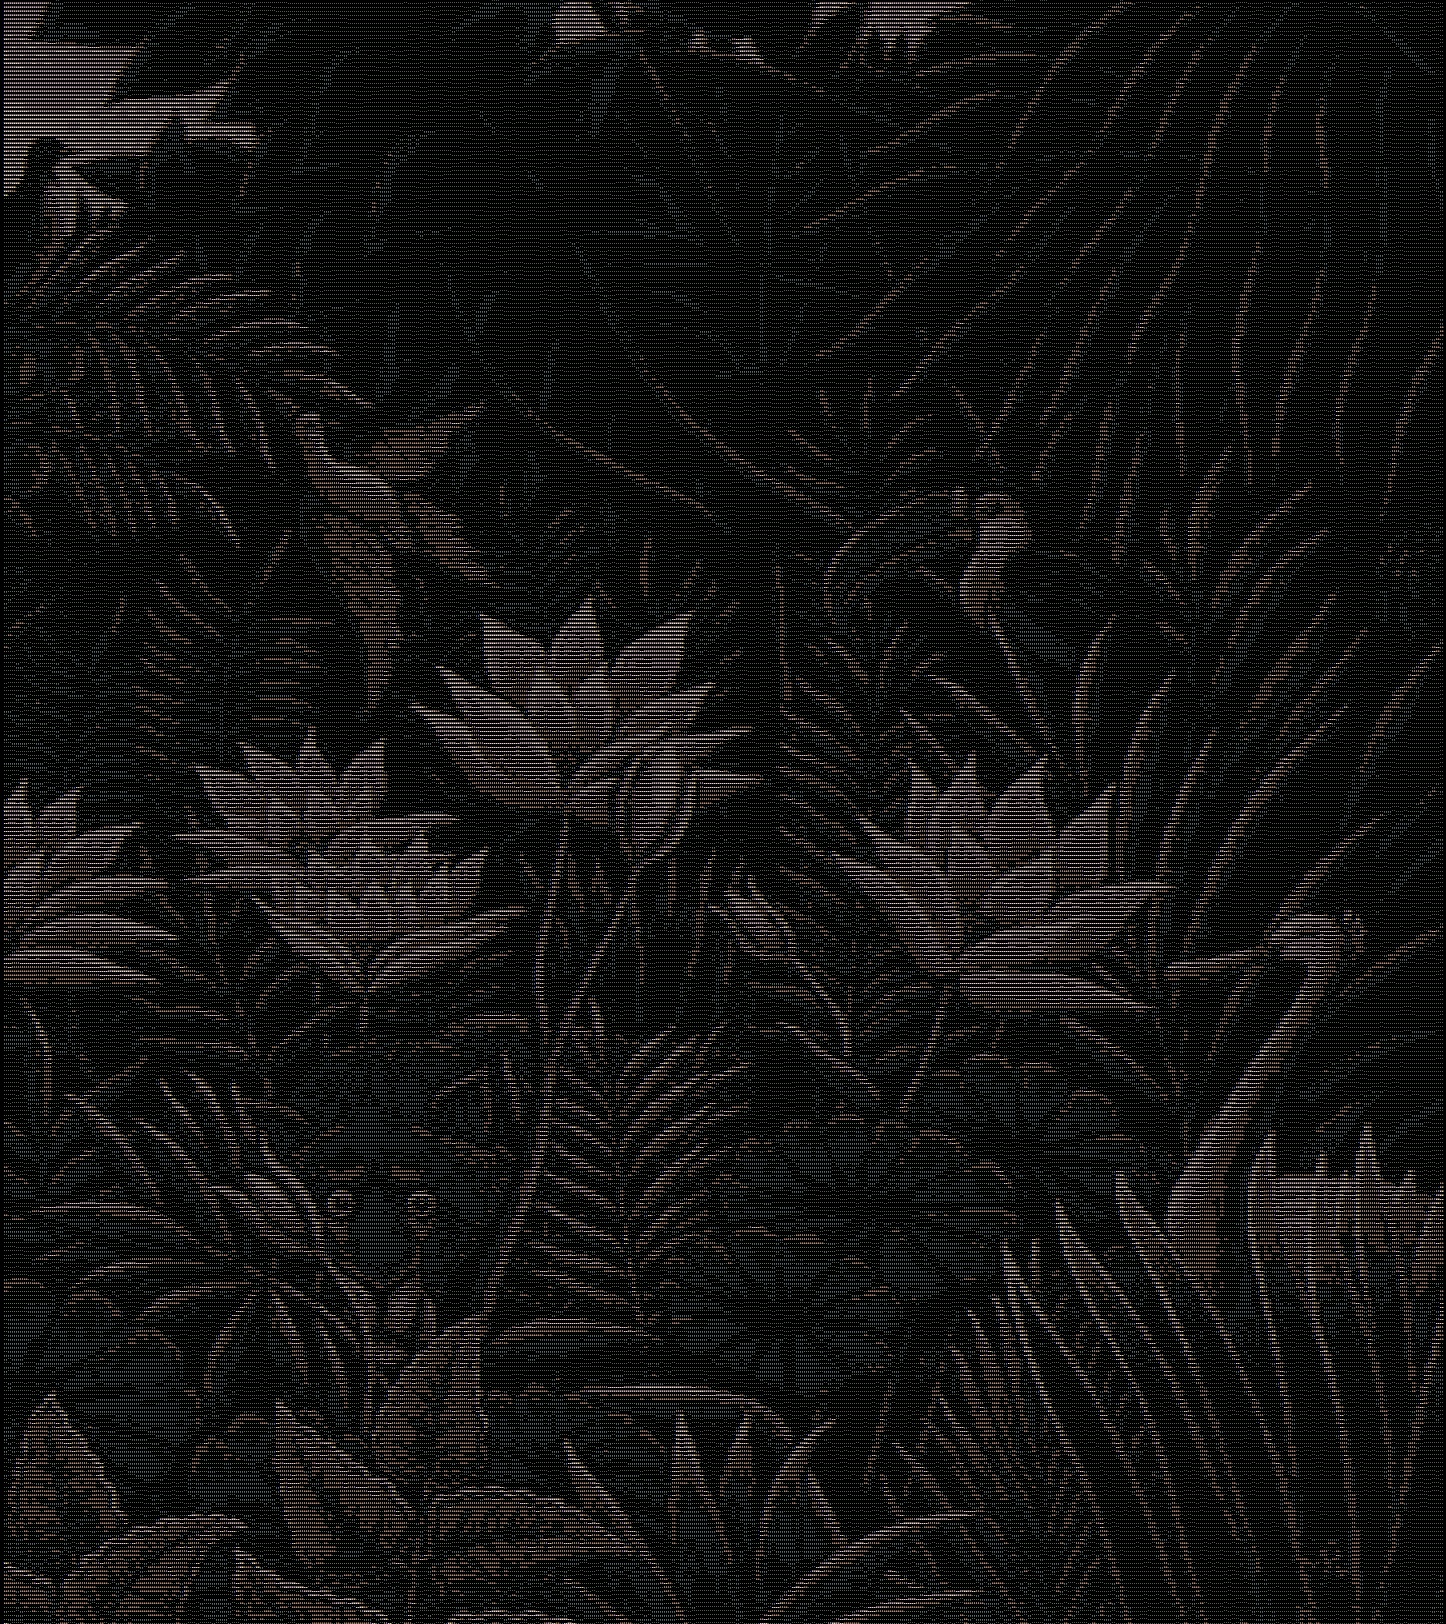 |
|
| [jungle_ascii_400.txt] |
png2rgb mondrian.png 300 | ./rgb2ascii > mondrian_ascii_300.txt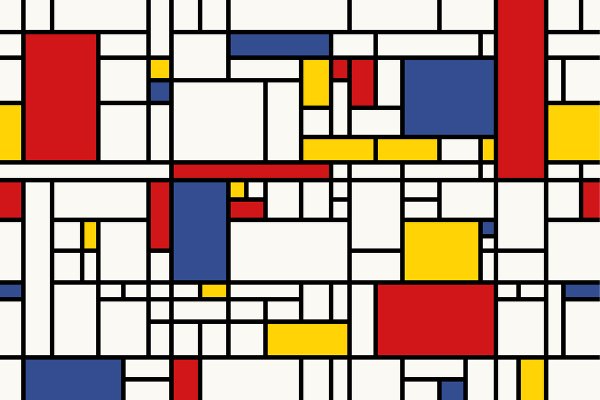 |
 |
|
| [mondrian_ascii_300.txt] |
png2rgb mantisshrimp.png 500 | ./rgb2ascii > mantisshrimp_ascii_500.txt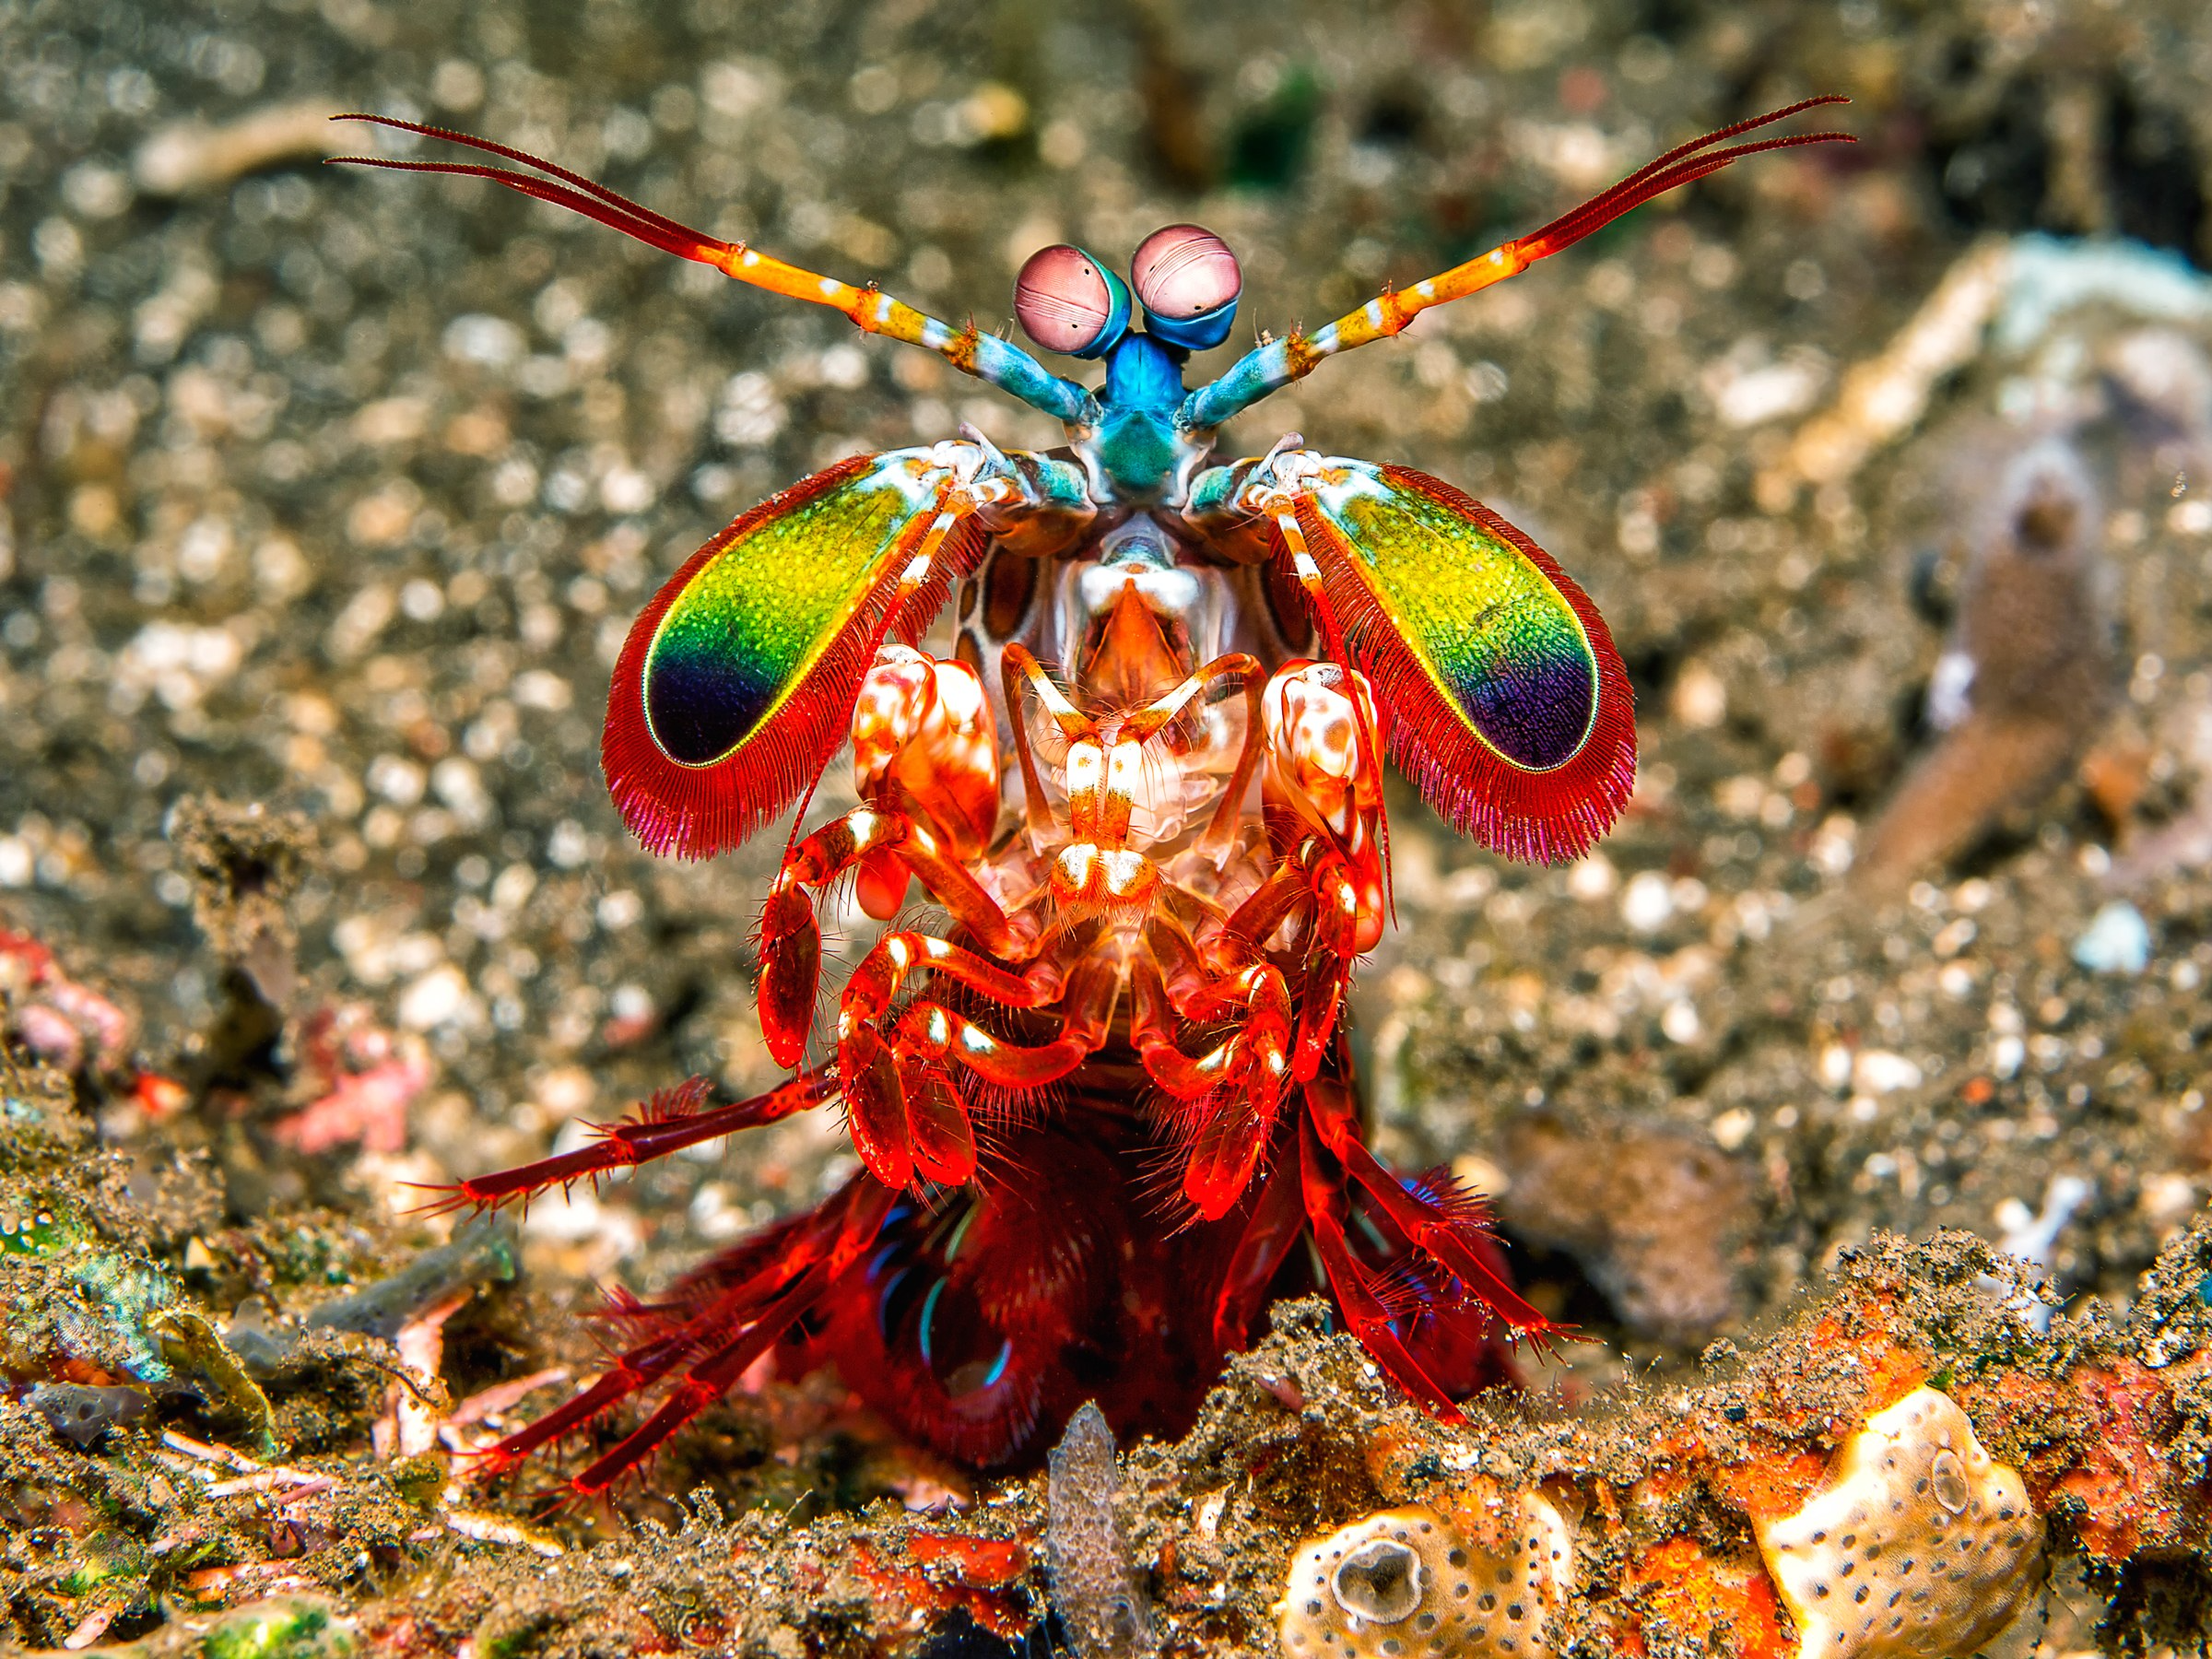 |
 |
|
| [mantisshrimp_ascii_500.txt] |
png2rgb sunrise.png 350 | ./rgb2ascii > sunrise_ascii_350.txt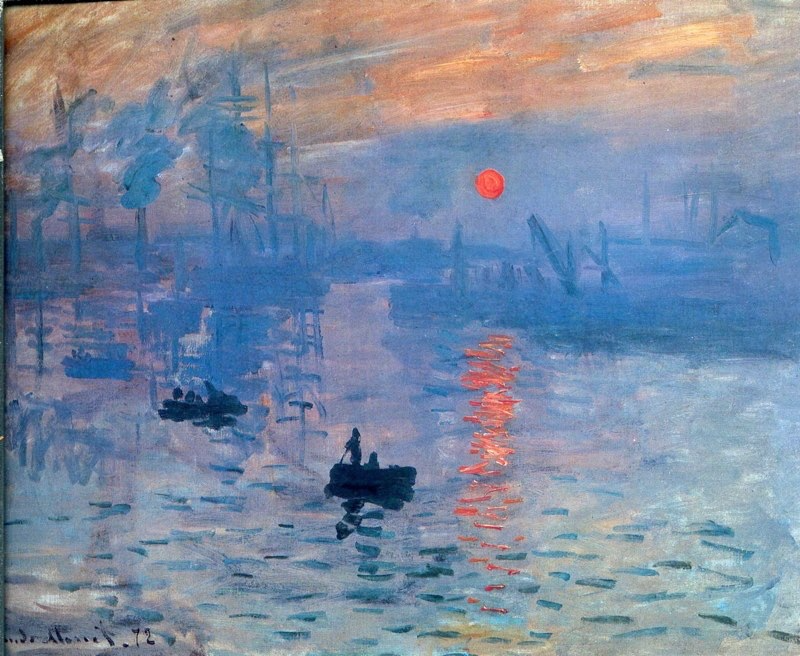 |
 |
|
| [sunrise_ascii_350.txt] |
To compare your own output to the reference output examples, you can use the diff command. Here is an example for the mantis shrimp example above, assuming you have downloaded the png (the colorful image) to a file called ./mantisshrimp.png and the reference ASCII output as a file called mantisshrimp_ascii_500.txt in the current directory. The wget command is useful to download files from the command-line! (sudo apt install wget)
png2rgb mantisshrimp.png 500 | ./rgb2ascii > my_output.txt
diff my_output.txt mantisshrimp_ascii_500.txt
If the above doesn’t produce any output, it means that files my_output.txt and mantisshrimp_ascii_500.txt are identical, i.e., your code is correct. Otherwise diff will print the lines that differ.
Exercise #2: Compute and display a luminance histogram [0 pts]
Overview
A common way to analyze an image is to look at its luminance histogram, i.e., the distribution of the pixels’ luminance values. In this exercise you implement programs that compute and display the luminance histogram of an image. As in the previous exercise, the image is provided as input as a width, a height, and a list of R, G, and B values. Therefore, here again you will use the png2rgb program to generate the input needed by your programs.
We compute the luminance histogram by counting how many pixels in the input image have luminance values in particular ranges. Luminance values are between 0 and 765. To make things simple, we use a bin size of 10, we use 75 bins, and put all the luminance values between 750 and 765 into bin 75. In other words, we assume that all pixels with luminance 750 and above have luminance 749. More specifically, the bins in our histograms are:
- bin #0: pixels with luminance between 0 and 9 (inclusive)
- bin #1: pixels with luminance between 10 and 19 (inclusive)
- …
- bin #73: pixels with luminance between 730 and 739 (inclusive)
- bin #74: pixels with luminance between 740 and 765 (inclusive))
We are only interested in the number of pixels in each bins, i.e., in bin counts.
Question #1: Print the histogram’s bin counts [0 pts]
Implement a program called rgb2lumhist1 (code in rgb2lumhist1.asm) that, given an image’s RGB content, prints the number of pixels in each bin. The output should follow the format in the example below (which is for the post.png image of the POST building, which is assumed to be in the local directory). The command:
png2rgb post.png 400 | ./rgb2lumhist1should produce this output:
luminance 0-9: 29
luminance 10-19: 340
luminance 20-29: 938
luminance 30-39: 1537
luminance 40-49: 1812
luminance 50-59: 1857
luminance 60-69: 1910
luminance 70-79: 1860
luminance 80-89: 1758
luminance 90-99: 1637
luminance 100-109: 1523
luminance 110-119: 1505
luminance 120-129: 1356
luminance 130-139: 1388
luminance 140-149: 1260
luminance 150-159: 1213
luminance 160-169: 1402
luminance 170-179: 1660
luminance 180-189: 1707
luminance 190-199: 1516
luminance 200-209: 1504
luminance 210-219: 1474
luminance 220-229: 1322
luminance 230-239: 1344
luminance 240-249: 1213
luminance 250-259: 1179
luminance 260-269: 1124
luminance 270-279: 1110
luminance 280-289: 1011
luminance 290-299: 959
luminance 300-309: 836
luminance 310-319: 916
luminance 320-329: 891
luminance 330-339: 893
luminance 340-349: 943
luminance 350-359: 959
luminance 360-369: 1029
luminance 370-379: 1036
luminance 380-389: 1095
luminance 390-399: 1116
luminance 400-409: 1245
luminance 410-419: 1372
luminance 420-429: 1415
luminance 430-439: 1493
luminance 440-449: 1536
luminance 450-459: 1772
luminance 460-469: 2023
luminance 470-479: 2306
luminance 480-489: 2475
luminance 490-499: 2507
luminance 500-509: 2687
luminance 510-519: 2588
luminance 520-529: 2653
luminance 530-539: 2893
luminance 540-549: 2948
luminance 550-559: 3285
luminance 560-569: 3464
luminance 570-579: 3782
luminance 580-589: 4059
luminance 590-599: 4132
luminance 600-609: 4454
luminance 610-619: 4334
luminance 620-629: 3827
luminance 630-639: 3531
luminance 640-649: 3049
luminance 650-659: 1946
luminance 660-669: 1128
luminance 670-679: 832
luminance 680-689: 700
luminance 690-699: 620
luminance 700-709: 697
luminance 710-719: 2214
luminance 720-729: 2391
luminance 730-739: 11159
luminance 740-749: 32913
To help you test/debug your code, here are some test cases, assuming the linked image files are in the working directory:
png2rgb jungle.png 50 | ./rgb2lumhist1 > rgb2lumhist1_jungle_50.txtshould produce the output in rgb2lumhist1_jungle_50.txt for the jungle.png imagepng2rgb jungle.png 400 | ./rgb2lumhist1 > rgb2lumhist1_jungle_400.txtshould produce the output in rgb2lumhist1_jungle_400.txt for the jungle.png imagepng2rgb mondrian.png 300 | ./rgb2lumhist1 > rgb2lumhist1_mondrian_300.txtshould produce the output in rgb2lumhist1_mondrian_300.txt for the mondrian.png imagepng2rgb mantisshrimp.png 500 | ./rgb2lumhist1 > rgb2lumhist1_mantisshrimp_500.txtshould produce the output in rgb2lumhist1_mantisshrimp_500.txt for the mantisshrimp.png imagepng2rgb sunrise.png 350 | ./rgb2lumhist1 > rgb2lumhist1_sunrise_350.txtshould produce the output in rgb2lumhist1_sunrise_350.txt for the sunrise.png image
Question #2: Print the histogram as ASCII art [0 pts]
Implement a program called rgb2lumhist2 (code in rgb2lumhist2.asm) that, given an image’s RGB content, prints an ASCII art version of the luminance histogram, in which the tallest bar is 20-character high. The output should follow the format in the example below (which is for the post.png image of the POST building, which is assumed to be in the local directory). The command:
png2rgb post.png 400 | ./rgb2lumhist2should produce output:
---------------------------------------------------------------------------
                                                                          #
                                                                          #
                                                                          #
                                                                          #
                                                                          #
                                                                          #
                                                                          #
                                                                          #
                                                                          #
                                                                          #
                                                                          #
                                                                          #
                                                                          #
                                                                          #
                                                                         ##
                                                                         ##
                                                                         ##
                                                                         ##
                                                        ########         ##
    #####        ##                          #####################     ####
---------------------------------------------------------------------------
The histogram output must have 75 colums and 22 rows (2 extra rows for the top and bottom horizonal dashed lines). This image of the POST building has a lot of bright pixels, so the histogram has one very tall bar for the last bin.
To help you test/debug your code, here are some test cases, assuming the linked image files are in the working directory:
png2rgb jungle.png 50 | ./rgb2lumhist2 > rgb2lumhist2_jungle_50.txtshould produce the output in rgb2lumhist2_jungle_50.txt for the jungle.png imagepng2rgb jungle.png 400 | ./rgb2lumhist2 > rgb2lumhist2_jungle_400.txtshould produce the output in rgb2lumhist2_jungle_400.txt for the jungle.png imagepng2rgb mondrian.png 300 | ./rgb2lumhist2 > rgb2lumhist2_mondrian_300.txtshould produce the output in rgb2lumhist2_mondrian_300.txt for the mondrian.png imagepng2rgb mantisshrimp.png 500 | ./rgb2lumhist2 > rgb2lumhist2_mantisshrimp_500.txtshould produce the output in rgb2lumhist2_mantisshrimp_500.txt for the mantisshrimp.png imagepng2rgb sunrise.png 350 | ./rgb2lumhist2 > rgb2lumhist2_sunrise_350.txtshould produce the output in rgb2lumhist2_sunrise_350.txt for the sunrise.png image
Hint: If the largest bin count is max, then dividing a bin count by max/20 will give you the desired bar height for that bin count.