E49: Digits, Part 1 (Landing Page)
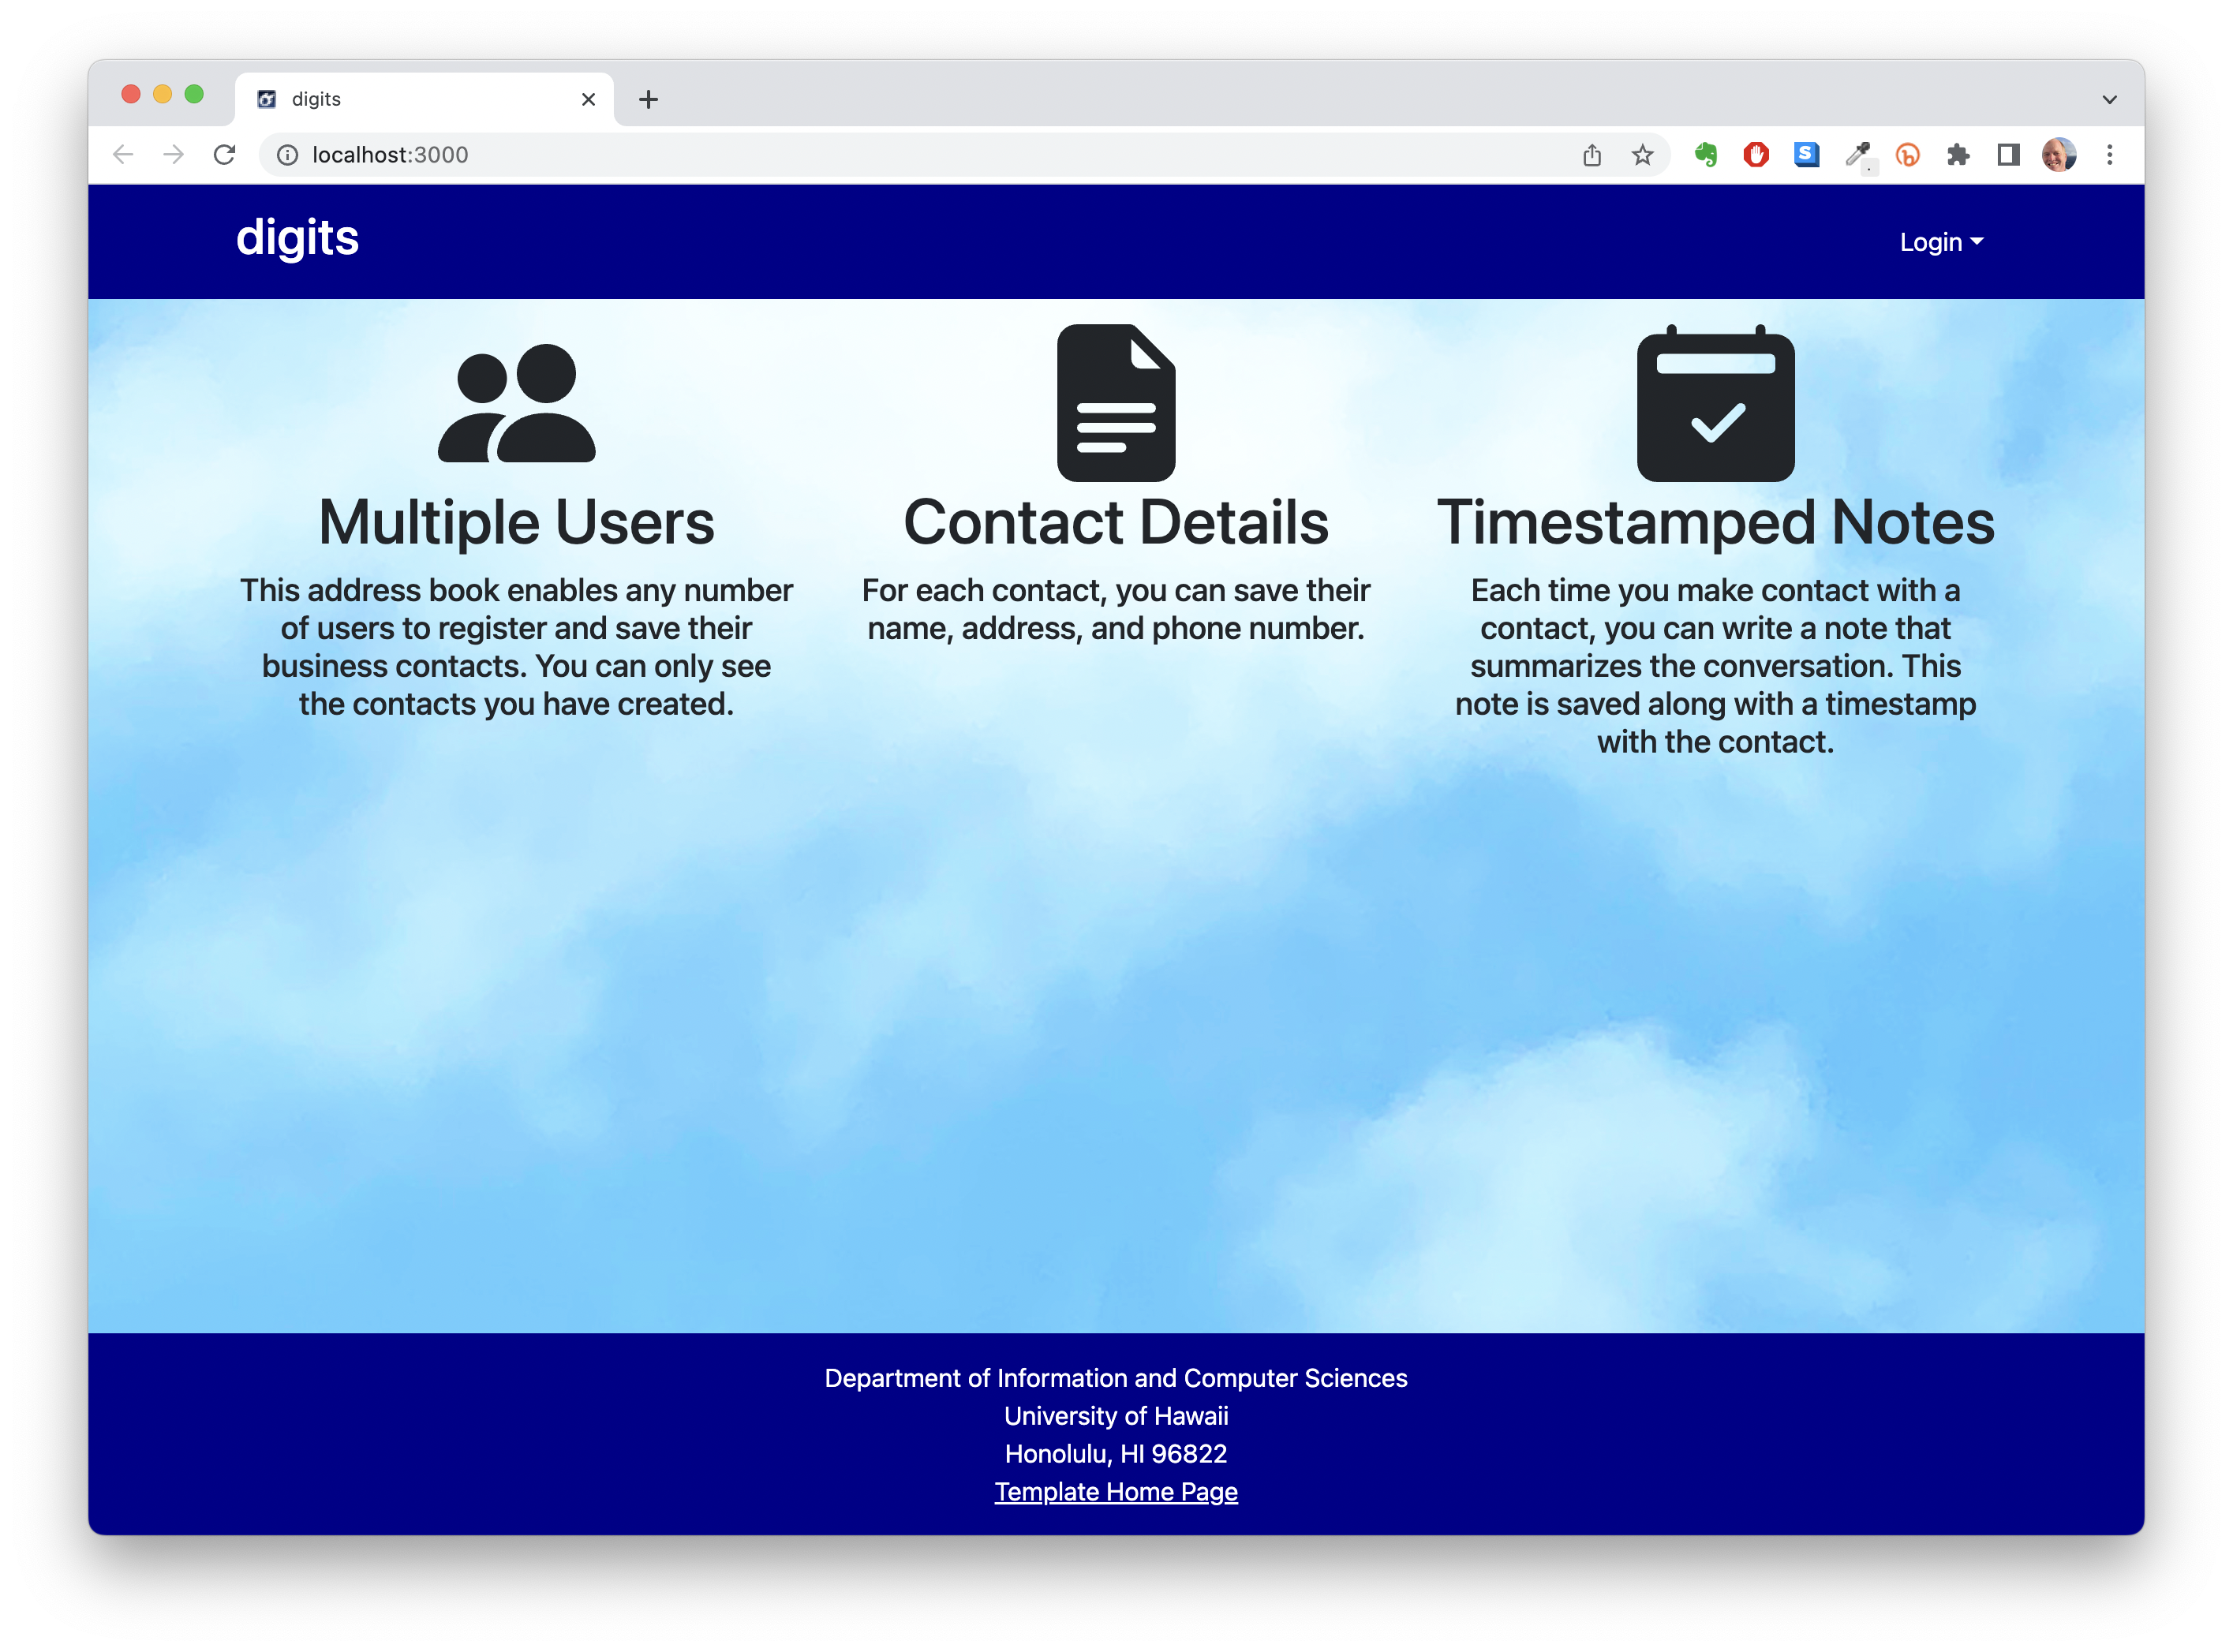
For this experience, you will start designing a simple Meteor application called Digits. When you are finished, the home page should look something like this (although the picture and color scheme might be different):
Prelude
First, find a picture to use for the cover image. Make sure it’s at least 1000px wide. The image should have a light background, nothing too dark.
Second, I suggest you watch my screencast before trying this WOD for the first time. I have not been able to find suitable resources for you to read prior to doing this WOD to cover all the Meteor concepts I will cover. So, it’s best for you to watch the solution one time through to orient yourself. You may want to take notes if you see things you need to remember.
Third, be sure to watch my video on branching and merging in GitHub desktop. You will be required to branch and merge for this series of practice WODs.
Finally, be sure to review the chapters of the Meteor Guide listed in the Readings section. They provide a wealth of information to help you understand application development in Meteor.
Install the template
Prior to starting the timed part of the WOD, you should set up your repo and install the template.
-
Create a private repo called “digits”, using meteor-application-template-react as a template. Clone this repo to your laptop, run
meteor npm installand thenmeteor npm run startto bring it up. -
Create an IntelliJ project called digits that points to your repo. An easy way to do this is to press the ‘Open in JetBrains IntelliJ Idea’ button in GitHub Desktop. Be sure to
Trust the Project. Check to make sure that ESLint is running by creating an ESLint error, such as two newlines at the end of the file.
The WOD
Now you’re ready to do this practice WOD. There are two rounds to this WOD, each timed individually.
Round 1
Start your timer.
1. Create a branch to hold your work.
Create a branch called landing-page-1 using GitHub Desktop, and publish this branch to GitHub.
If you haven’t already, start up your application using meteor npm run start. Check to see that it’s running at http://localhost:3000. Take a look at the console to be sure there are no errors.
Pro Tip: run your app within the Terminal window in IntelliJ, and keep Chrome Dev Tools open during development. Install Meteor Dev Tools Enhanced if you haven’t already.
2. Update titles to say “digits”.
Edit app/client/main.html and app/imports/ui/components/NavBar.jsx to say “digits” rather meteor-application-template.
3. Add background image.
Add your background image to the body:
- Copy your image file into app/public/images/.
- Update the
bodyCSS style in app/client/style.css to specify the background and background-size properties as you’ve done previously for background images.
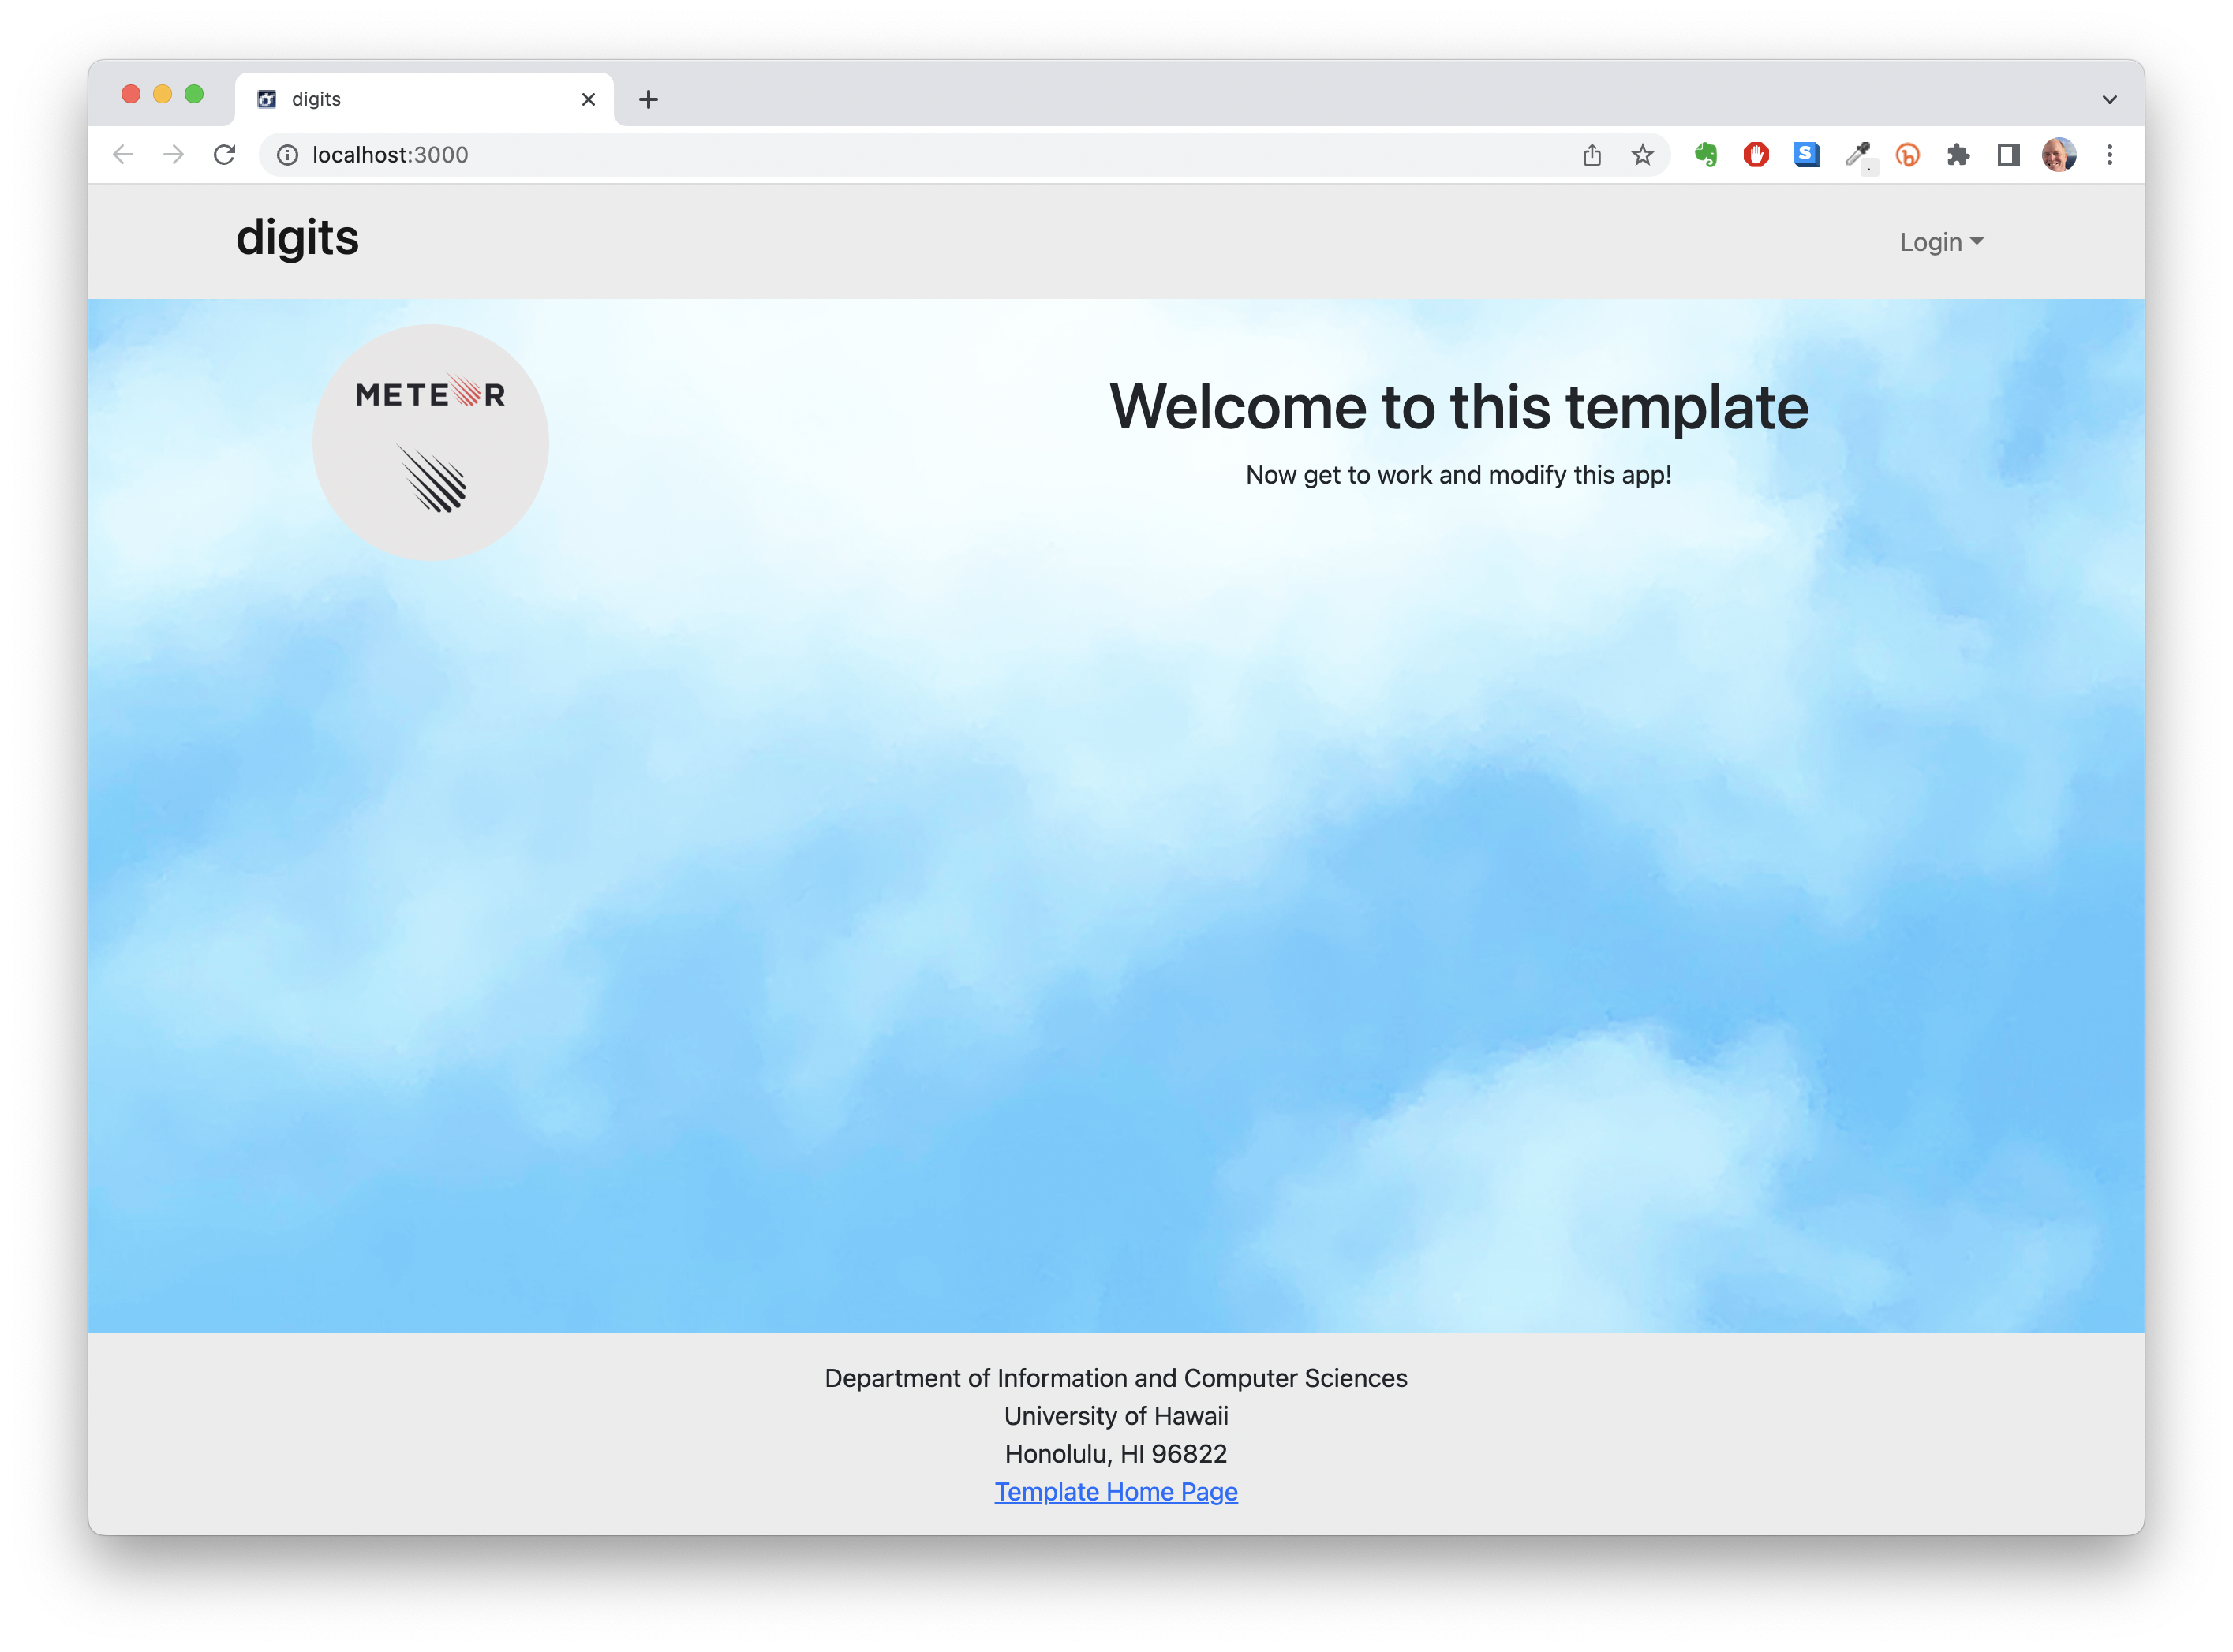
When you’ve gotten to here, your landing page should look similar to this:
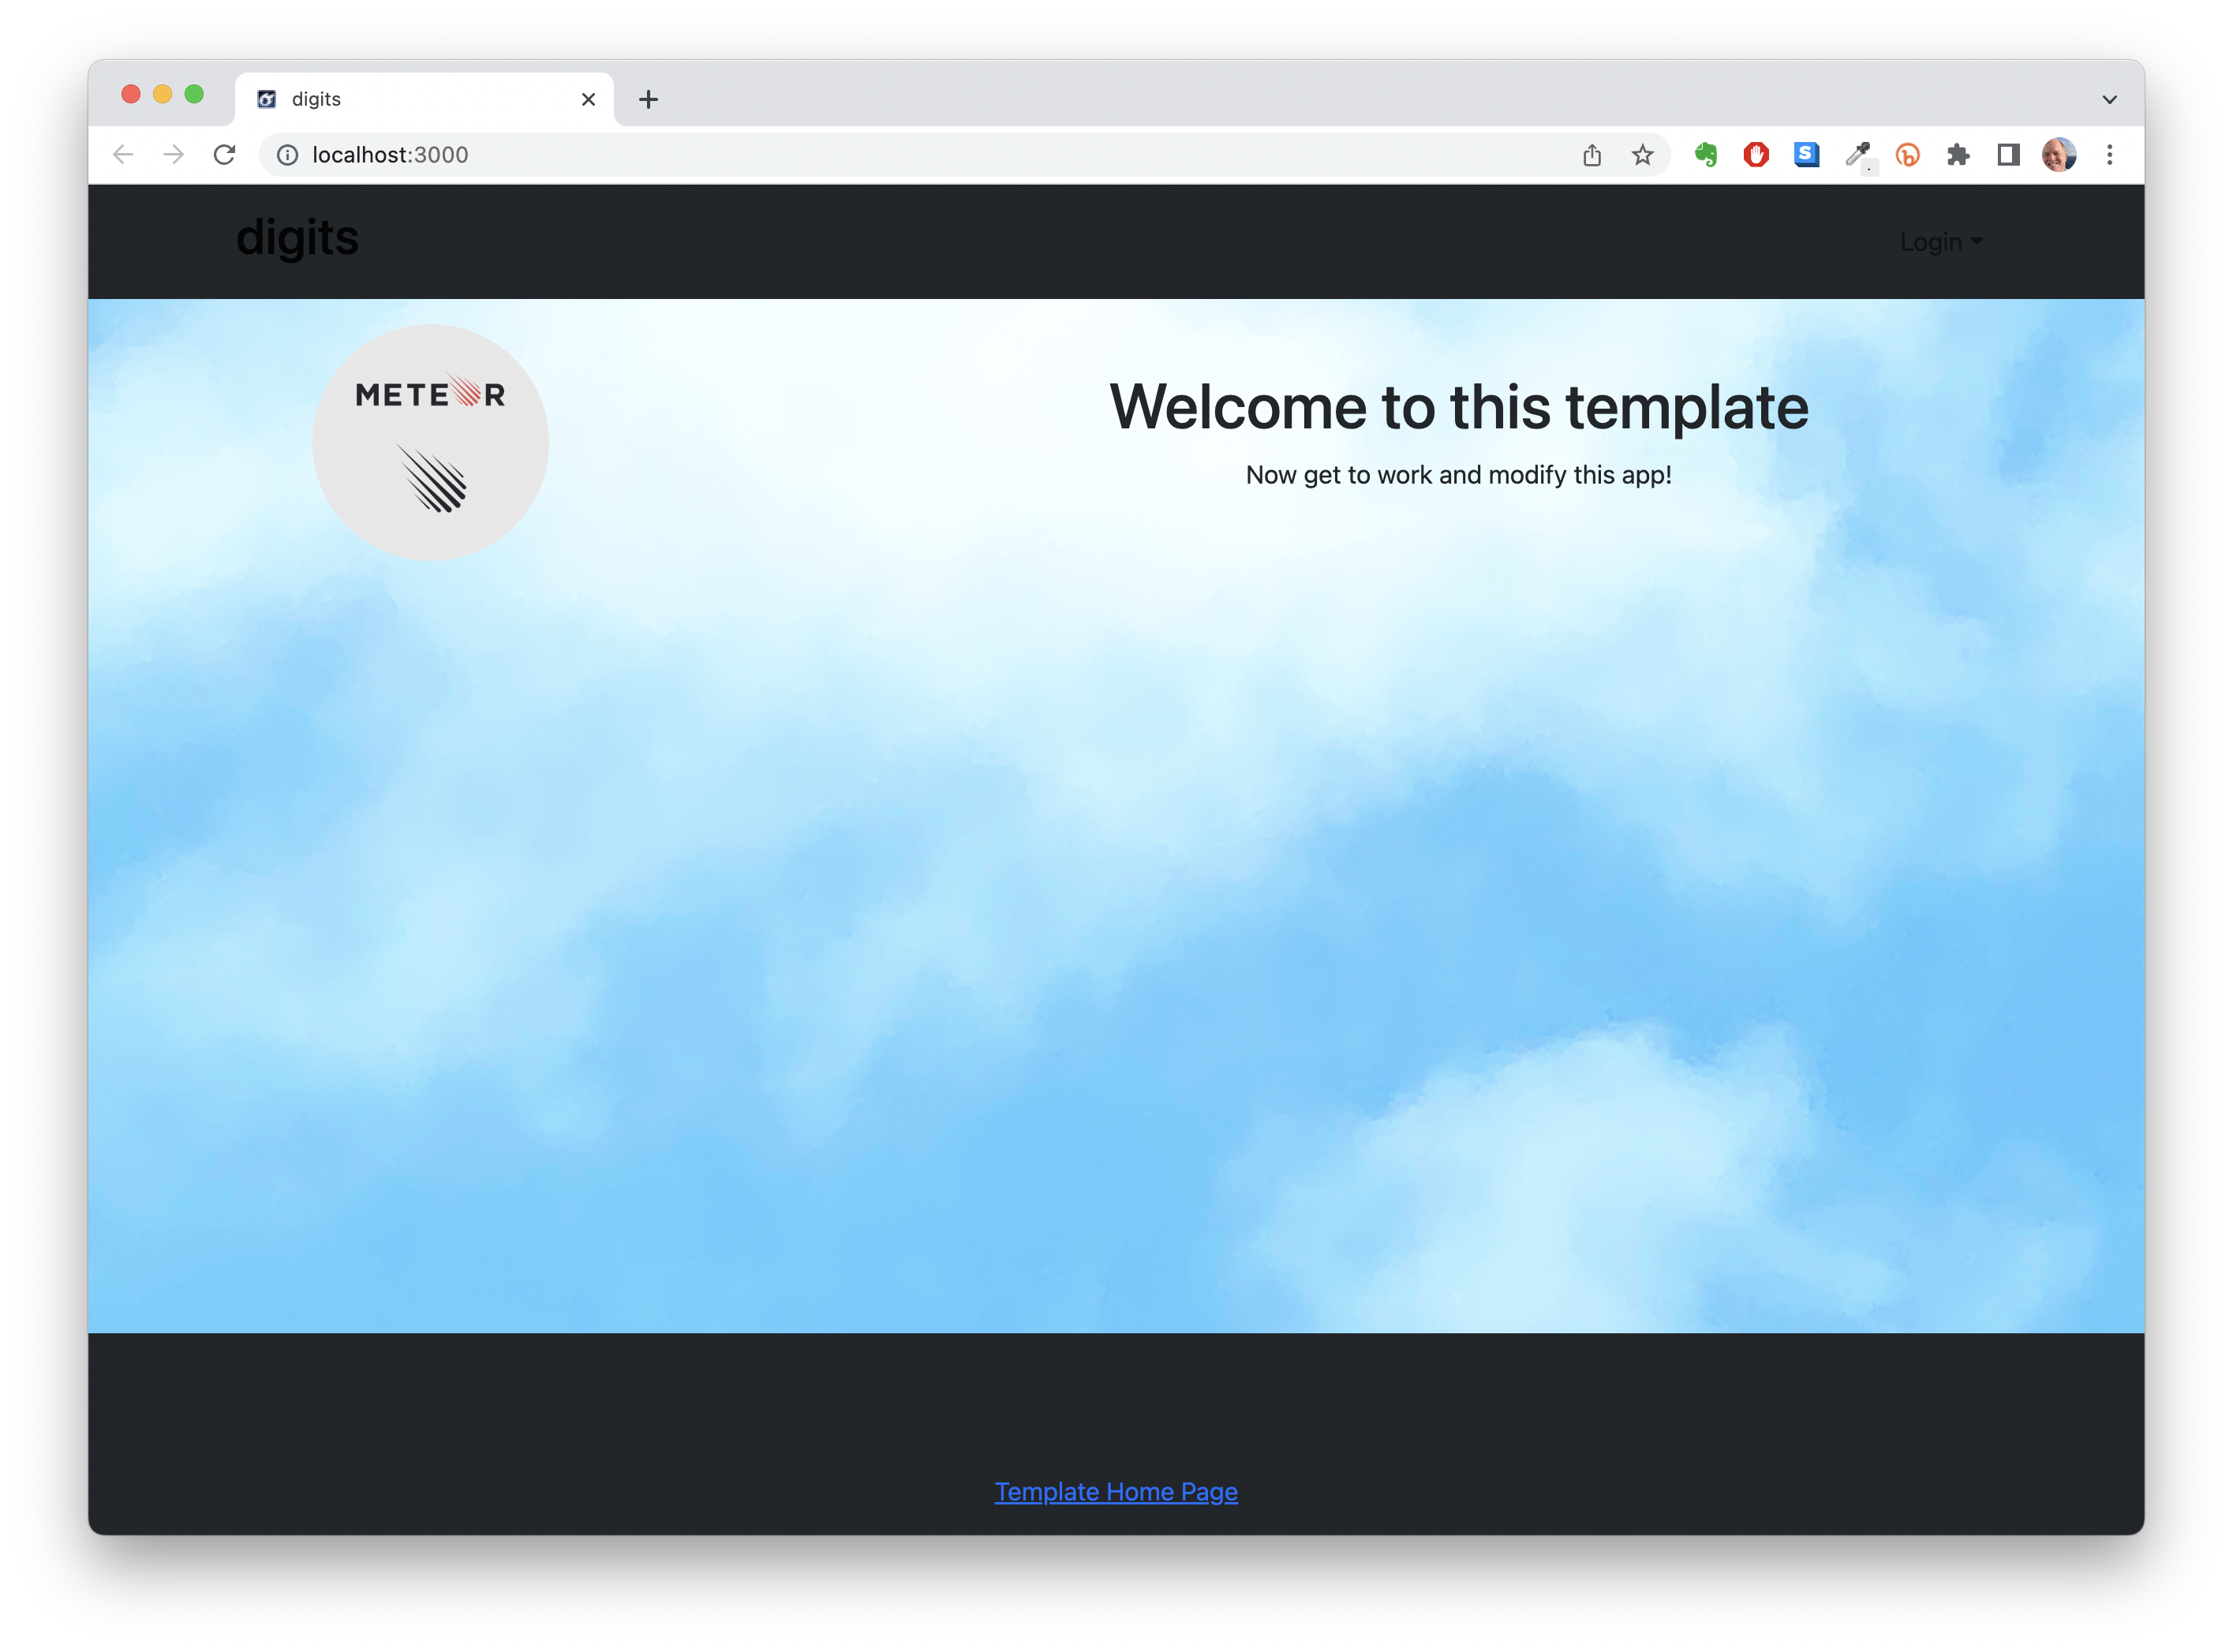
4. Change the NavBar and footer from bg-light to bg-dark
Change to a dark header and footer:
- Edit app/imports/ui/components/NavBar.jsx and app/imports/ui/components/Footer.jsx changing the NavBar’s bg value to “dark” and the footers className to bg-dark. Your landing page should look similar to this:
- Change the NavBar and footer’s color to white or a light color. An easy way of doing this is to create another CSS variable
--matr-navbar-text-colorin the:rootelement and setting its value to white.
/* Set up some CSS variables to theme the application. */
:root {
  --matr-navbar-bg: #ECECEC;
  --matr-navbar-bg-rgb: 236, 236, 236;
  --matr-navbar-text-color: white;
}
- Then style the
footerandfooter ato have the--matr-navbar-text-color.
footer, footer a {
  color: var(--matr-navbar-text-color);
}
- Pick a complementary dark color to match your image. In my case I chose
darkblueorrgb(0, 0, 139). Update the two CSS variables--matr-navbar-bg-colorand--matr-navbar-bg-rgb. To override the Bootstrap CSS variables we can assign them in thebodyelement set--bs-darkand--bs-dark-rgbto use our variables.
/* Change bootstrap variable values.
 See https://getbootstrap.com/docs/5.2/customize/css-variables/
 */
body {
  --bs-dark: var(--matr-navbar-bg);
  --bs-dark-rgb: var(--matr-navbar-bg-rgb);
  background: fixed center url("images/<your image filename>");
  background-size: cover;
}
Notice when you click the digits brand or the Login dropdown, they turn black, and you can’t see the dropdown text since it is white.
- We should create another CSS variable
--matr-navbar-highligt-textand choose a light color that goes with our theme. I chose khaki. Then we can override the Bootstrap nabar CSS variables by using the selectorbody .navbar
body .navbar {
  --bs-navbar-active-color: var(--matr-navbar-highlight-text);
  --bs-navbar-brand-color: var(--matr-navbar-text-color);
  --bs-navbar-brand-hover-color: var(--matr-navbar-highlight-text);
  --bs-navbar-color: var(--matr-navbar-text-color);
  --bs-navbar-hover-color: var(--matr-navbar-highlight-text);
}
- We need to change the color of the dropdown text.
.bg-dark a.dropdown-item {
  color: var(--matr-navbar-bg);
}
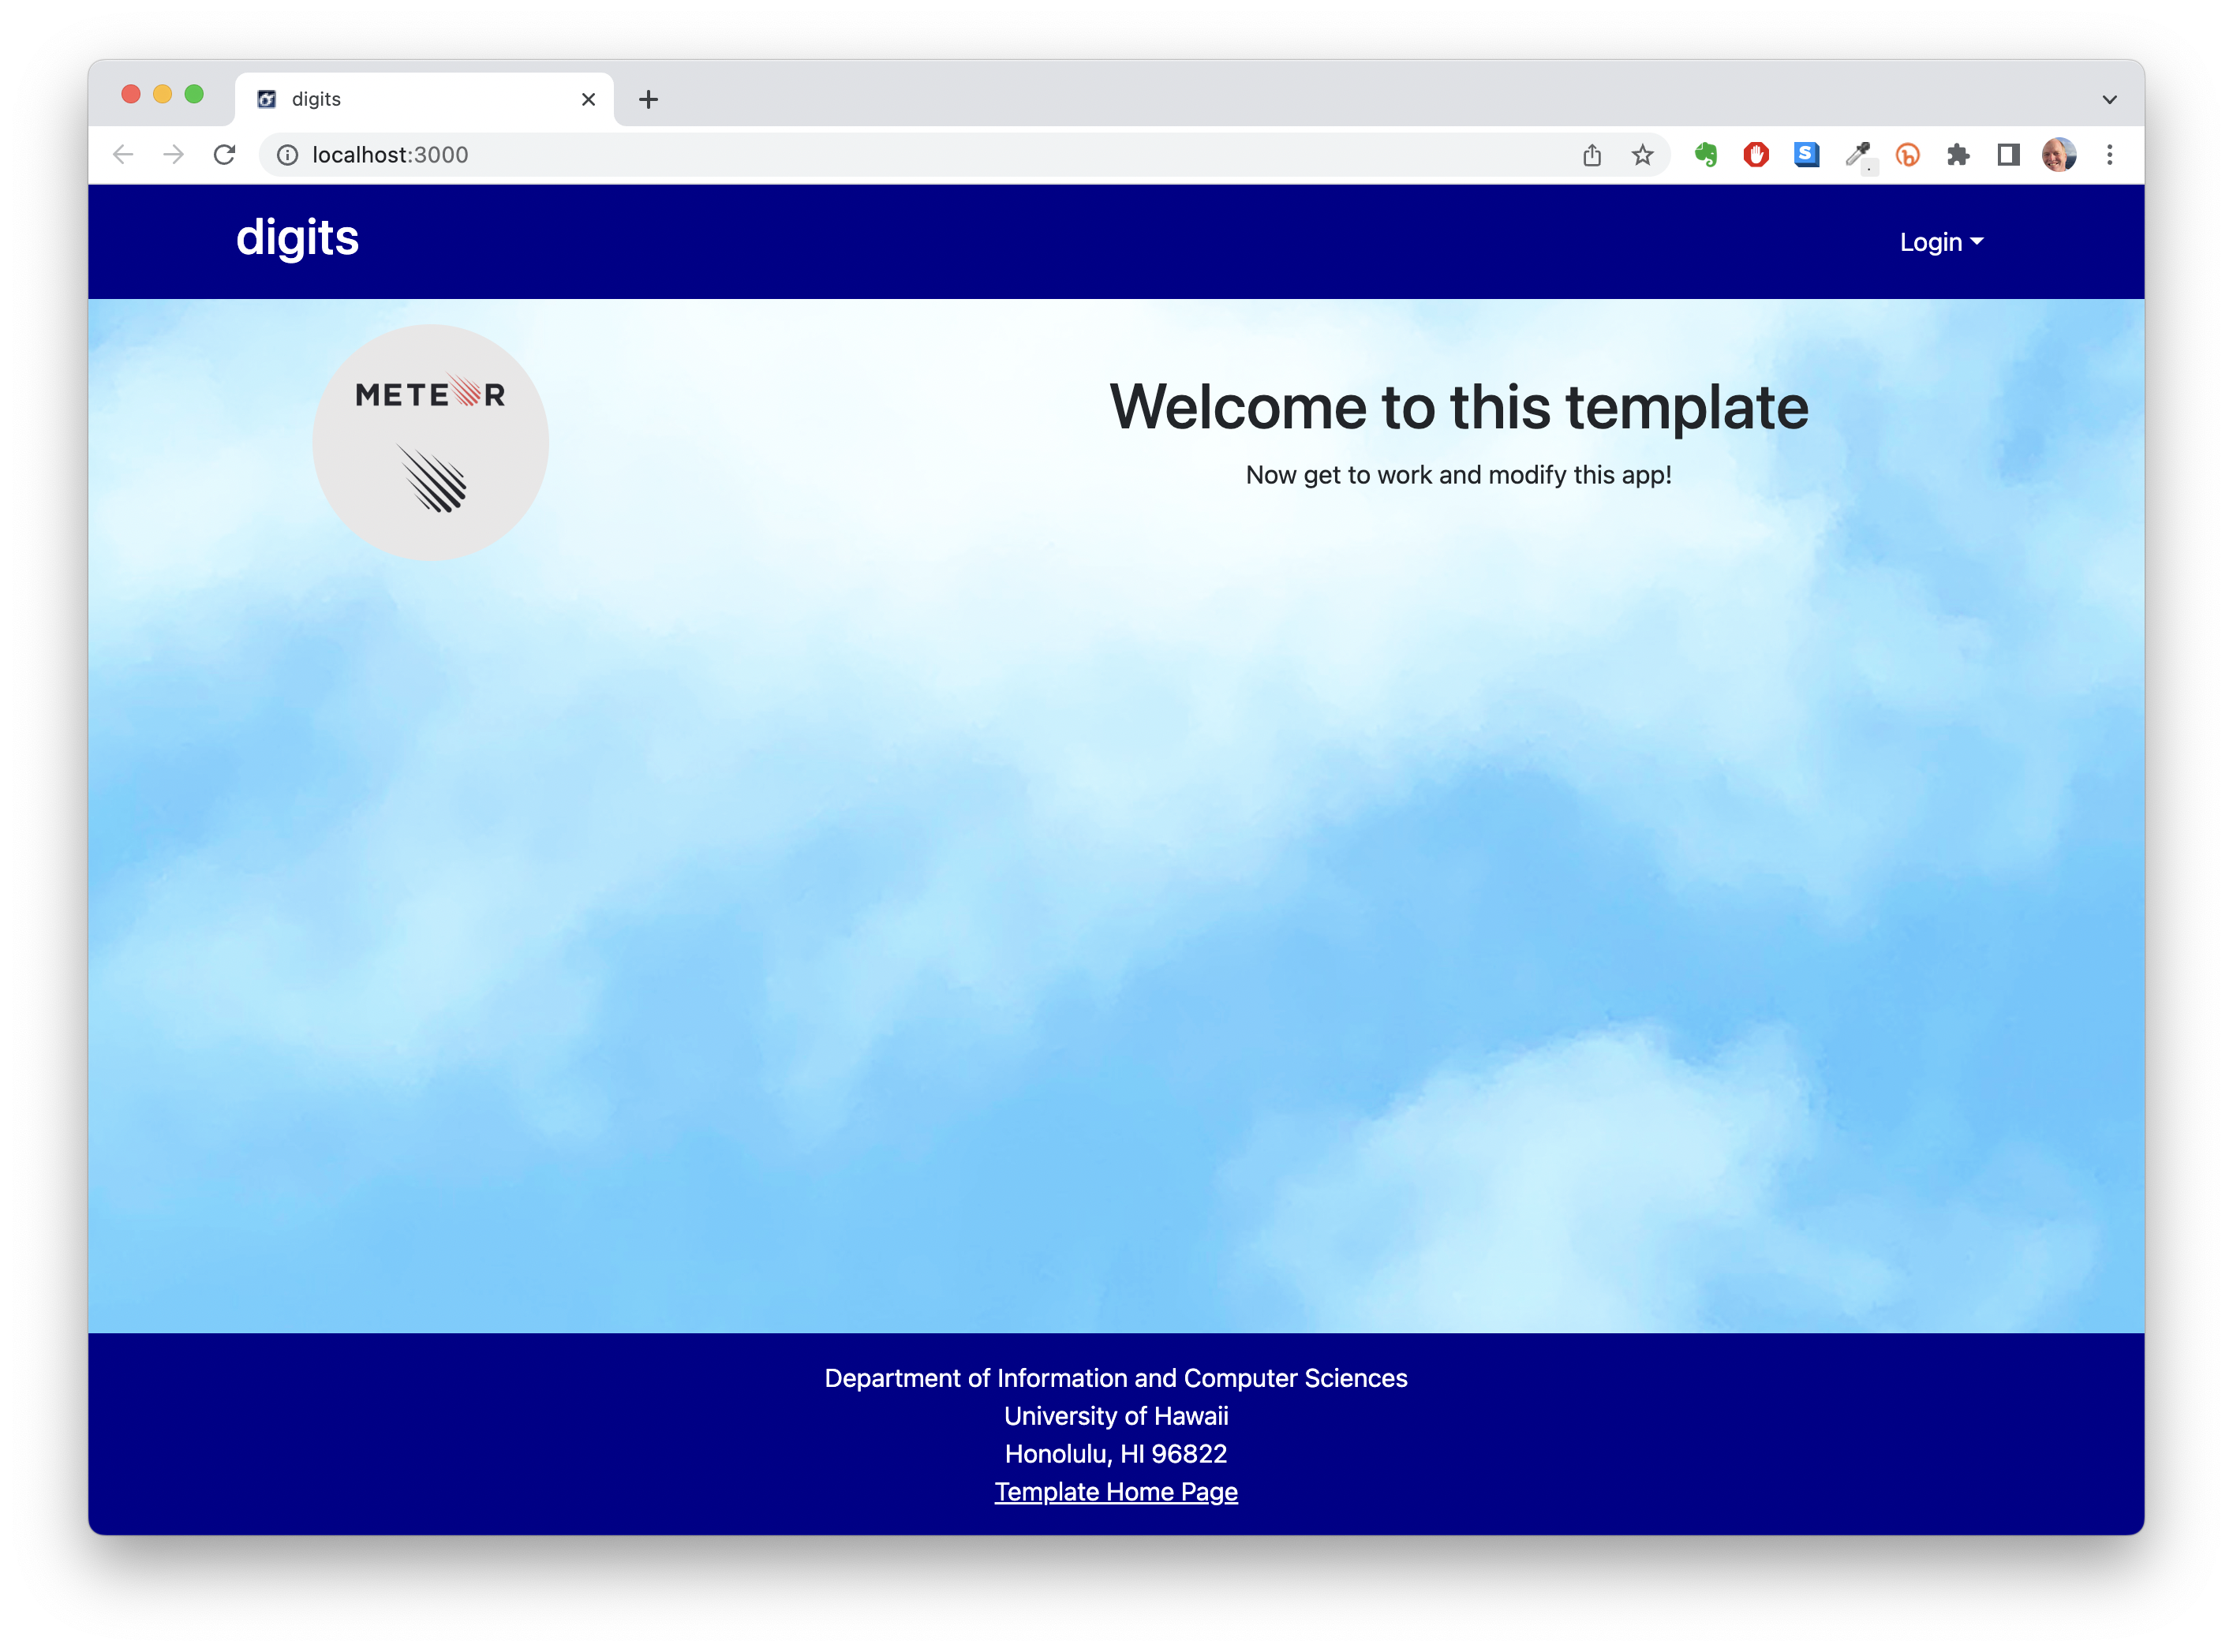
When you’ve gotten to here, your landing page should look similar to this:
5. Update landing page text.
Replace the text and images appearing in front of your image in the Landing component:
- You might want to wrap the LandingPage Row with a non-fluid
Containerto get some nice margins. - Update the LandingPage Row to have three columns with no classNames.
- Each Col contains a Bootstrap Icon size=100, an H1 header, and an H5 header.
- The first icon is a
PeopleFill. The text is “This address book enables any number of users to register and save their business contacts. You can only see the contacts you have created.” - The second icon is a
FileEarmarkTextFill. The text is “For each contact, you can save their name, address, and phone number.” - The last icon is a
Calender2CheckFill. The text is “Each time you make contact with a contact, you can write a note that summarizes the conversation. This note is saved along with a timestamp with the contact.”
- The first icon is a
When you’ve finished this part, your landing page mockup should look like this:
6. Check for ESLint errors.
Finally, exit Meteor, and invoke meteor npm run lint to run ESLint over your entire program. If you discover any ESLint errors, then fix them.
7. Commit your finished work.
When you’re done:
- control-c to stop Meteor.
- Stop your timer and note your time.
- Commit and push your landing-page-1 branch to GitHub with the message ‘landing page mockup finished in NN minutes.’, where NN is the number of minutes it took you to do it according to your timer.
Round 2
To ensure that you understand this material, you should do this WOD a second time.
Switch back to the main branch. This will revert your local repo to its state just after the installation of the template.
Create a new branch called landing-page-2.
Go through the WOD again. When you’re done, commit and push your landing-page-2 branch to GitHub with the message ‘landing page mockup finished in NN minutes.’, where NN is the number of minutes it took you to do it according to your timer.
Your TA will check whether both branches are in GitHub. Remember to give your TA access to your repository.
Rx: <20 min Av: 20-25 min Sd: 25-30 min DNF: 30+ min
Demonstration
Here’s a screencast of me working through this problem. You can watch this prior to attempting it for the first time yourself.
Submission instructions
By the time and date indicated on the Schedule page, submit this assignment via Laulima.
You must grant read access to this repo to the TA for your section. To do this:
- Retrieve your repository in a browser, then click on “Settings”. Depending upon the GitHub UI you are provided, you’ll then click on either “Collaborators” or “Manage Access”. Let us know if you can’t find either of these.
- Search for “acatarinaoaraujo”, then click “Add collaborator”.
Your submission should contain:
- A link to each branch of the GitHub repository created as a result of your latest attempt at this practice WOD. Make sure you include the complete URLs for all branches so that I can click on them in my mailer. Note: the final commit for these branches must have been made before the submission time and date, otherwise you will not receive credit for this assignment.
You will receive full credit for this practice WOD as long as you have attempted it the required number of times and submitted the email with all required data before the due date. Your code does not have to run perfectly for you to receive full credit. However, if you do not repeat each practice WOD until you can finish it successfully in at least AV time, you are unlikely to do well on the in-class WOD. To reduce the stress associated with this course, I recommend that you repeat each practice WOD as many times as necessary to achieve at least AV before its due date.


