How to deploy a Nextjs application to Vercel
Vercel is a popular cloud-based hosting service. Here is a step-by-step guide to deploying Nextjs Application Template to Vercel.
Vercel setup
The first few steps involve setting up your server at Vercel.
1. Sign up with Vercel
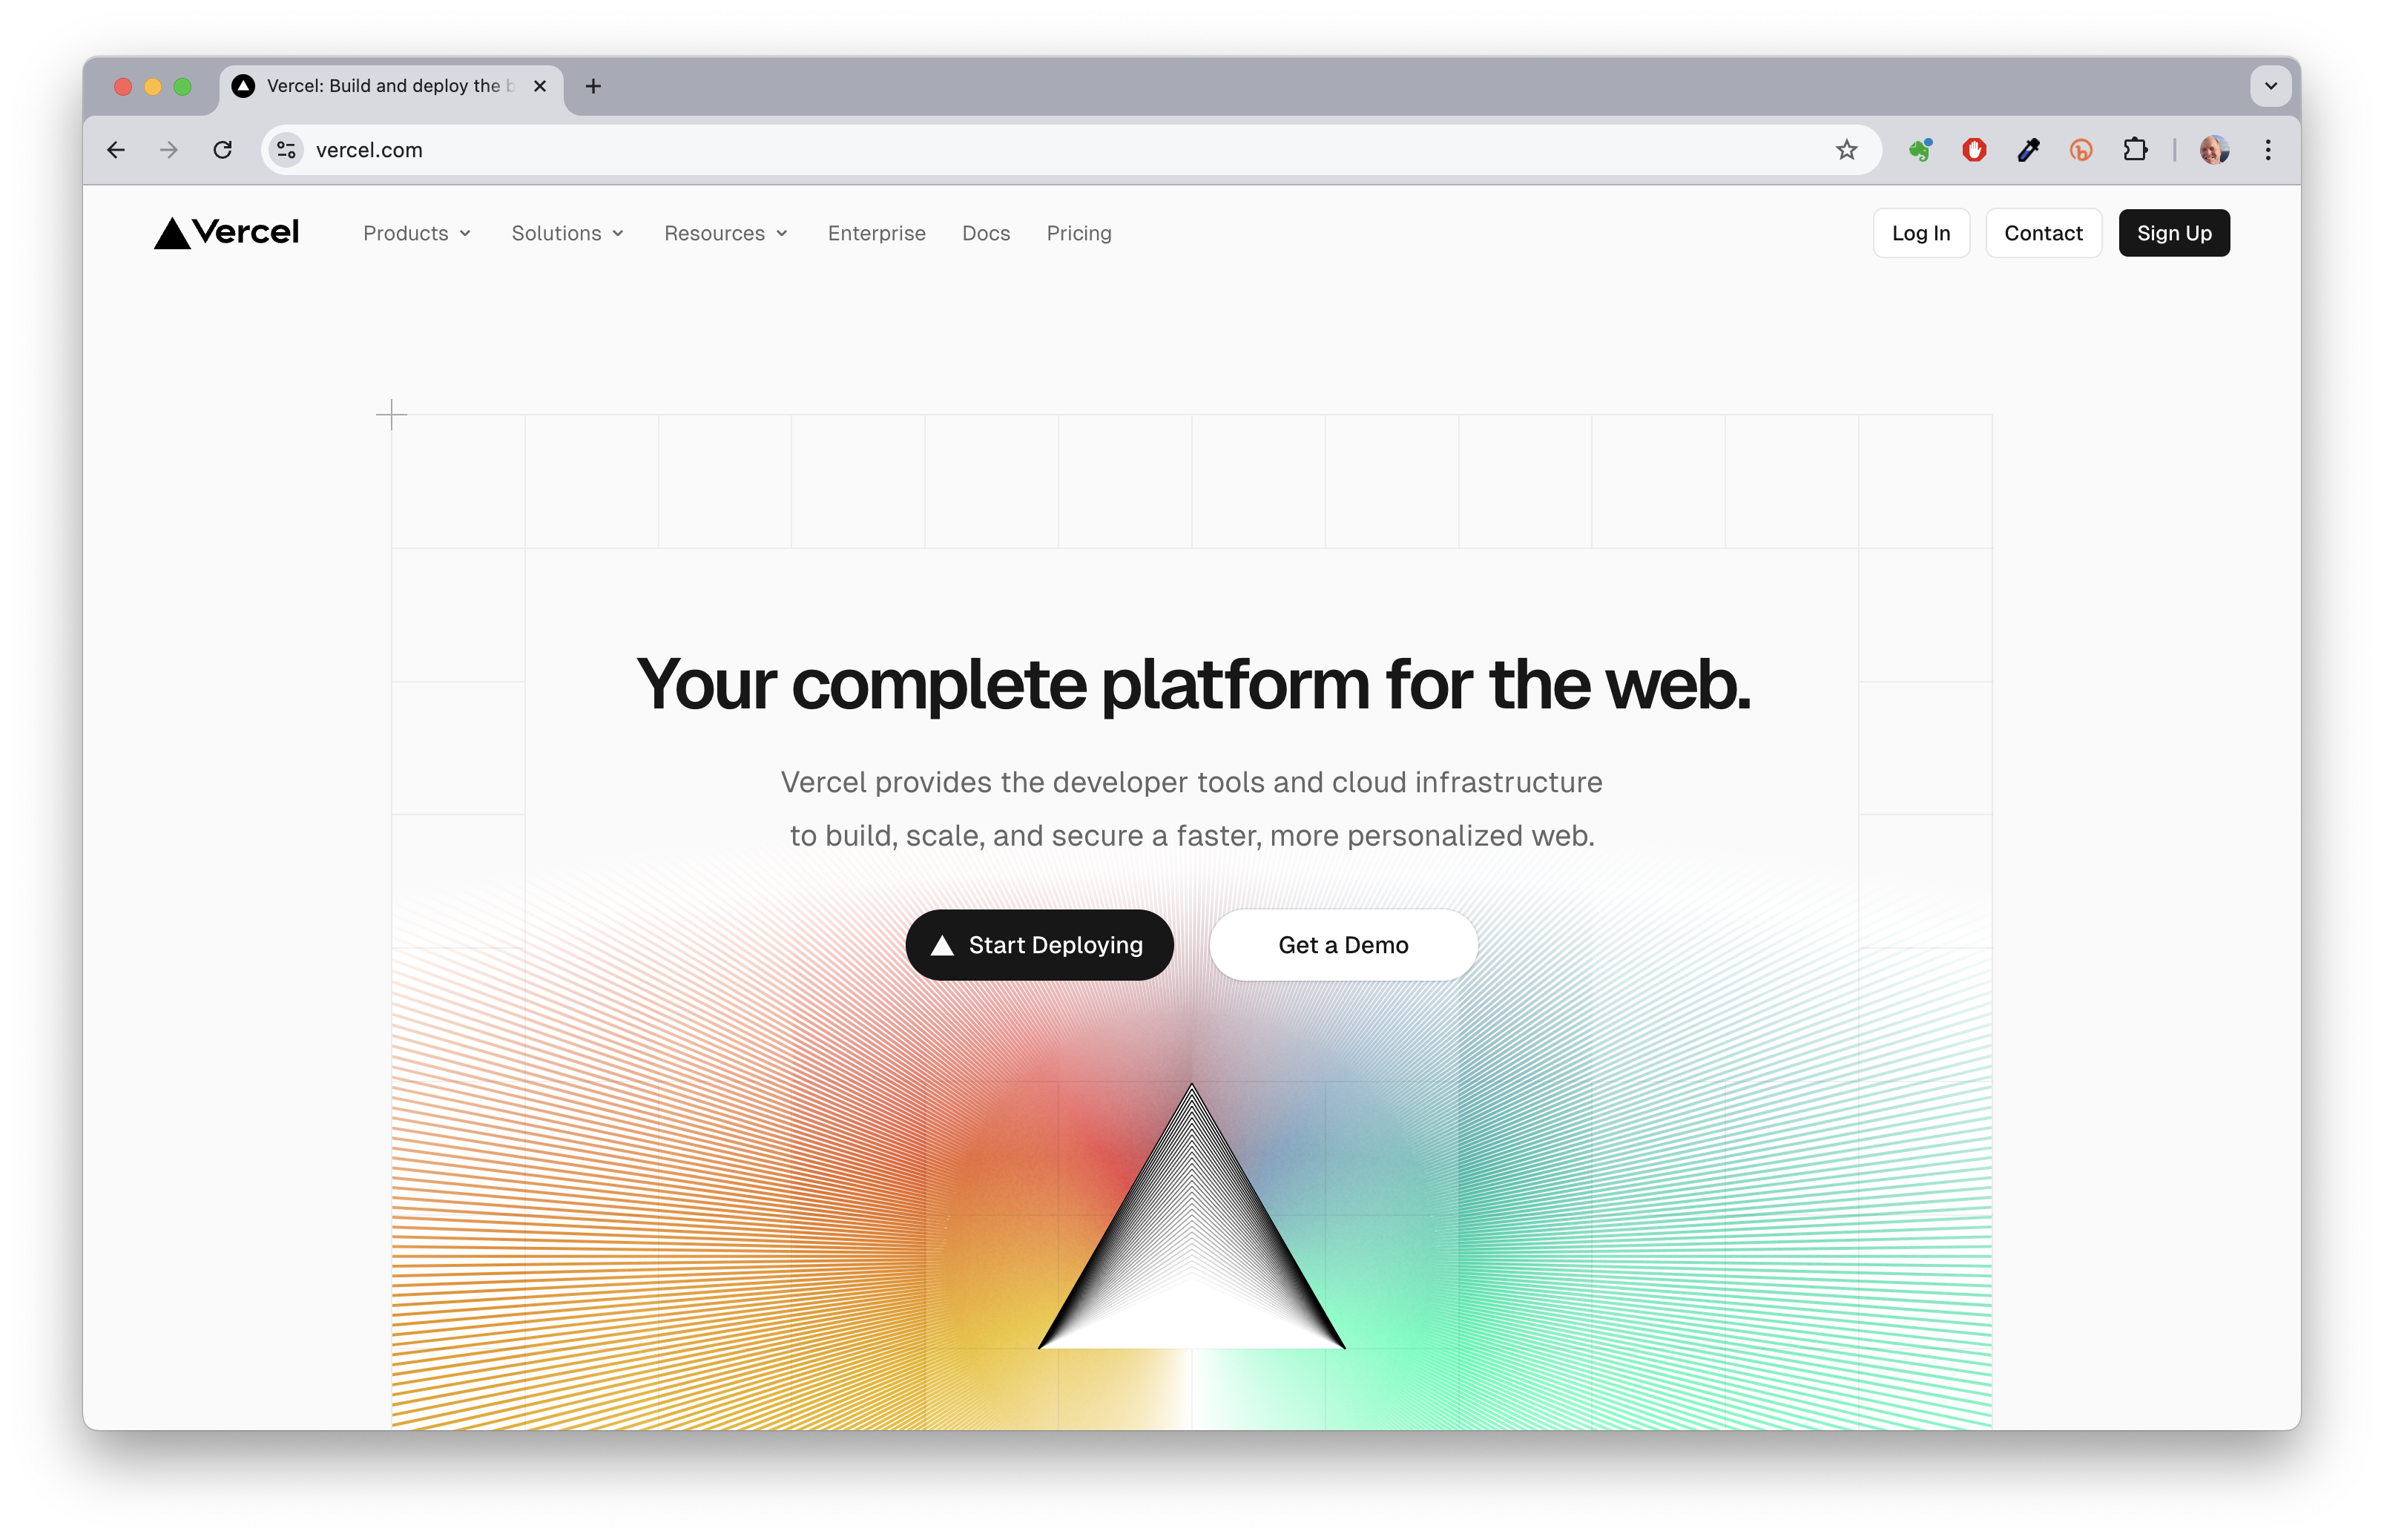
First, go to Vercel and click on the Sign Up button to create an account.
Use your GitHub account. Choose the Hobby plan, which is free. You can only create one postgreSQL database with the Hobby plan, but that is all you need for this class.
2. Create a new project in GitHub
Use the Nextjs Application Template as a template to create a new project, named my-nextjs-application, in GitHub. Click on the green “Use this template” button to create a copy of this repo in your personal GitHub account. You can make the repo public or private, as you prefer. Then clone it to your laptop.
3. Import your project into Vercel
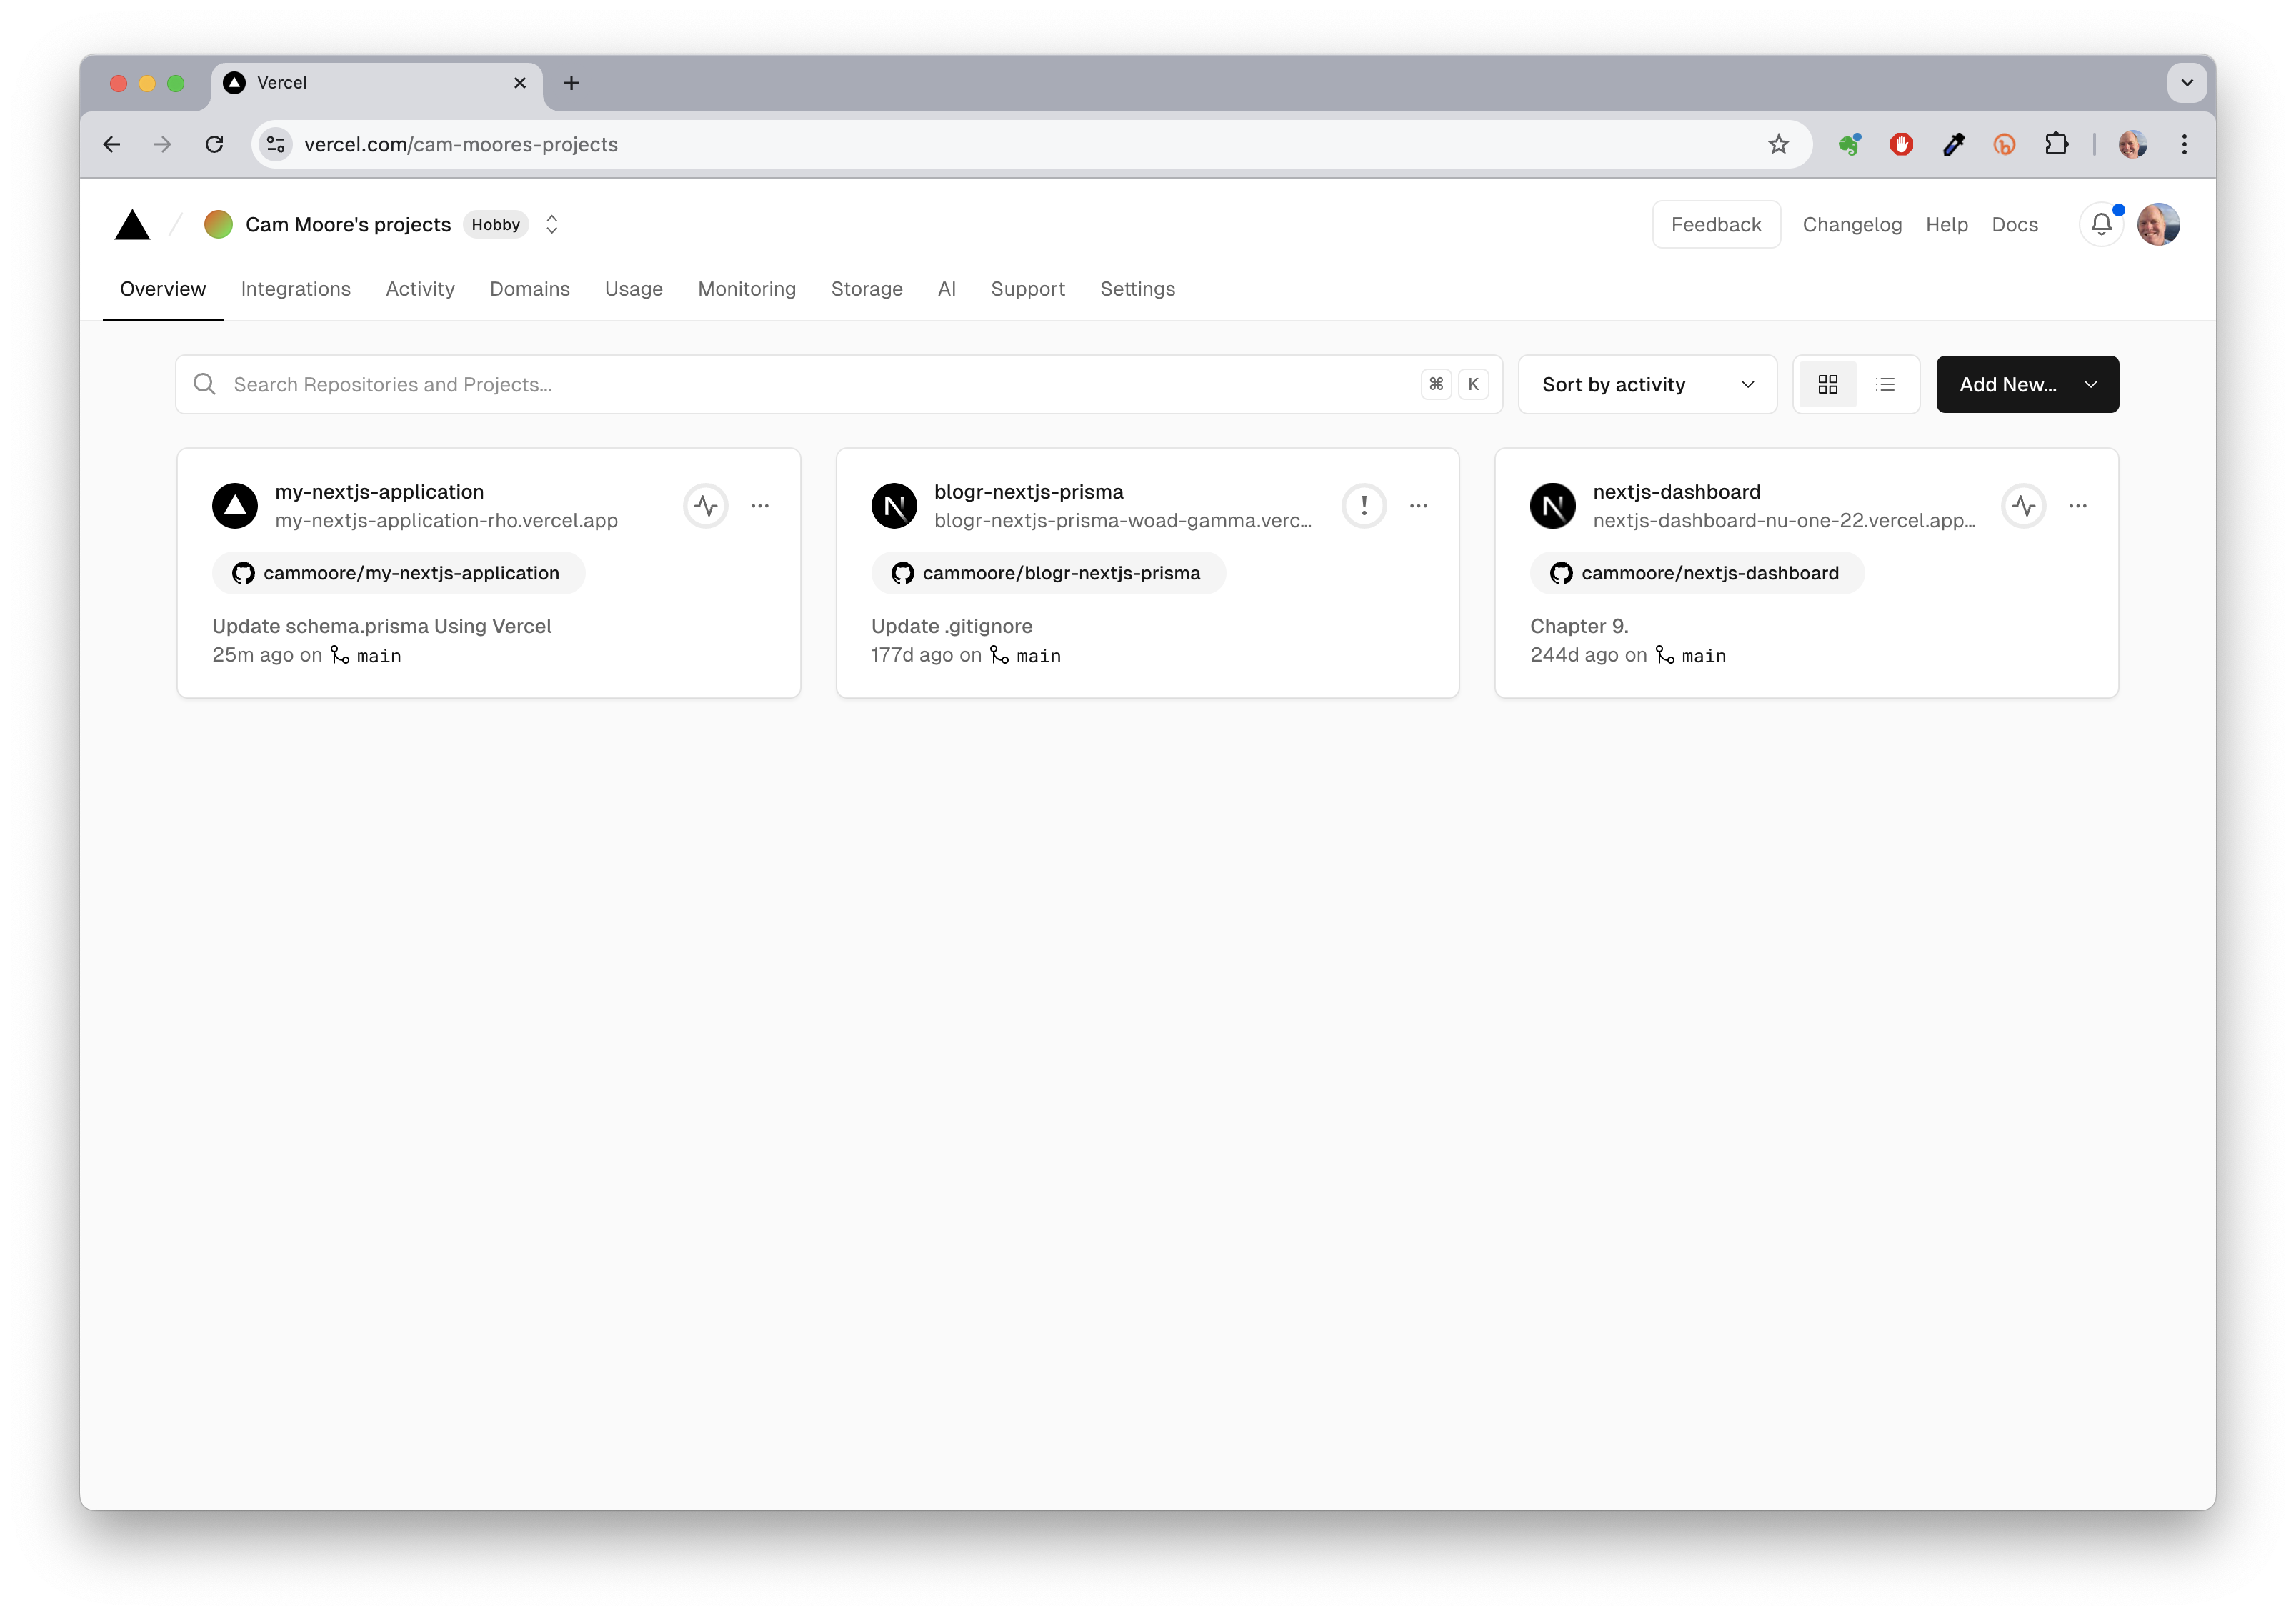
After signing in, you will see a screen that lists your projects.
Click on the Add New button. Then choose project. Then in the “Import Git Repository” box, select your my-nextjs-application repository.
4. Create a new PostgreSQL database in Vercel
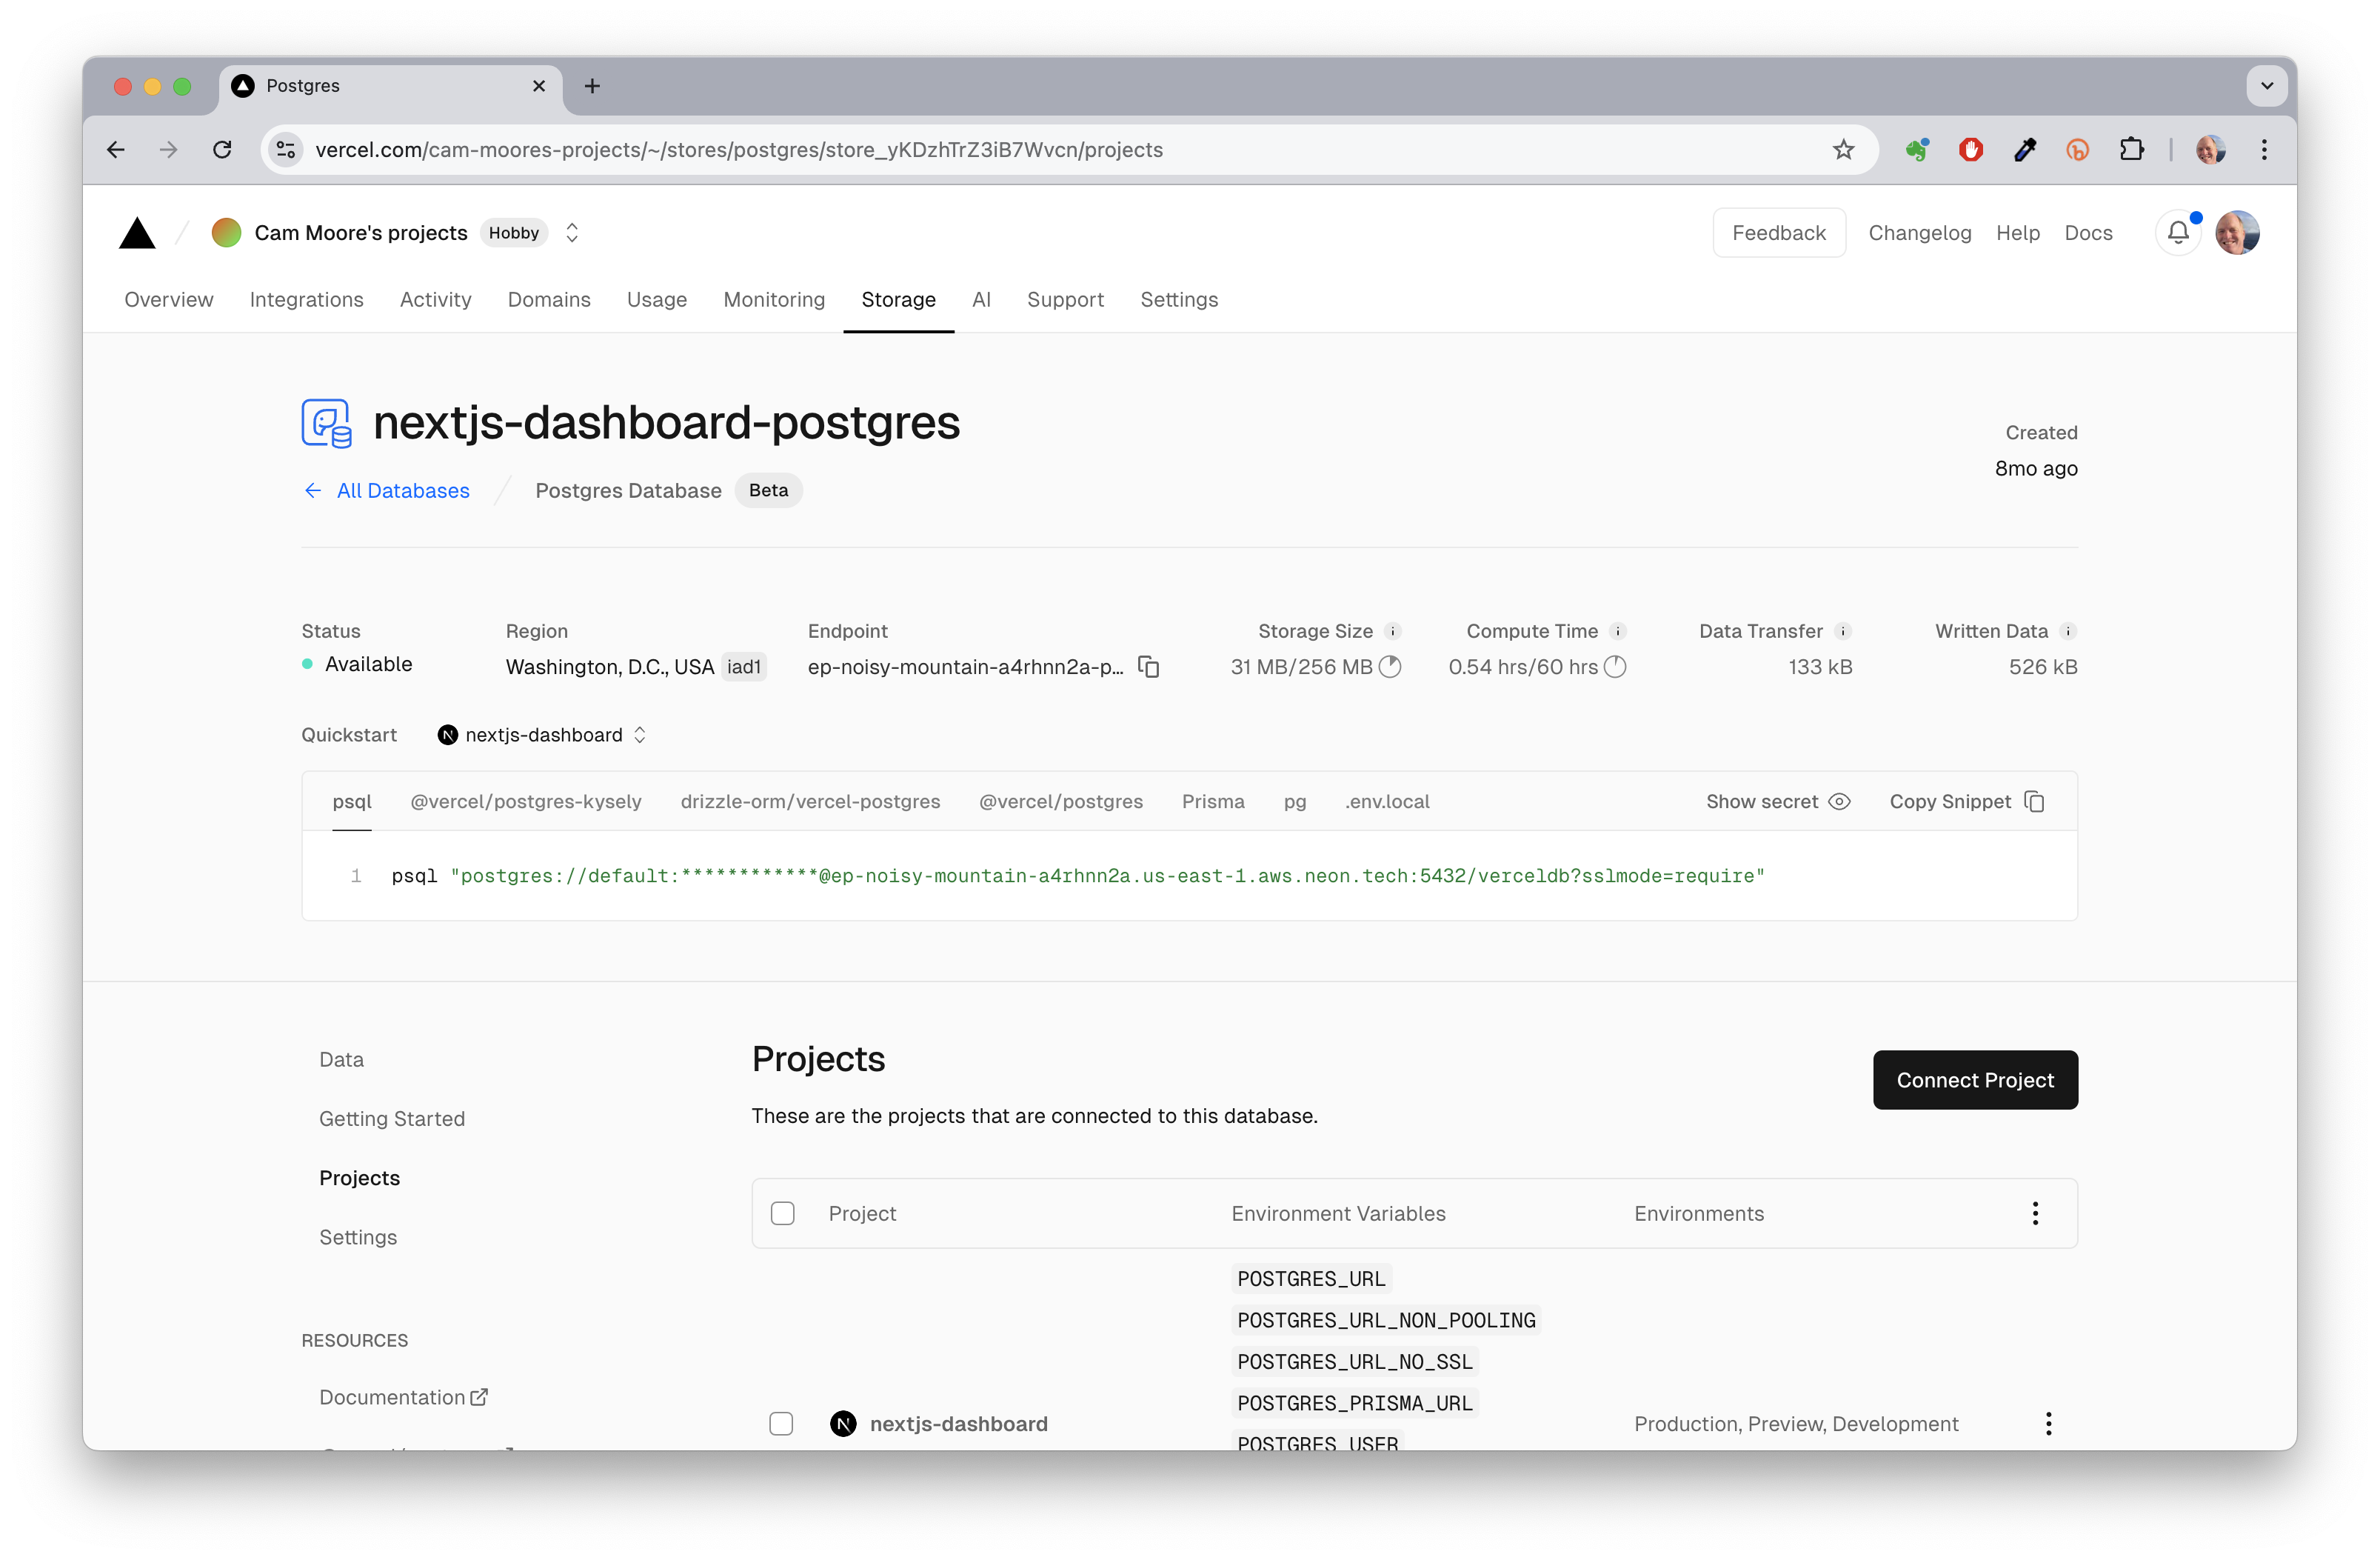
Click on the Storage tab. Then click the Create Database button. Choose the PostgreSQL option. Name your database.
Click on the Projects tab. Then click on the Connect Project button. Choose the project you created in step 3.
5. Link your GitHub repository to Vercel
We have to get the correct environment variables to connect to the Vercel PostgreSQL database.
5.1. Install the Vercel CLI
Install the Vercel CLI by running the following command in your terminal:
$ npm install -g vercel
5.2. Link your repo to Vercel
Run the following command in your terminal:
$ vercel link
Vercel CLI 37.14.0
? Set up “~/GitHub/ICS314/my-nextjs-application”? yes
? Which scope should contain your project? Cam Moore's projects
? Found project “cam-moores-projects/my-nextjs-application”. Link to it? yes
✅  Linked to cam-moores-projects/my-nextjs-application (created .vercel)
$
Your output will be different, depending on your GitHub account and the name of your project. The .vercel directory is created in your project directory, and it is added to the .gitignore file. Do not commit this directory to your repository.
5.3. Get the Vercel environment variables
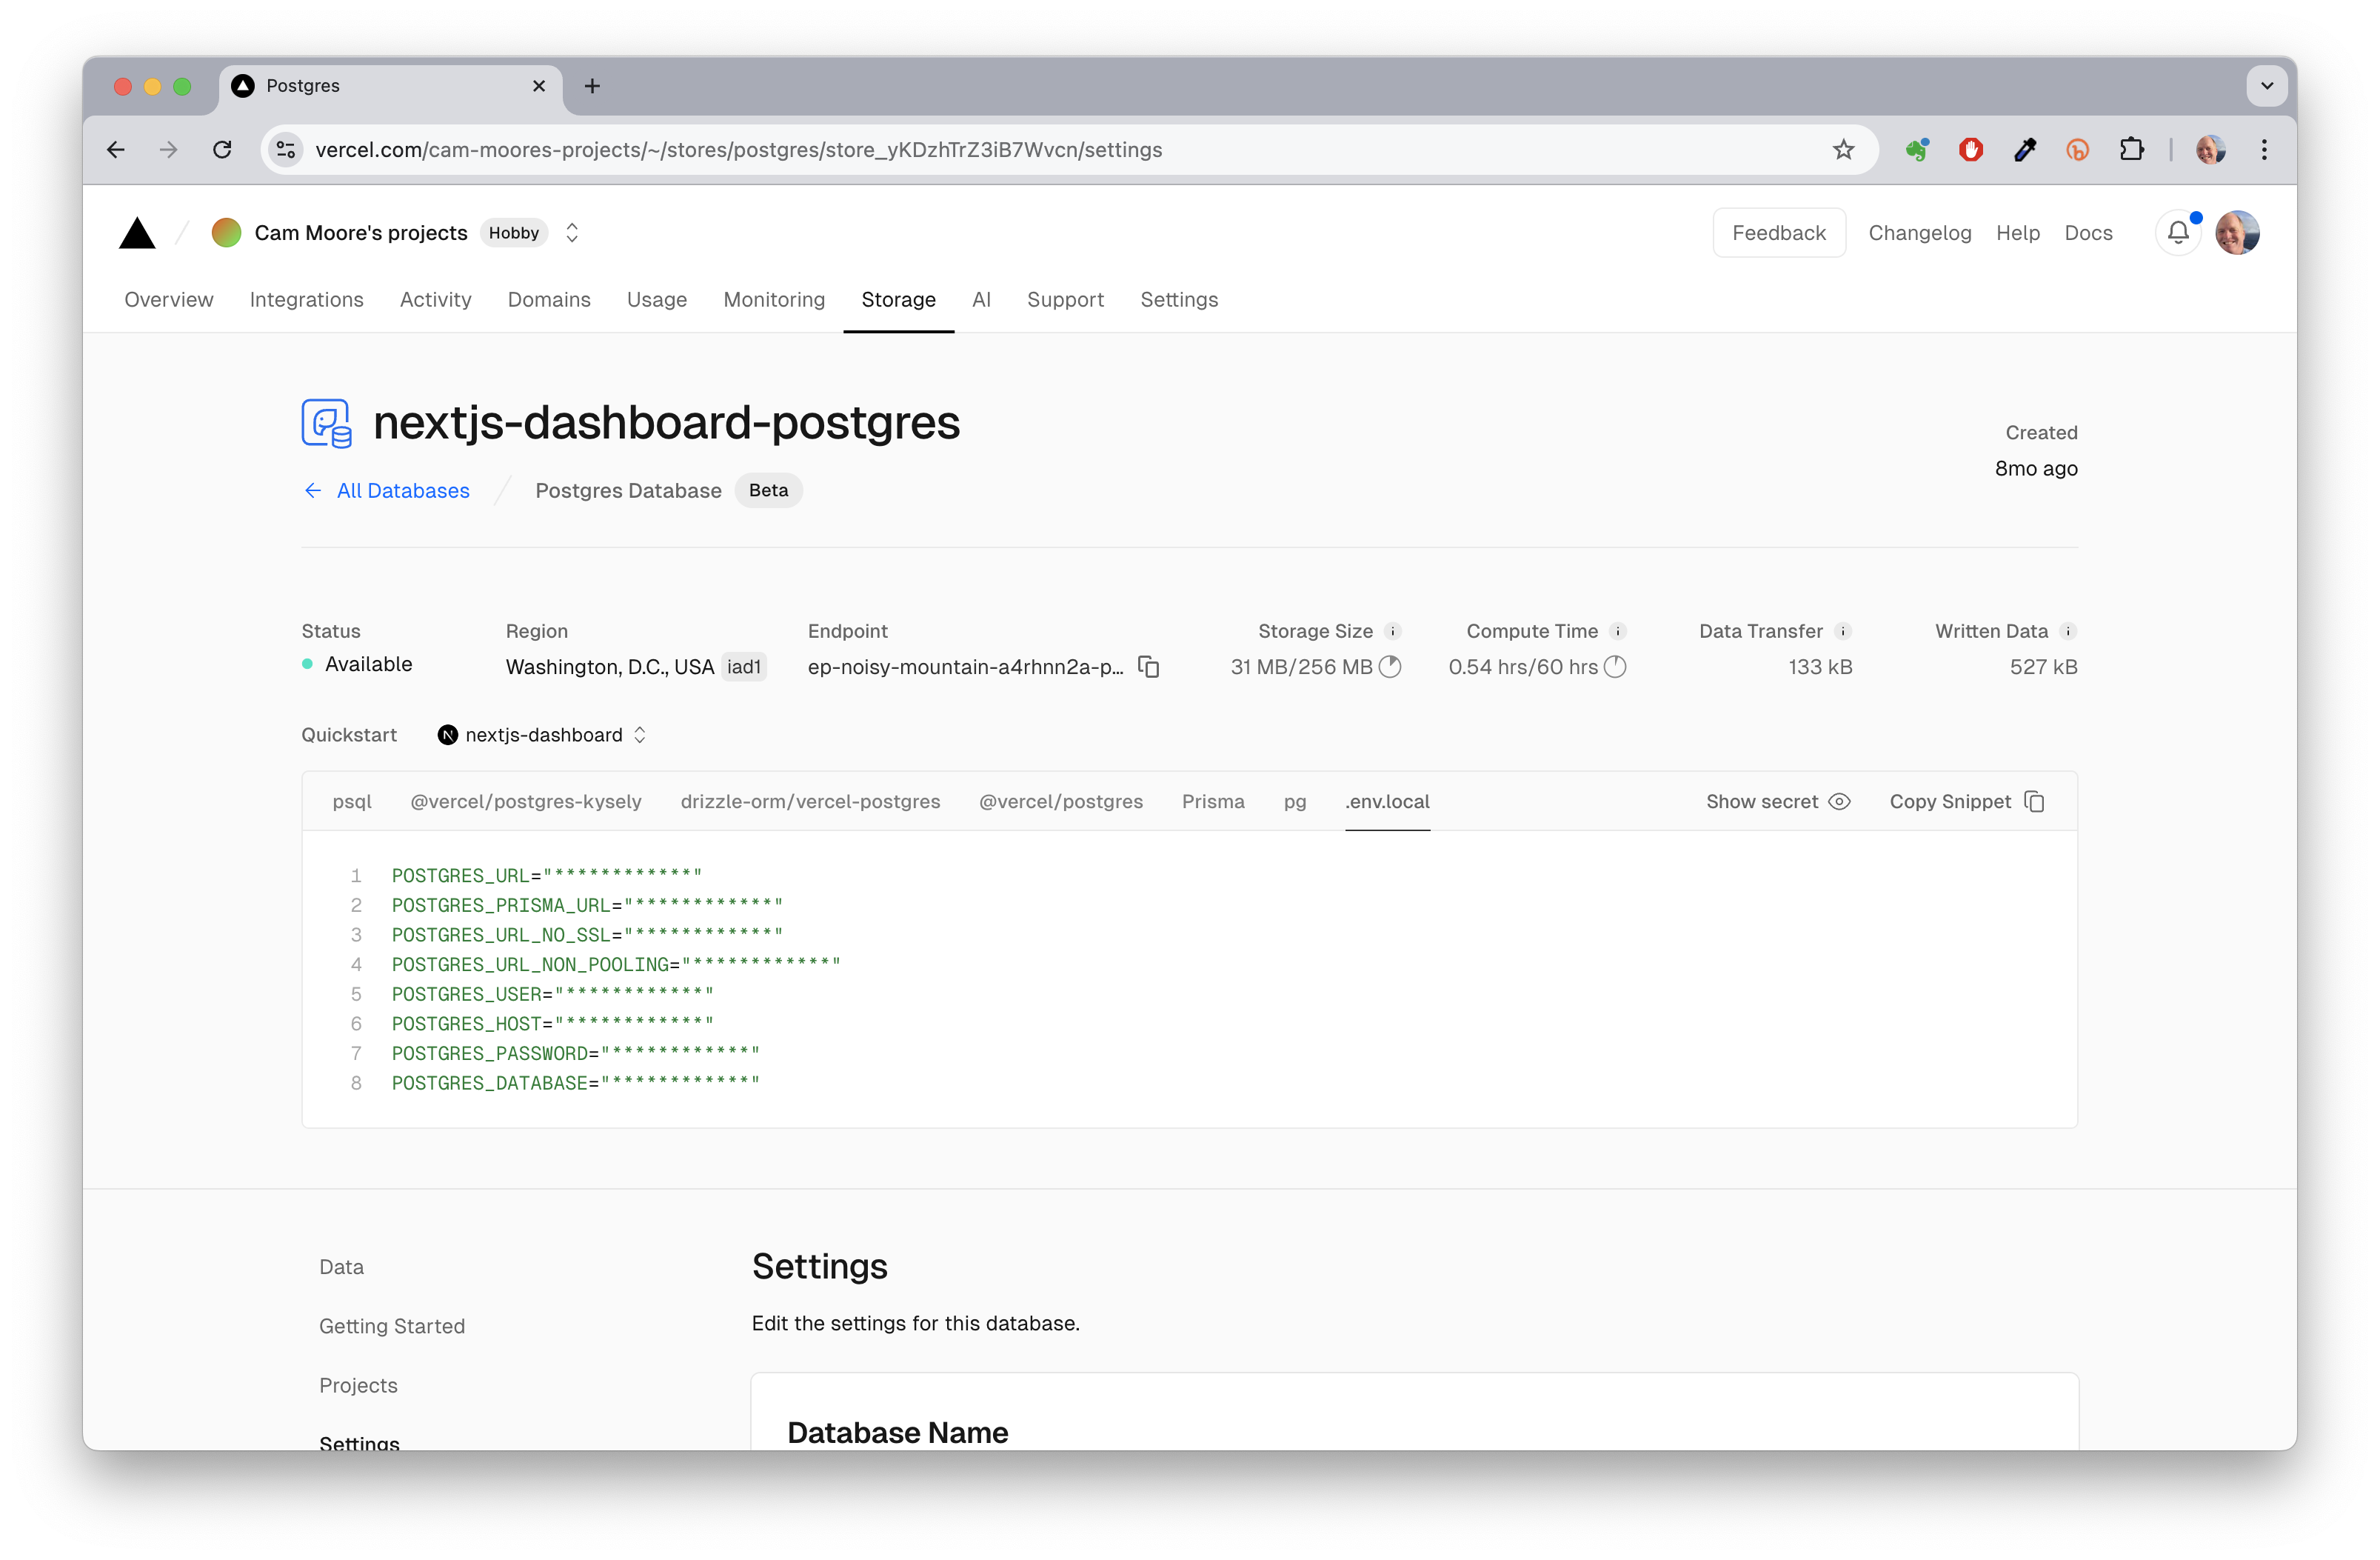
When you connected your my-nextjs-application project to the Vercel PostgreSQL database, Vercel created environment variables needed to connect to the database. You can see these environment variables in the Vercel dashboard.
You can copy these environment variables to your .env file in your project. Or you can download them from Vercel using the following command:
$ vercel env pull
Vercel CLI 37.14.0
> Downloading `development` Environment Variables for cam-moores-projects/my-nextjs-application
✅  Created .env.local file  [137ms]
$
This command creates a .env.local file in your project directory. Do not commit this file to your repository.
6. Set up Prisma to use the Vercel PostgreSQL database
You need to set up Prisma to use the Vercel PostgreSQL database. Edit the schema.prisma file in the prisma directory of your project. Change the url field to use the Vercel environment variables.
datasource db {
  provider  = "postgresql"
  // for local development
  // url      = env("DATABASE_URL")
  // for Vercel
  url       = env("POSTGRES_PRISMA_URL")
  directUrl = env("POSTGRES_URL_NON_POOLING")
}
6.1. Push the Prisma schema to the Vercel database
To get the tables created in the Vercel PostgreSQL database, you need to push the Prisma schema to the database. Run the following command in your terminal:
$ npx prisma db push
6.2. Seed the Vercel database
To seed the Vercel PostgreSQL database, run the following command in your terminal:
$ npx prisma db seed
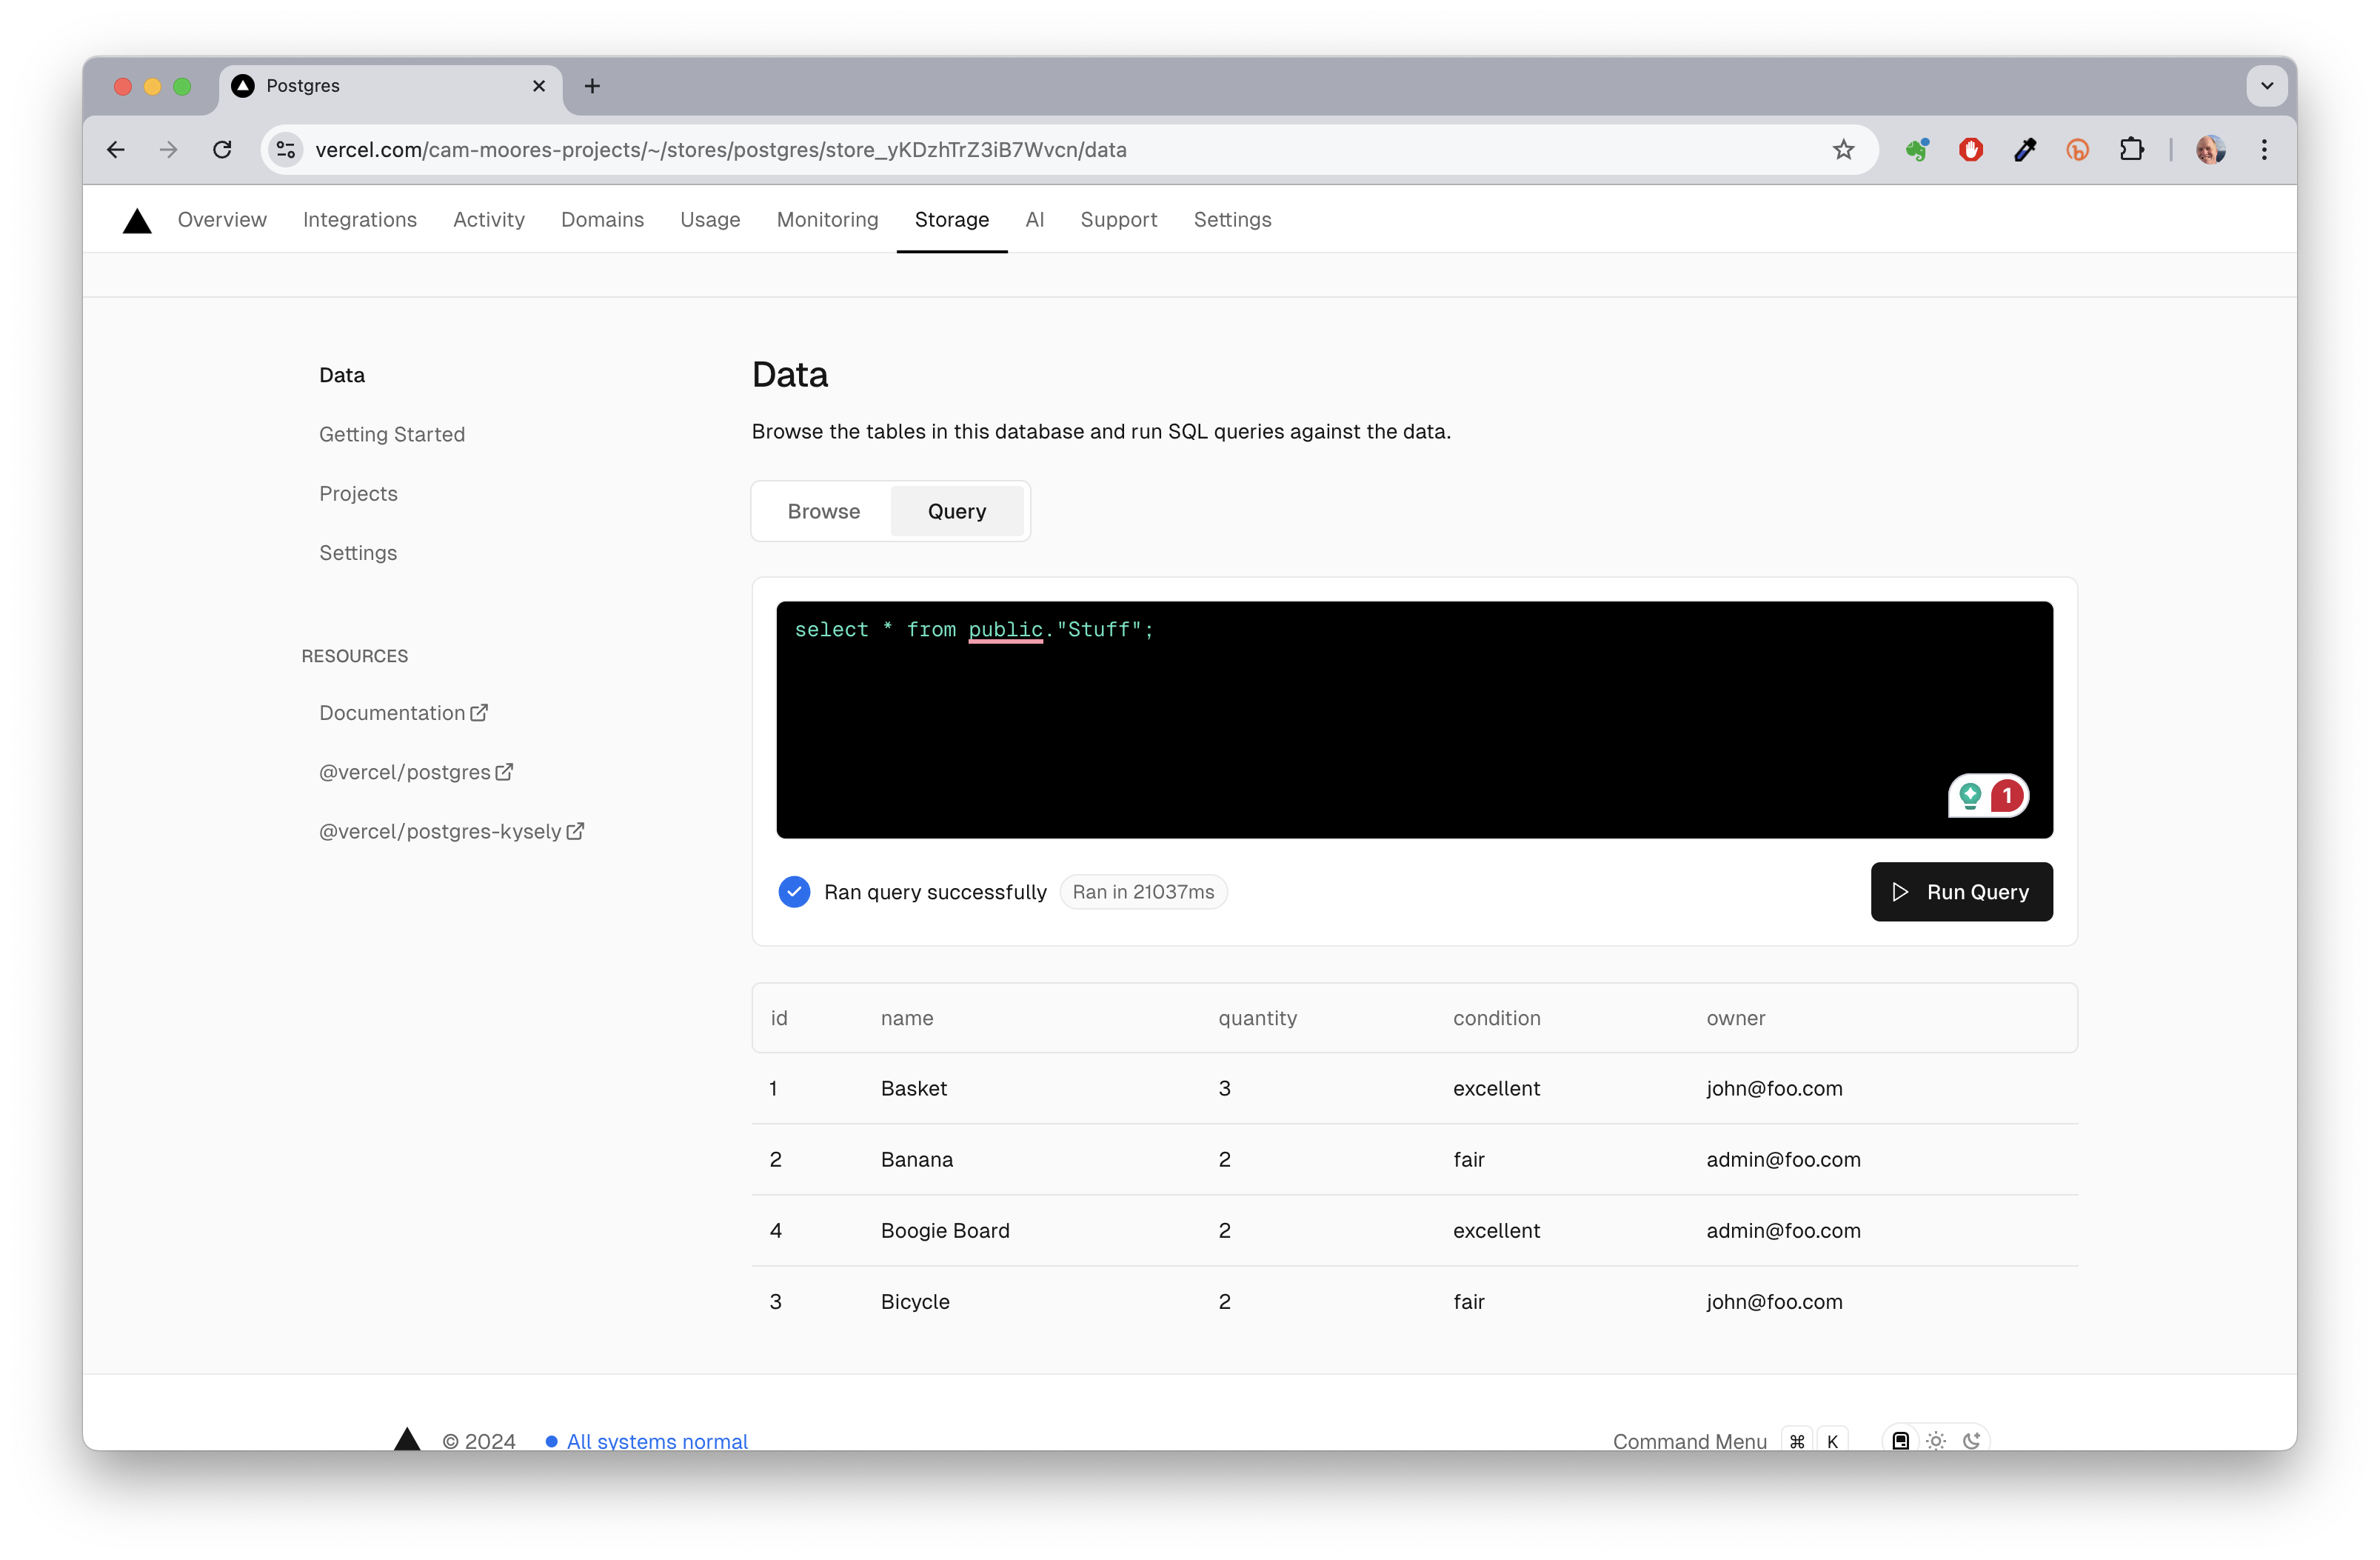
You can check the database in the Vercel dashboard to see that the tables have been created and seeded.
7. Visit your project on Vercel
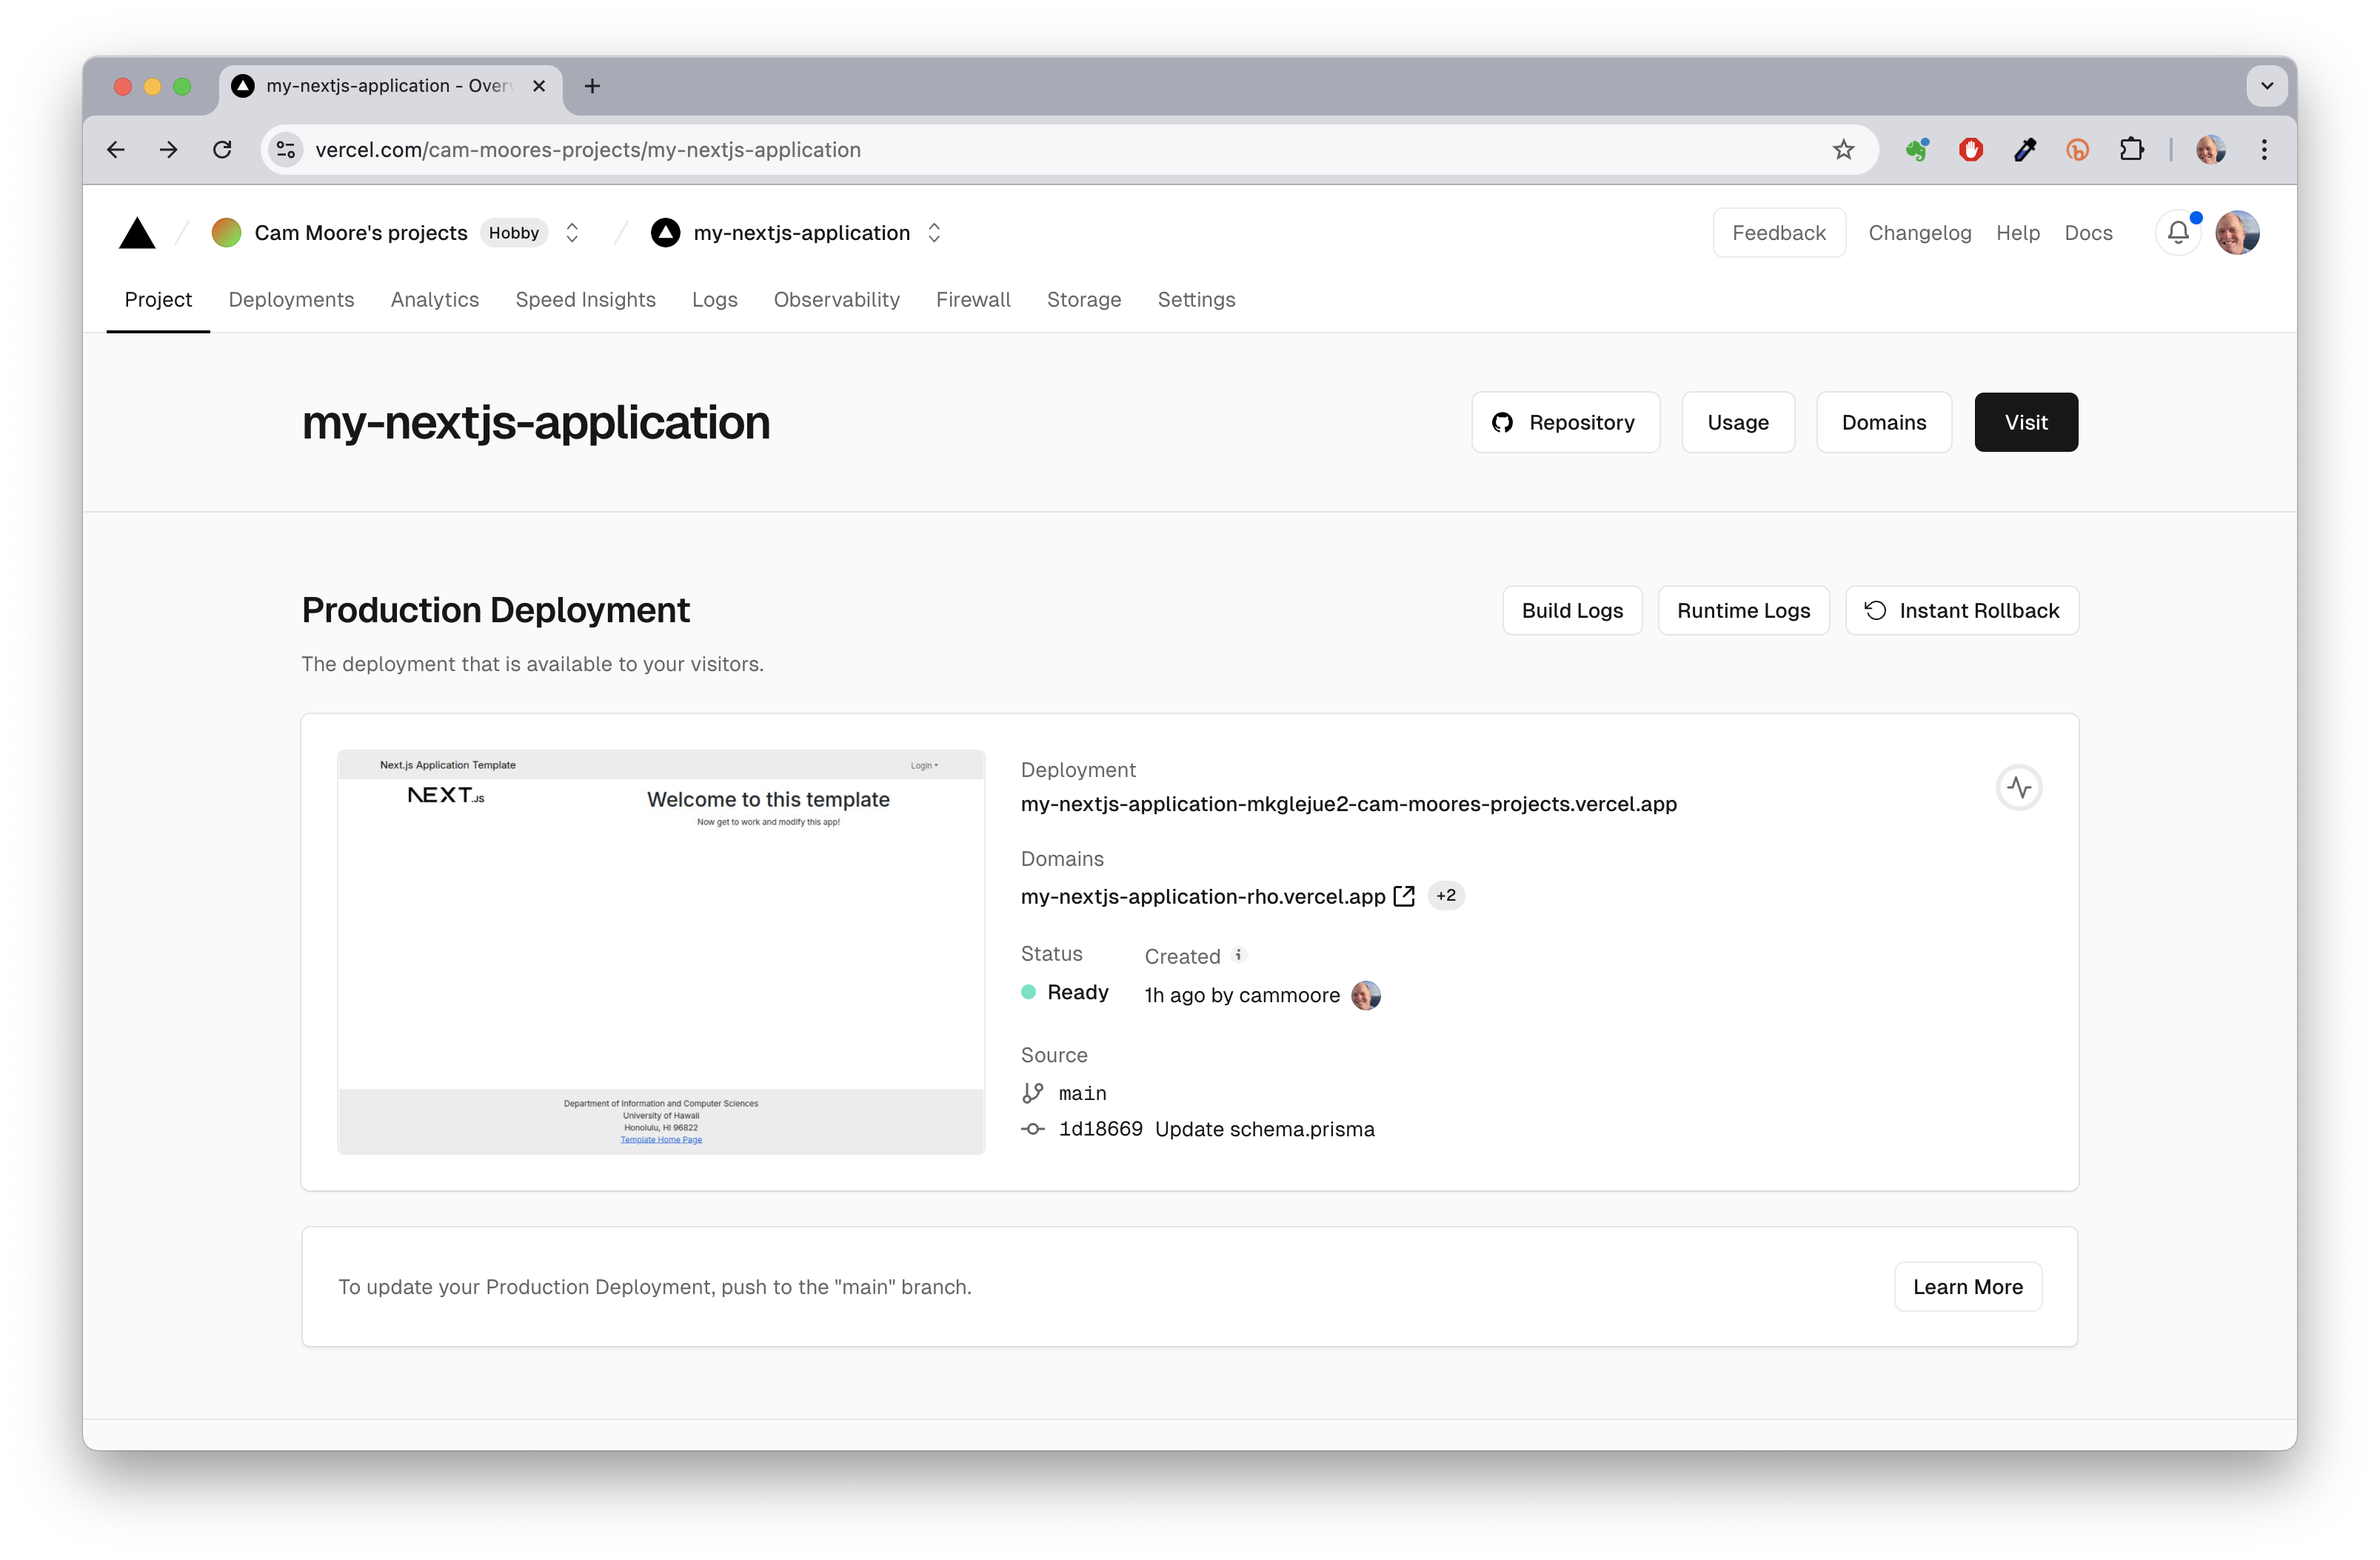
Click on your project. You will see a screen that shows your project.
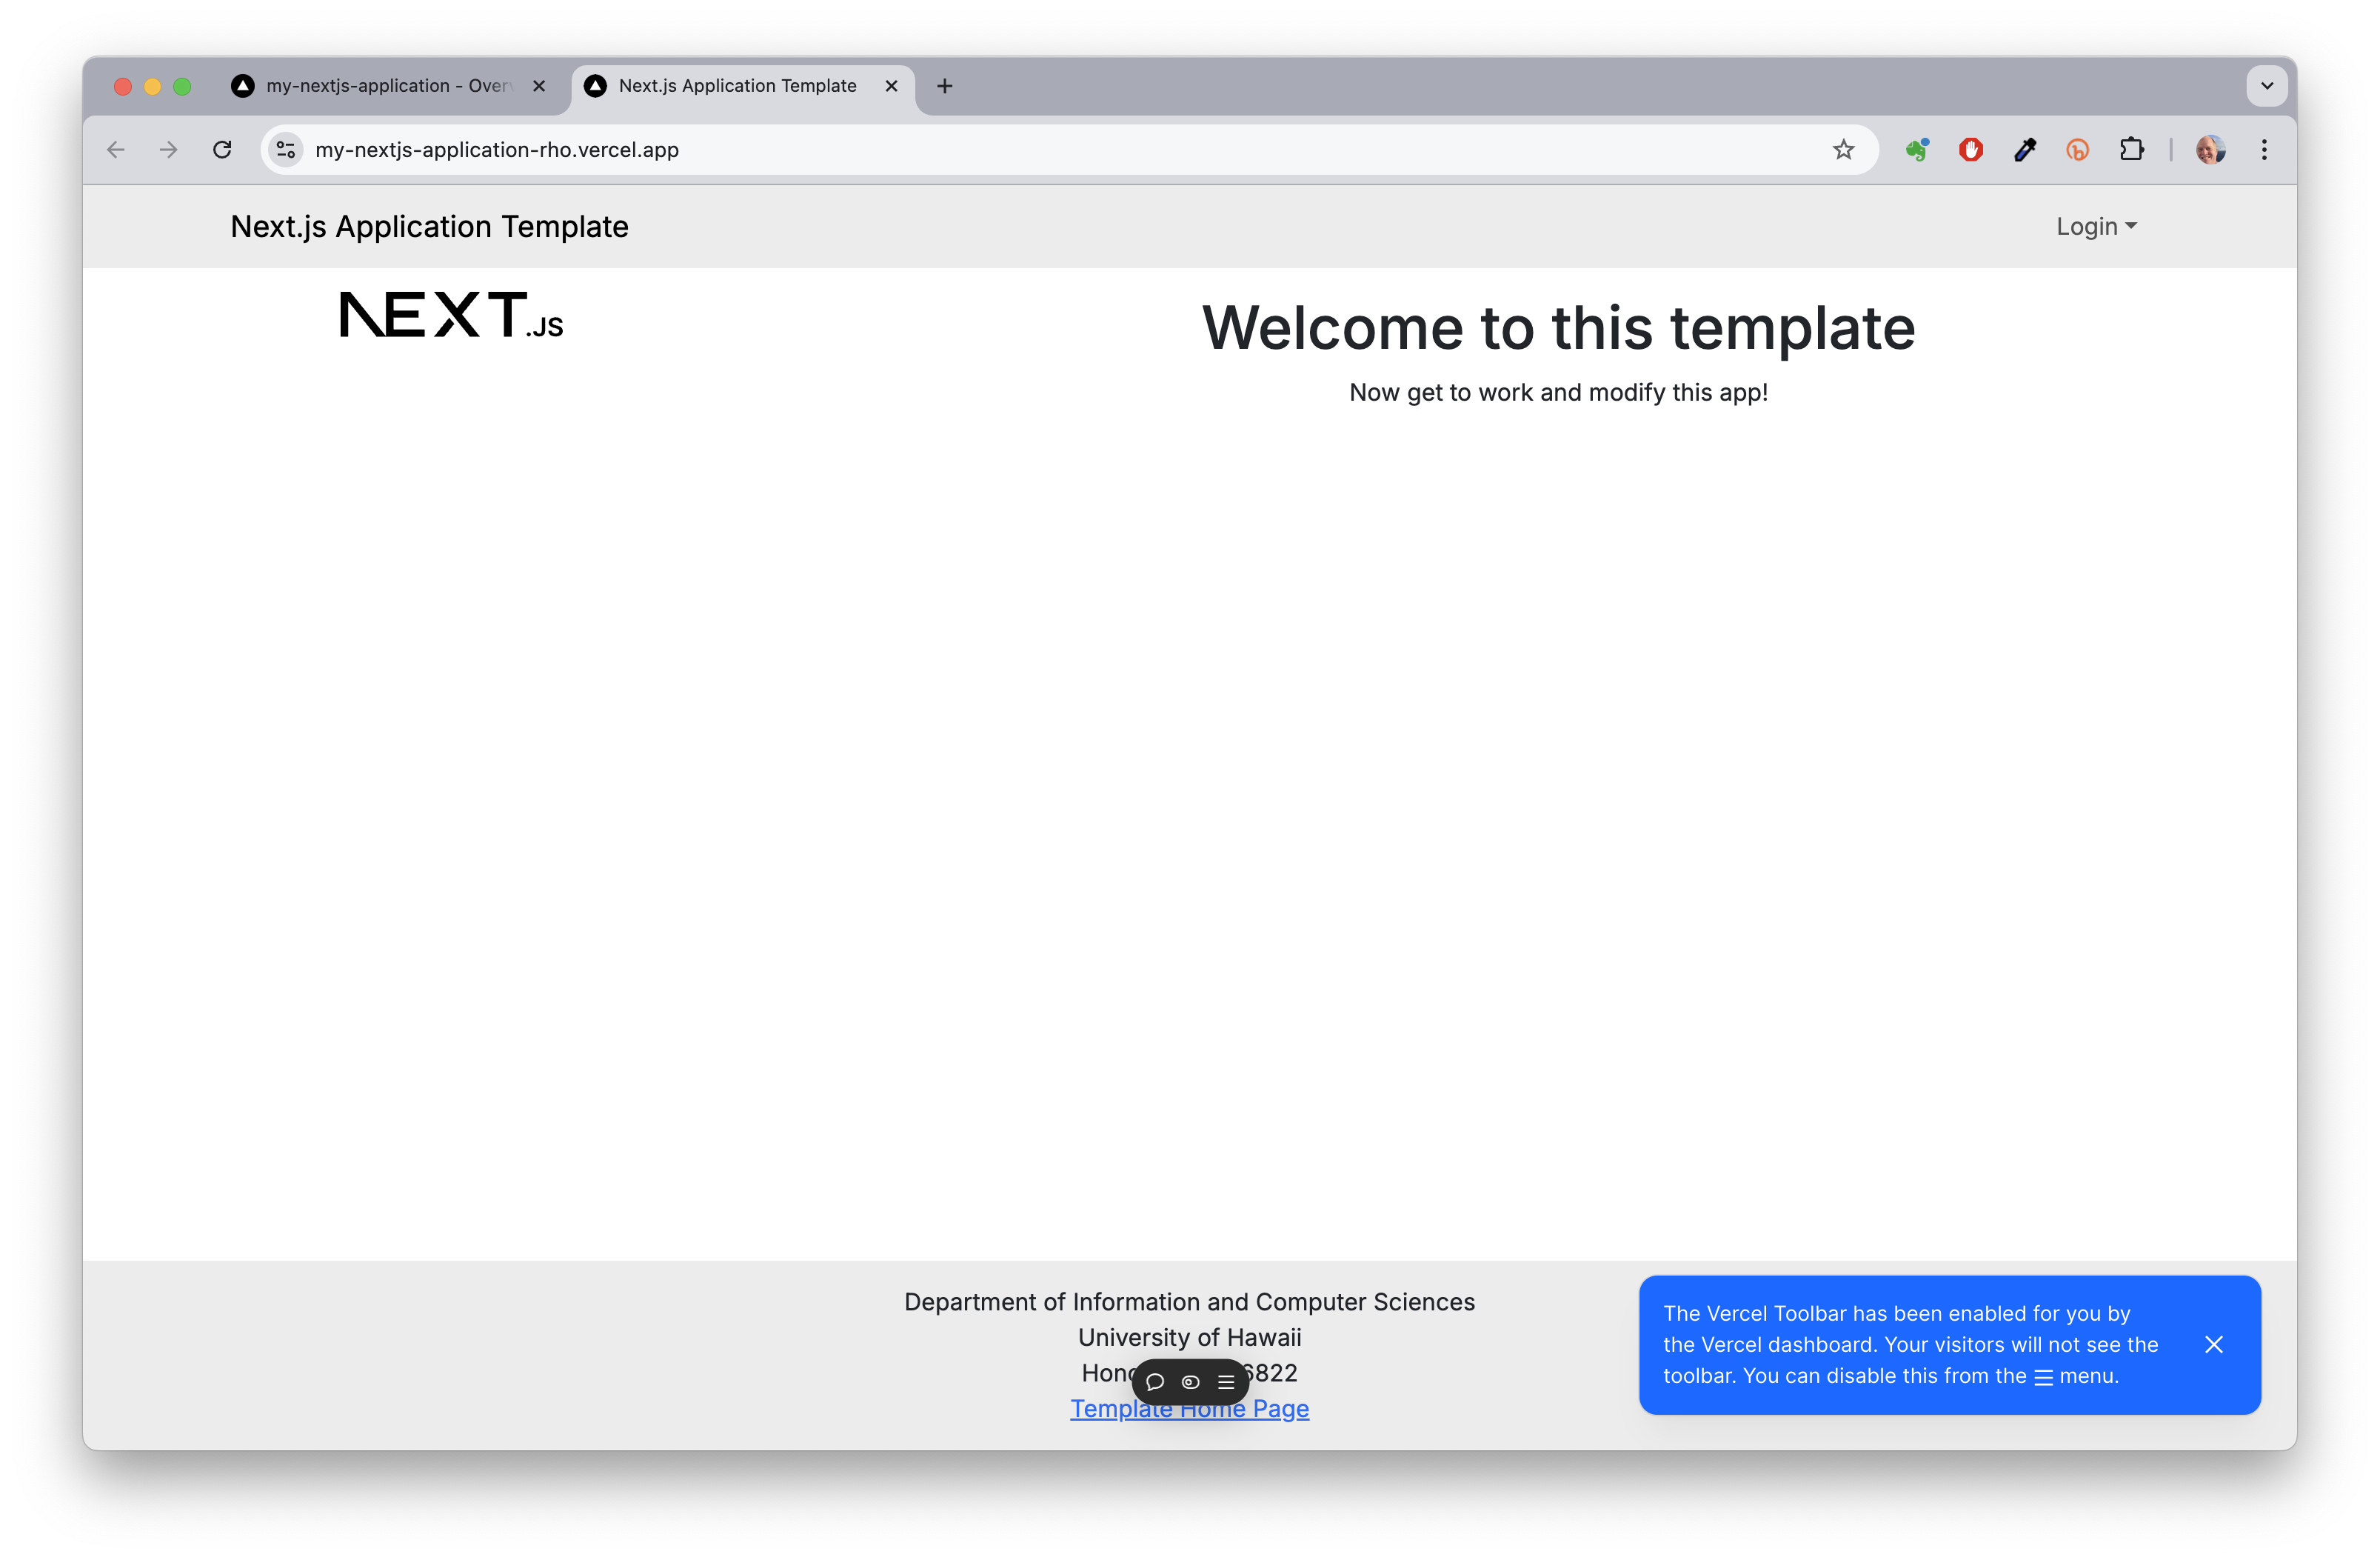
Click on the Visit button to see your project.
Congratulations! You have successfully deployed your Nextjs application to Vercel.
