E40: Experience Island Snow in React
The goal of this experience is for you to start getting familiar with the Bootstrap/React library. Once you get familiar with it, you will find that this library is quite easy to use and simplifies the development of a modern looking UI in React.
This experience is based on the Island Snow with Bootstrap 5 experience. You will be converting your Island Snow mockup page from “regular” Bootstrap into “React” Bootstrap. You can use the logo and main image from the previous experience. If you didn’t complete Island Snow with Bootstrap, you can use these files.
Note that to get credit for this experience, you need to commit your code at the completion of each part with the specified message. That will allow us to easily “retrace your steps” and see that you worked your way through the tutorial.
Task 1: Set up your development environment.
For this task, you’ll set up a private GitHub repo.
- Create a private GitHub repo called
islandsnow-reactand initialize it with a README. - Clone it to your local workspace (preferably using GitHub Desktop).
- Open the
islandsnow-reactfolder in VSCode. - Create a
.gitignorefile, and ignorenode_modules, and.vscode.
When you have this working, commit and push your code to GitHub with the message “Task 1”. We will be checking for the presence of this commit with this message. There should be only two files in your repo: .gitignore and README.md.
If you’ve made a mistake, fix it and recommit using the same message (“Task 1”). If we see a sequence of commits, all with the label Task 1, we will check the last one only. You are not penalized for multiple commits of Task 1, only if the final one does not conform to these instructions.
Task 2: Create your initial React app.
You will create your initial react app in a manner similar to the last experience.
Note: if you haven’t done the last experience, stop and do it now!
2.1. Create a vanilla app
First, cd into your islandsnow-react directory and invoke npx create-next-app@latest my-app. Choose the following options:
- ✔ Would you like to use TypeScript? … Yes
- ✔ Would you like to use ESLint? … Yes
- ✔ Would you like to use Tailwind CSS? … No
- ✔ Would you like to use
src/directory? … Yes - ✔ Would you like to use App Router? (recommended) … Yes
- ✔ Would you like to customize the default import alias (@/*)? … No
Change directory into my-app/.
Install Bootstrap by typing npm install react-bootstrap react-bootstrap-icons bootstrap
2.2. Reinitialize the src directory
Now cd into the src/app directory. Edit the page.tsx file to look like this:
import "bootstrap/dist/css/bootstrap.min.css";
import { Container } from "react-bootstrap";

export default function Home() {
  return (
    <main>
      <Container>
        <h1 className="text-center">Island Snow!</h1>
      </Container>
    </main>
  );
}
Copy the style.css file from your Island Snow with Bootstrap project into the src directory.
2.3 Run the app
Now run npm run dev in your shell. If all goes according to plan, you should see the following appear at http://localhost:3000:
2.4 Commit and push your repo
Once you’ve gotten this far, commit and push your repo to GitHub with the message “Task 2”.
Task 3: Build the page!
Take a look at the index.html file from your Island Snow experience in the UI Frameworks module. (If you did not complete this assignment, you can send a DM to the instructor to request the source files. But don’t wait until the last minute to make this request!)
You can see that the home page consists of five sections:
- A top menu (containing social media icons on the left, and shopping cart icons on the right).
- The Island Snow logo image, centered.
- A middle menu (containing MEN, WOMEN, KIDS, BRANDS, and SEARCH) items.
- A full-width picture.
- A three column footer.
A good way to proceed is to create 5 React components, each one responsible for rendering one section of the site, plus a top-level IslandSnow component that calls each of them. For example, your page.js file could look like this:
import "bootstrap/dist/css/bootstrap.min.css";
import './style.css';
import { Container } from "react-bootstrap";
const TopMenu = () => (
<h1>TopMenu</h1>
);
const IslandSnowLogo = () => (
<h1>IslandSnowLogo</h1>
);
const MiddleMenu = () => (
<h1>MiddleMenu</h1>
);
const FullWidthImage = () => (
<h1>FullWidthImage</h1>
);
const FooterMenu = () => (
<h1>FooterMenu</h1>
);
export default function Home() {
return (
<main>
<Container>
<TopMenu/>
<IslandSnowLogo/>
<MiddleMenu/>
<FullWidthImage/>
<FooterMenu/>
</Container>
</main>
);
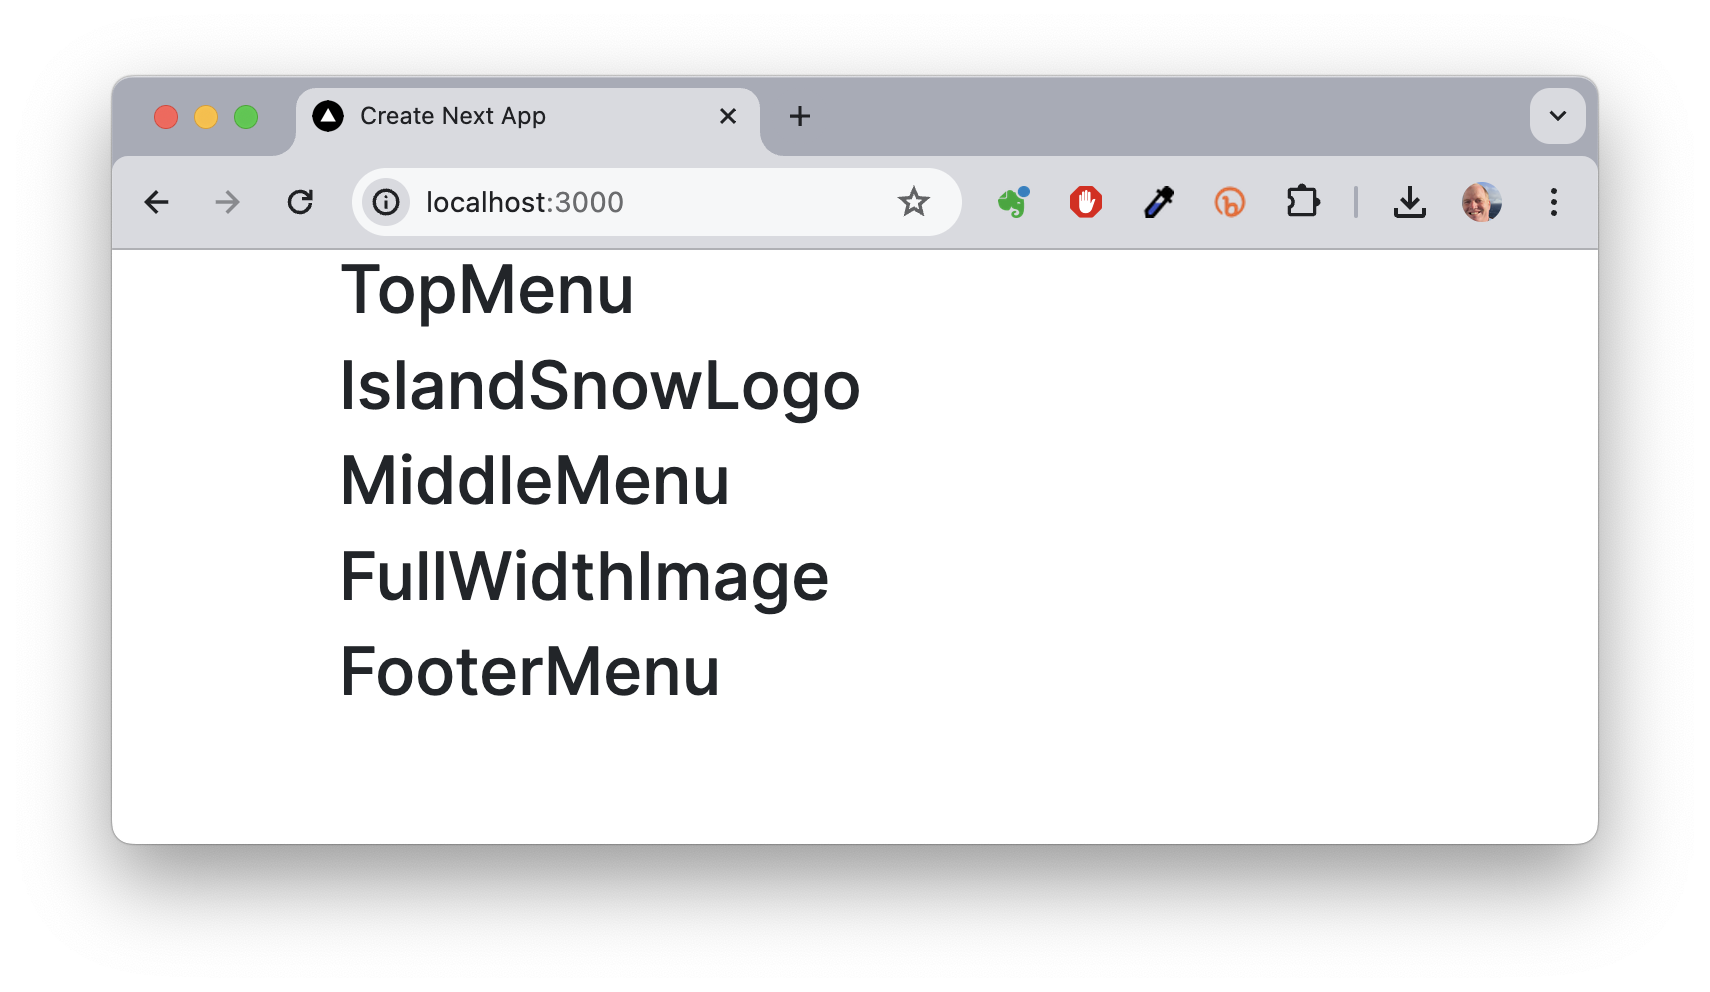
}
And then your page will render like this:
At this point, you should use the Bootstrap/React documentation along with your Island Snow code to figure out the React equivalent. For example, here is one way to code the TopMenu:
const TopMenu = () => (
  <Navbar bg="light" expand="lg">
    <Container>
      <Nav className="me-auto">
        <Nav.Link><Facebook/></Nav.Link>
        <Nav.Link><Twitter/></Nav.Link>
        <Nav.Link><Pinterest/></Nav.Link>
        <Nav.Link><Instagram/></Nav.Link>
      </Nav>
      <Nav className="justify-content-end">
        <Nav.Link><HouseFill/> </Nav.Link>
        <Nav.Link><Search/> </Nav.Link>
        <Nav.Link><PersonFill/> </Nav.Link>
        <NavDropdown title={<Cart/>}>
          <NavDropdown.Item></NavDropdown.Item>
          <NavDropdown.ItemText>Your cart is currently empty.</NavDropdown.ItemText>
        </NavDropdown>
      </Nav>
    </Container>
  </Navbar>
);
If you get an Unhandled Runtime Error, it’s likely because you forgot to add the "use client"; directive at the top of your page.js file.
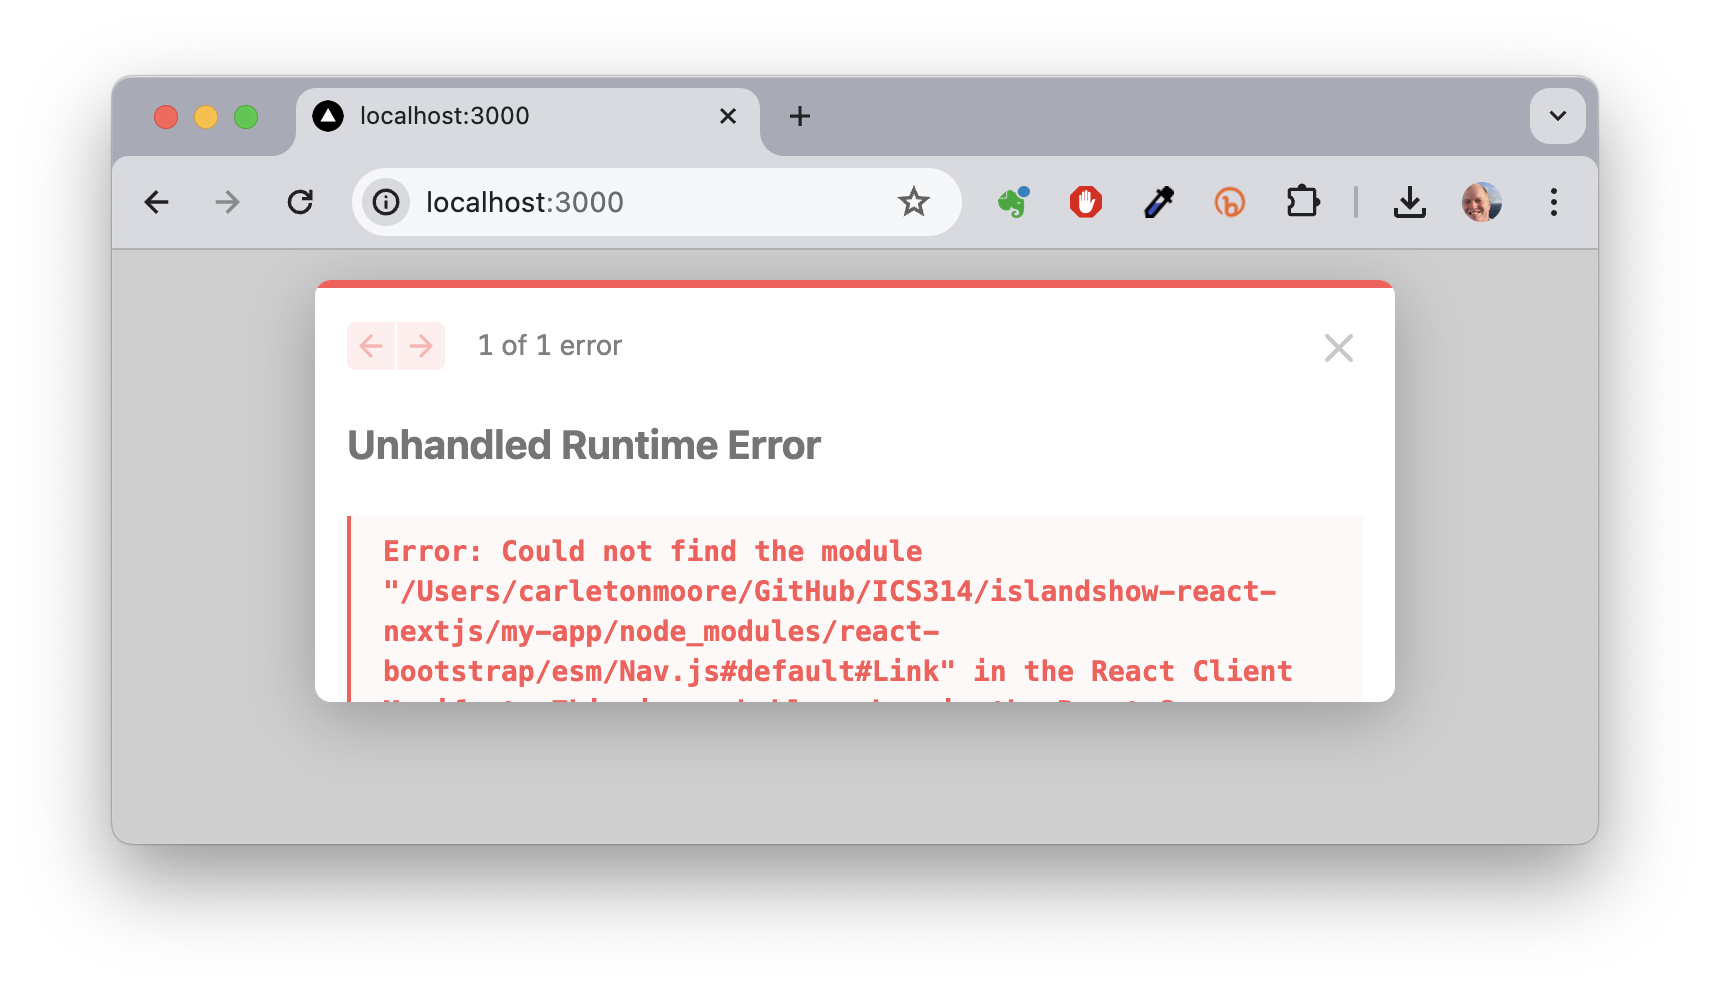
Add it and try again.

It will take a bit of experimentation, but that’s how you will get comfortable with the library.
If you get stuck with one of the components, just leave it and try to do the other ones, then come back to it.
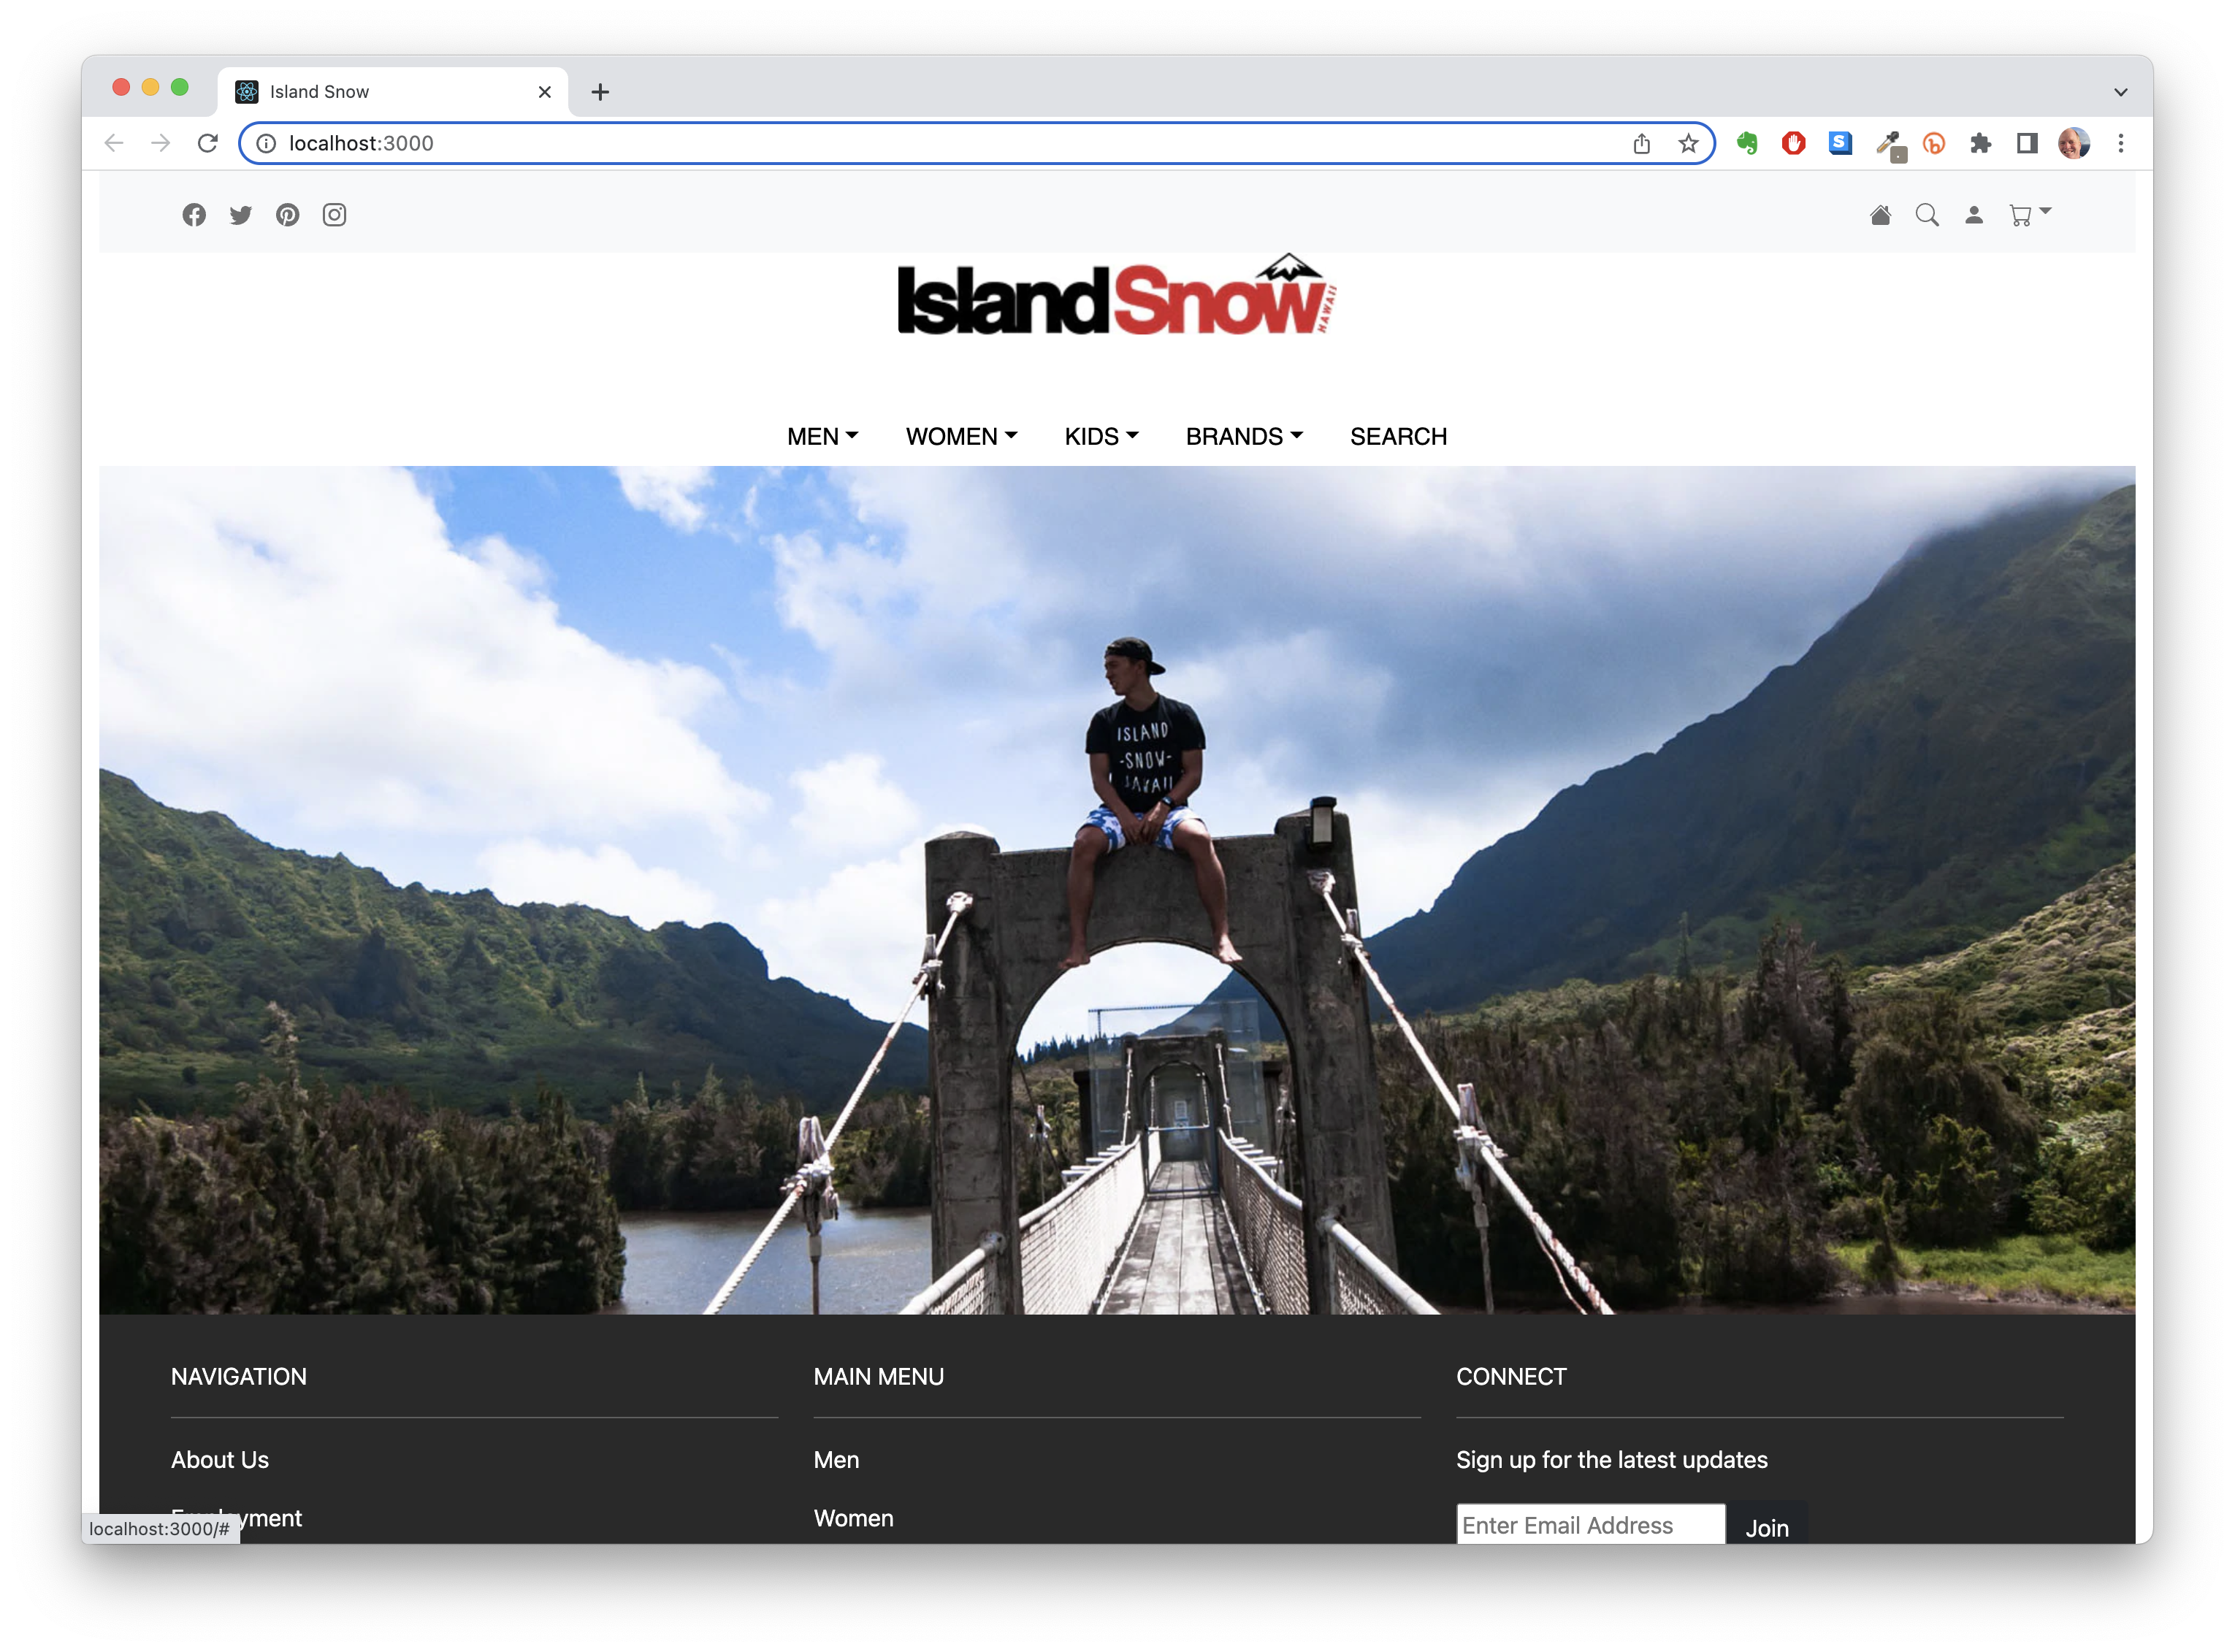
When you finish, commit and push your repo to GitHub with the message “Task 4”. Here’s what it should look like:
Submission instructions
By the time and date indicated in Laulima, submit this assignment via Laulima.
Your submission should contain a link to the GitHub repository you created. Make sure you include the complete URL so that I can click on it in my mailer. Note: the final commit to this repo must have been made before the submission time and date, otherwise you will not receive credit for this assignment.
You must now grant read access to this repo to the TA for your section. To do this:
- Retrieve your repository in a browser, then click on “Settings”. Depending upon the GitHub UI you are provided, you’ll then click on either “Collaborators” or “Manage Access”. Let us know if you can’t find either of these.
- Search for “aliremos”, then click “Add collaborator”.
- The search for “aliknd”, then click “Add collaborator”.