E61: Experience testing nextjs-application-template
This experience will help you become familiar with the process of writing acceptance tests for a Next.js application and setting up a continuous integration process using our template.
Prelude
Before you start, make sure you have completed the following:
A. Set up a playwright-test repository
To begin, make a copy of the nextjs-application-template repository. You can do this by clicking the “Use this template” button on the GitHub page. Name your repository playwright-test. Clone this repo to your laptop, run npm install and then npm run dev to bring it up. Go to http://localhost:3000 to verify that the template is running.
Quit Next.js if it is running.
B. Initialize the Postgres database
Before you start, you need to initialize the Postgres database. To do this, you need to start the Postgres database and create a database called playwright-test. Here are the steps:
- Open a Terminal window in VSCode and run the command
createdb playwright-test. - Copy the
sample.envfile to a new file called.env. - Edit the
.envfile to set theDATABASE_URLtopostgresql://<username>:<password>@localhost:5432/playwright-test?schema=public. - Migrate the database by running the command
npx prisma migrate dev. This will create the tables in theplaywright-testdatabase. - Seed the database by running the command
npx prisma db seed. This will populate the tables with some sample data. - Start Next.js using
npm run dev, and check http://localhost:3000 (and the console) to ensure that the new landing page displays correctly.
C. Run the existing Playwright tests
nextjs-application-template comes with a set of Playwright tests. Run these tests to see how they work. You can run the tests by executing the following command:
$ npx playwright test

Running 6 tests using 5 workers
[WebServer]  ⚠ Fast Refresh had to perform a full reload. Read more: https://nextjs.org/docs/messages/fast-refresh-reload
  6 passed (12.7s)

To open last HTML report run:

  npx playwright show-report
$
D. Review the tests/ directory
The tests/ directory contains the Playwright tests for the template. Review the tests in this directory to understand how they work.
admin-pages.spec.tsincludes tests for the admin pages.
import { test, expect } from '@playwright/test';

test.use({
  storageState: 'admin-auth.json',
});

test('Admin Pages', async ({ page }) => {
  await page.goto('http://localhost:3000/');
  await expect(page.getByRole('link', { name: 'Next.js Application Template' })).toBeVisible();
  await expect(page.getByRole('link', { name: 'Add Stuff' })).toBeVisible();
  await expect(page.getByRole('link', { name: 'List Stuff' })).toBeVisible();
  await expect(page.getByRole('link', { name: 'Admin' })).toBeVisible();
  await expect(page.getByRole('button', { name: 'admin@foo.com' })).toBeVisible();
  await page.getByRole('link', { name: 'Add Stuff' }).click();
  await expect(page.getByRole('heading', { name: 'Add Stuff' })).toBeVisible();
  await page.getByRole('link', { name: 'List Stuff' }).click();
  await expect(page.getByRole('heading', { name: 'Stuff' })).toBeVisible();
  await page.getByRole('link', { name: 'Admin' }).click();
  await expect(page.getByRole('heading', { name: 'List Stuff Admin' })).toBeVisible();
  await expect(page.getByRole('heading', { name: 'List Users Admin' })).toBeVisible();
});
It just tests that the links are visible and that the headings are correct.
john-pages.spec.tsincludes tests for the john@foo.com user pages.
import { test, expect } from '@playwright/test';

test.use({
  storageState: 'john-auth.json',
});

test('User Pages', async ({ page }) => {
  await page.goto('http://localhost:3000/');
  await expect(page.getByRole('link', { name: 'Add Stuff' })).toBeVisible();
  await expect(page.getByRole('link', { name: 'List Stuff' })).toBeVisible();
  await expect(page.getByRole('button', { name: 'john@foo.com' })).toBeVisible();
  await page.getByRole('link', { name: 'Add Stuff' }).click();
  await expect(page.getByRole('heading', { name: 'Add Stuff' })).toBeVisible();
  await page.getByRole('link', { name: 'List Stuff' }).click();
  await expect(page.getByRole('heading', { name: 'Stuff' })).toBeVisible();
});
Similarly, it just tests that the links are visible and that the headings are correct.
Experience: Test the ListStuff page
To begin learning how to write acceptance tests, you will write a test for the ListStuff page. This page is accessible to all users and displays a list of stuff items.
1. Create a new test file
Create a new test file called list-stuff-page.spec.ts in the tests/ directory. This file will contain the test for the ListStuff page. The “shell” of the test file should look like this:
import { test, expect } from '@playwright/test';

test.use({
  storageState: 'john-auth.json',
});

test('List Stuff Page', async ({ page }) => {
  await page.goto('http://localhost:3000/list');
});
Now run the test to see that this “test” passes:
$ npx playwright test list-stuff-page.spec.ts                                       12:07:07

Running 3 tests using 3 workers
  3 passed (4.1s)

To open last HTML report run:

  npx playwright show-report

$
2. Write the test
The easiest way to create the test is to use Playwright’s codegen feature. This feature allows you to interact with the page in a browser and then generates the code for you. To use this feature, follow these steps:
- Run the following command to start the Playwright CLI:
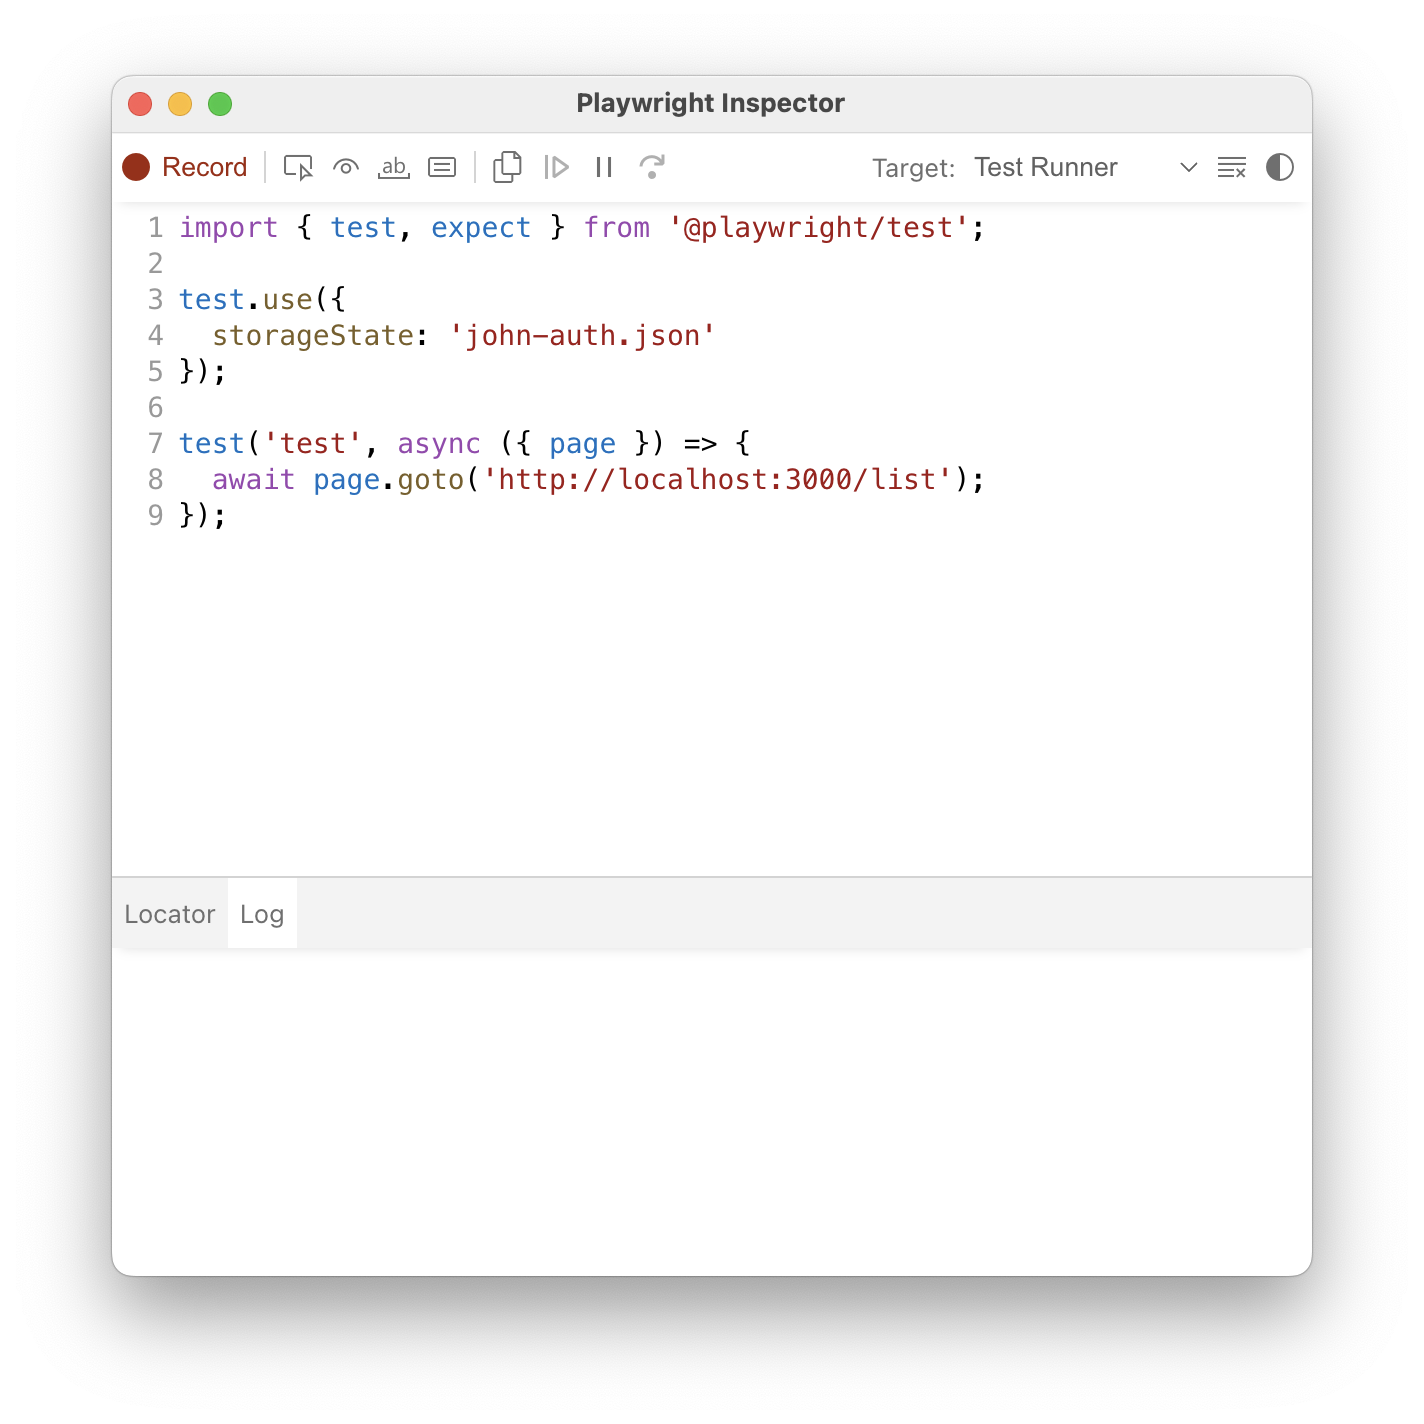
$ npx playwright codegen localhost:3000/list --load-storage=john-auth.json
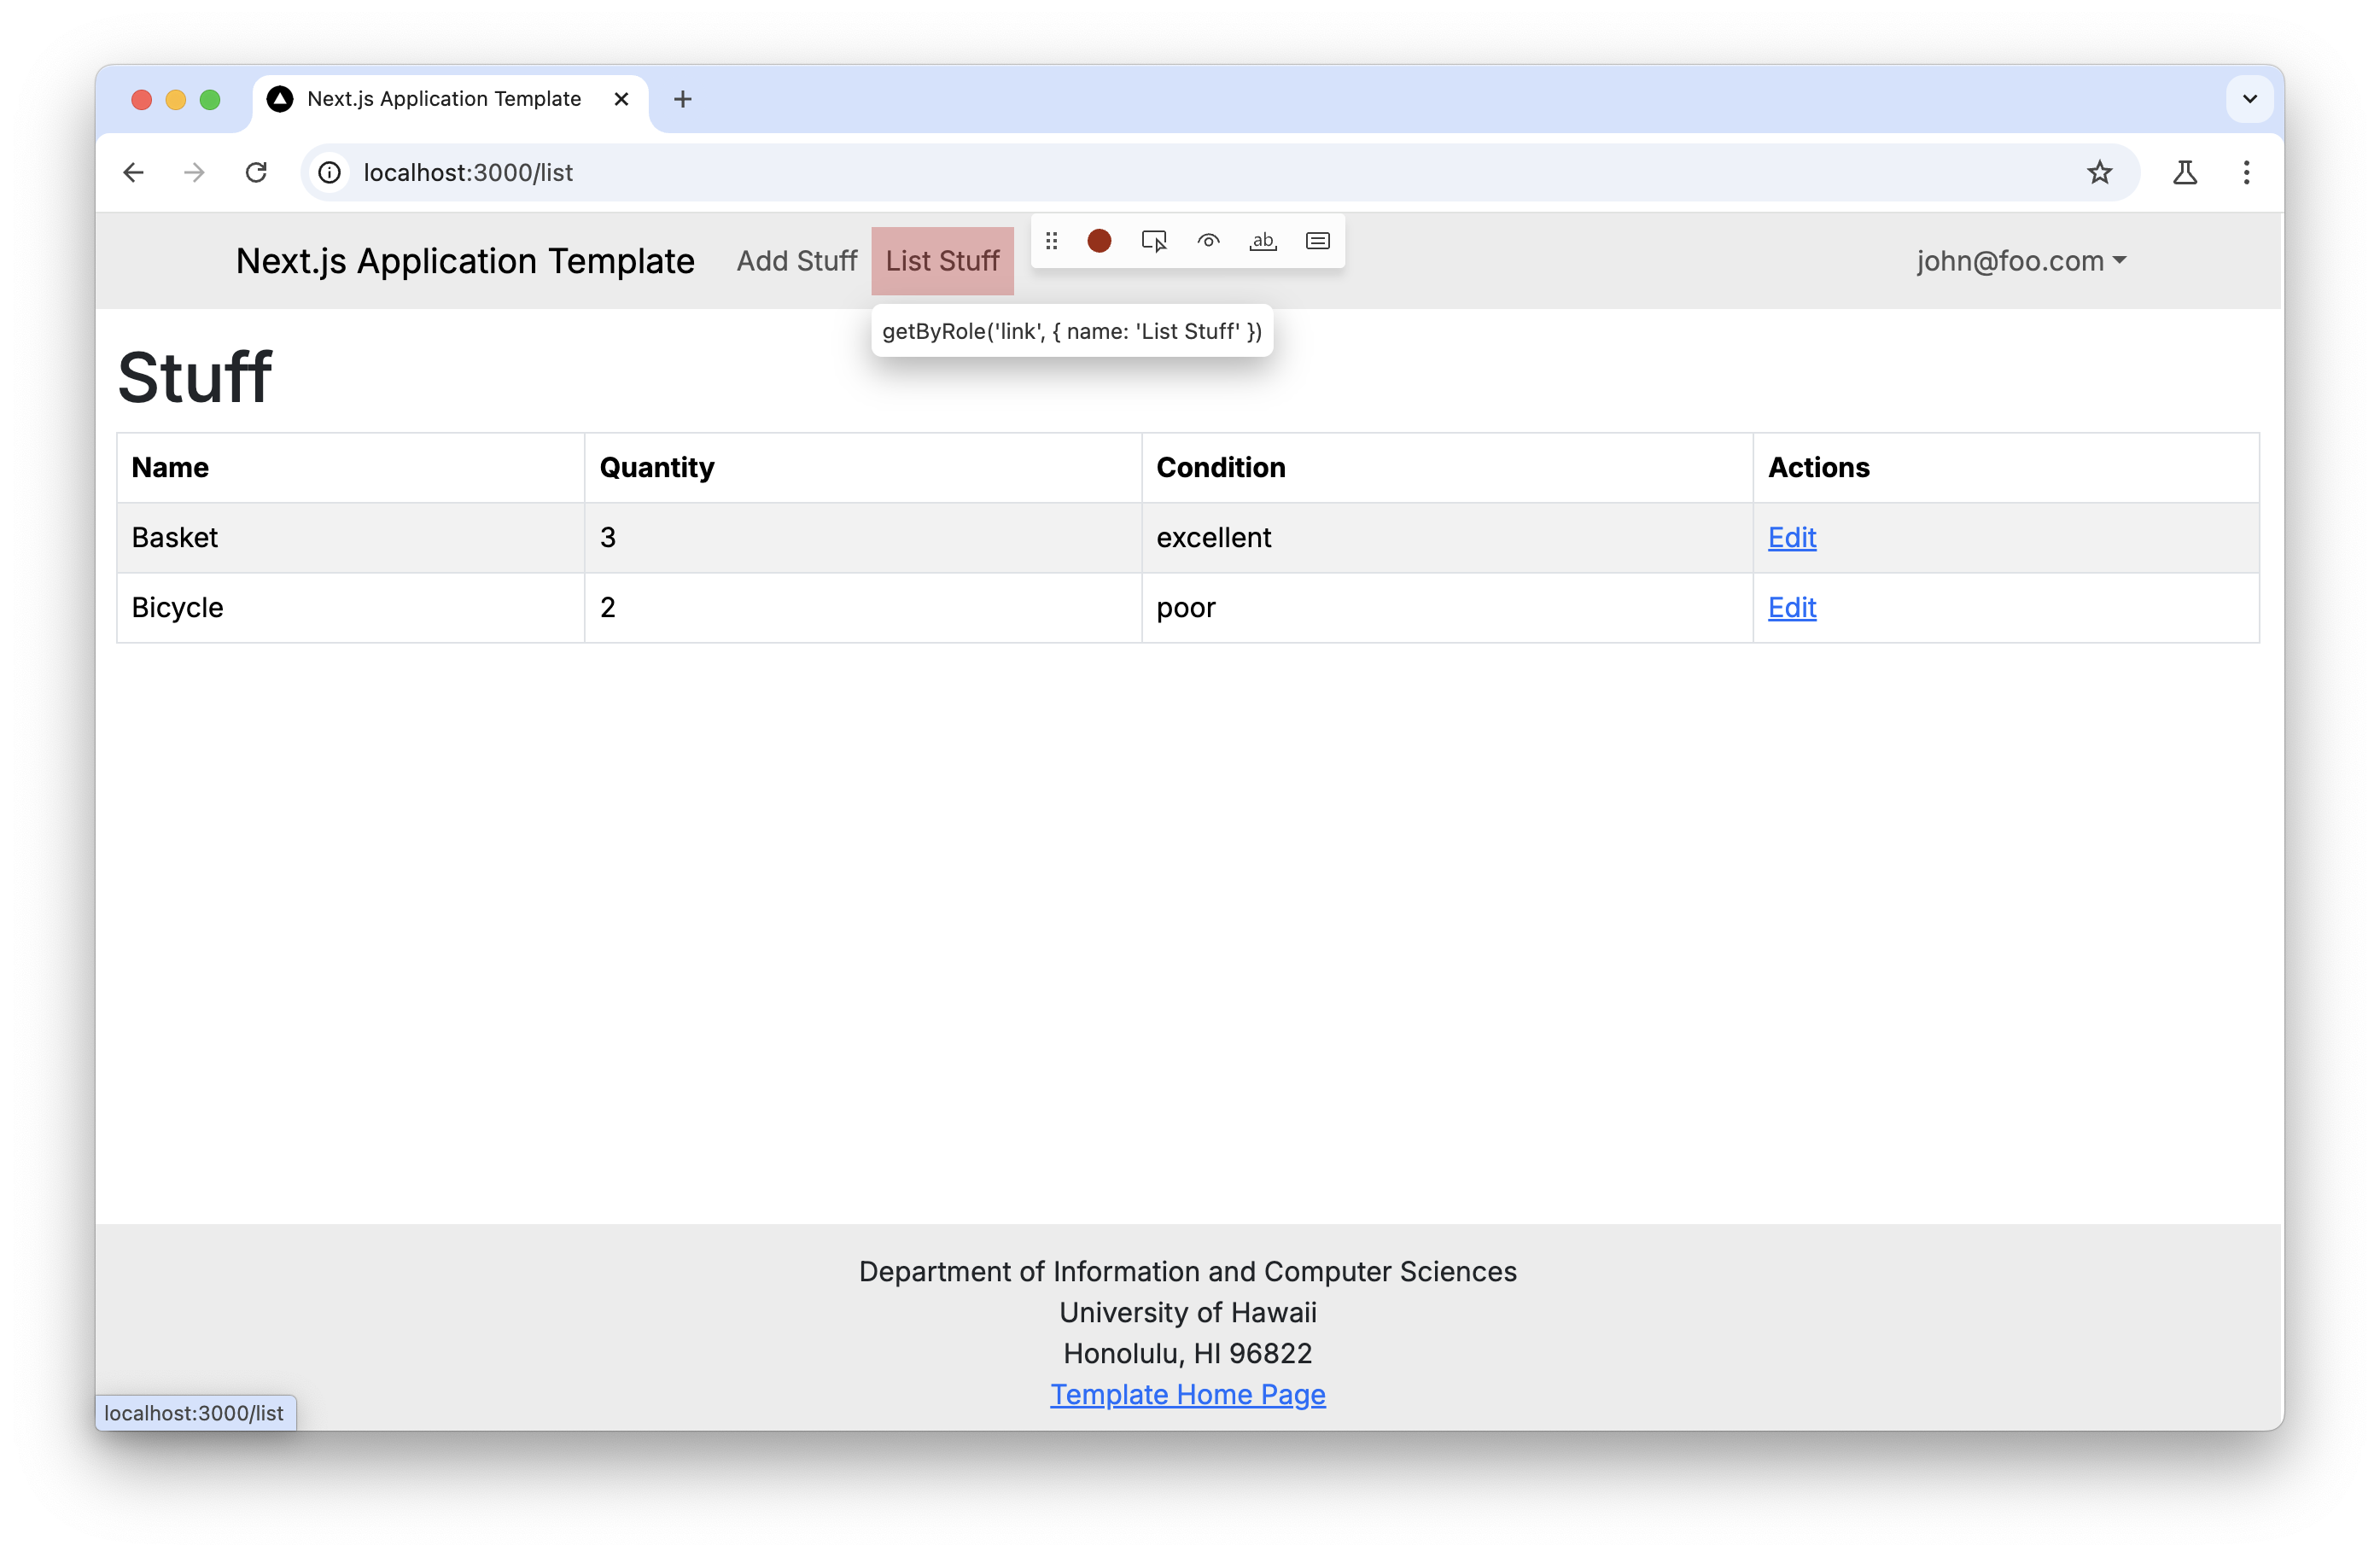
This will open two windows: one with the browser and one with the code generator. Interact with the page in the browser to generate the code for the test.
Interact with the browser window to generate the code for the test. You should check that:
- The table renders correctly.
- The data is displayed as expected.
- The navigation links are visible.
john@foo.comis the logged in user.
When you’re done, click the record button and copy the generated code into your list-stuff-page.spec.ts file.
3. Run the test
If you have installed the Playwright Test for VSCode extension, you can run the test by right-clicking on the test file and selecting “Run Tests in Current File”. Otherwise, you can run the test from the command line:
$ npx playwright test list-stuff-page.spec.ts

Running 3 tests using 3 workers
  3 passed (3.2s)

To open last HTML report run:

  npx playwright show-report

$
Submission Instructions
By the time and date indicated in Laulima, submit this assignment via Laulima. To submit, please provide the URL to your GitHub repository.
Note that you only need to complete this experience once. All of your work will be in the main branch.
You must now grant read access to this repo to the TA for your section. To do this:
- Retrieve your repository in a browser, then click on “Settings”. Depending upon the GitHub UI you are provided, you’ll then click on either “Collaborators” or “Manage Access”. Let us know if you can’t find either of these.
- Search for “aliremos”, then click “Add collaborator”.
- The search for “aliknd”, then click “Add collaborator”.

