E45: Meteor React Tutorial
For this experience, you’ll go through the Meteor React Tutorial and create a GitHub repo that contains your copy of this system.
You should allocate a couple of hours for this experience.
Pedagogy Alert!
If you just copy and paste the code without trying to understand what it does, you will not accomplish the goal of this assignment. For each section, make sure you understand all of the code. If you don't understand it, then post a message to the #smart-questions Slack channel with your question.
Section 1: Creating an app
Section 1 of the Meteor React tutorial is Creating an app. Please do this section with the following modifications:
-
Create a private GitHub repo called “simple-todos”, and check the box to initialize it with a README.
-
Clone it to your local file space.
-
cd into your local simple-todos directory.
-
Use
meteor create simple-todosto create an app called “simple-todos” inside your repo. -
Change the name of the simple-todos subdirectory to app/.
-
cd into the app/ directory, run ‘meteor npm install’ and ‘meteor run’ to run the app. Go to http://localhost:3000 to see the app.
-
Create an IntelliJ project called “simple-todos” that points to your repo. You will see that IntelliJ “indexes” the project for about 30 seconds or so at first. This is OK: it is parsing the node_modules directory to support various completion and error checking functions.
-
If IntelliJ tries to run ESLint and fails, click on “Settings” in the failure dialog and uncheck the “Enable” box to disable ESLint. (Don’t worry: We’ll configure ESLint soon.)
-
Create a .gitignore file and add
*.imland.ideaon separate lines so that the IntelliJ project files won’t be committed to GitHub. -
Edit the top-level template and check to see that Meteor restarts and refreshes the page automatically.
-
Commit your project to GitHub. Use the commit message: “Section 1”. If you set things up correctly, there should be about 15 files to commit.
-
Check to see that your project is saved on GitHub. (Note that when grading this project, we’ll check that this initial commit was made, so don’t skip this step!)
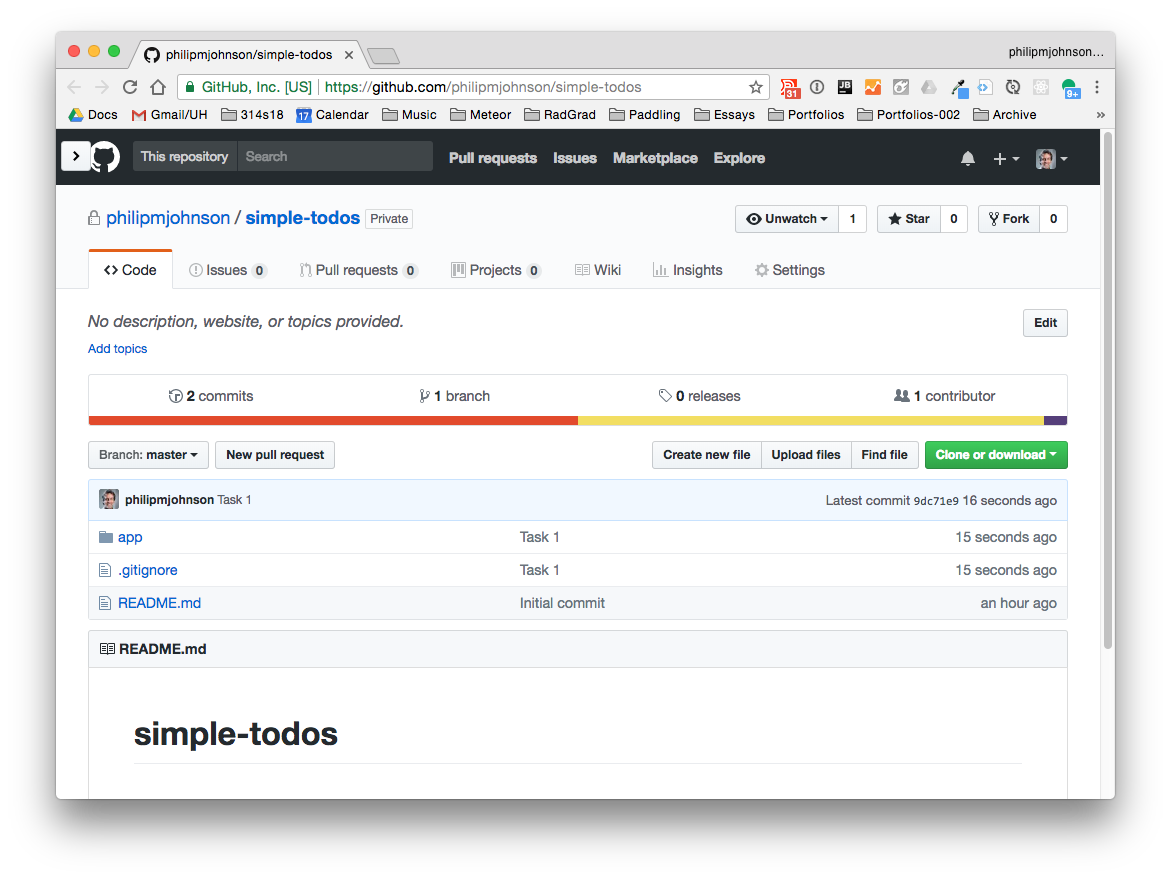
Here is what the top-level of your GitHub repo should look like at the conclusion of this step:
Section 2: Components
Since we are using React and not Blaze templates we need to remove the Blaze template module and add the static-html module. First, type control-c in the shell where Meteor is running to stop it. Then run: meteor remove blaze-html-templates. Then run meteor add static-html.
Now follow the instructions for the Components section of the tutorial. Notice that whenever the instructions show some code to be added to your app, the file in which the code should be added is shown in the titlebar on the right hand side.
I recommend that whenever you are asked to install packages (such as with meteor npm install), you first control-c to stop your running Meteor app, then invoke the installation command, then restart Meteor.
If IntelliJ complains about ESLint, click on ESLint settings and disable it. We will enable ESLint soon.
If IntelliJ asks if it can switch to JSX syntax, tell it OK.
Note that App.js and Tasks.js are created inside the app/imports/ui directory.
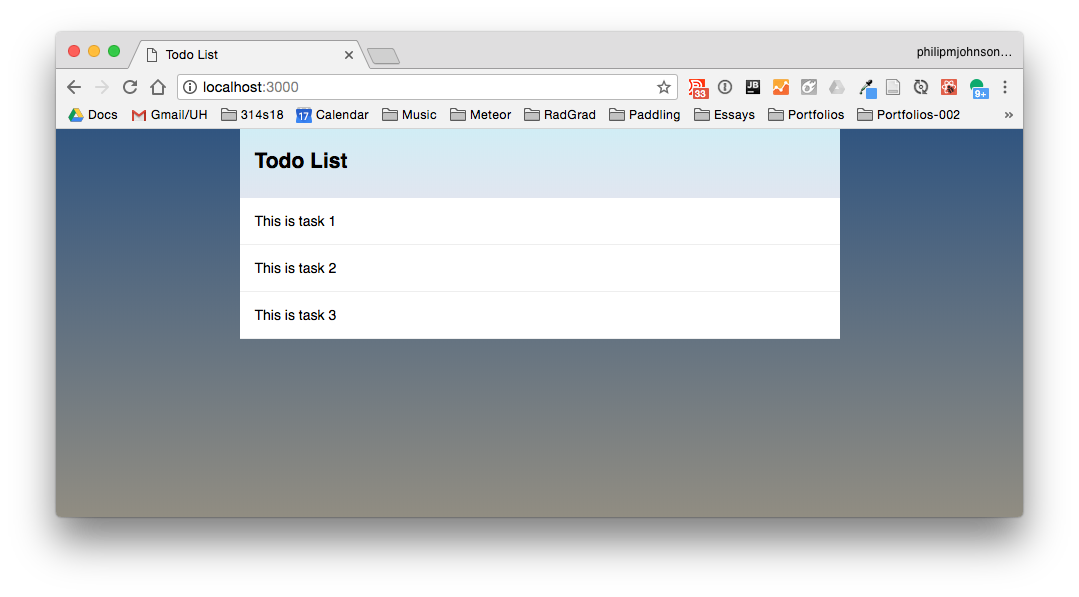
At the conclusion of this step, your app should look like this:
When you have completed this section, Please commit and push your code to GitHub with the following message: “Section 2”.
Before moving on to the next section, make sure you understand the code. If you don’t understand something, post a question to the #webapp channel.
Section 3: Collections
Follow the instructions for the Collections section of the tutorial.
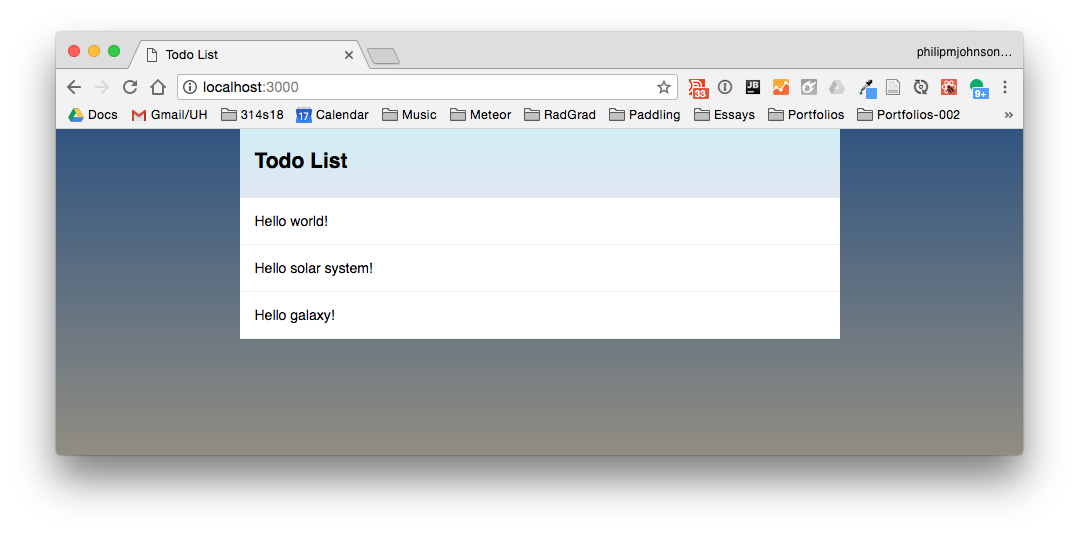
When you have finished, your app should look like something similar to this:
When you have completed this section, Please commit and push your code to GitHub with the following message: “Section 3”.
Before moving on to the next section, make sure you understand the code. If you don’t understand something, post a question to the #webapp channel.
If you open the console you may see warnings like this:

This is ok. react-meteor-data is using some outdated React code. Hopefully, it will be fixed soon.
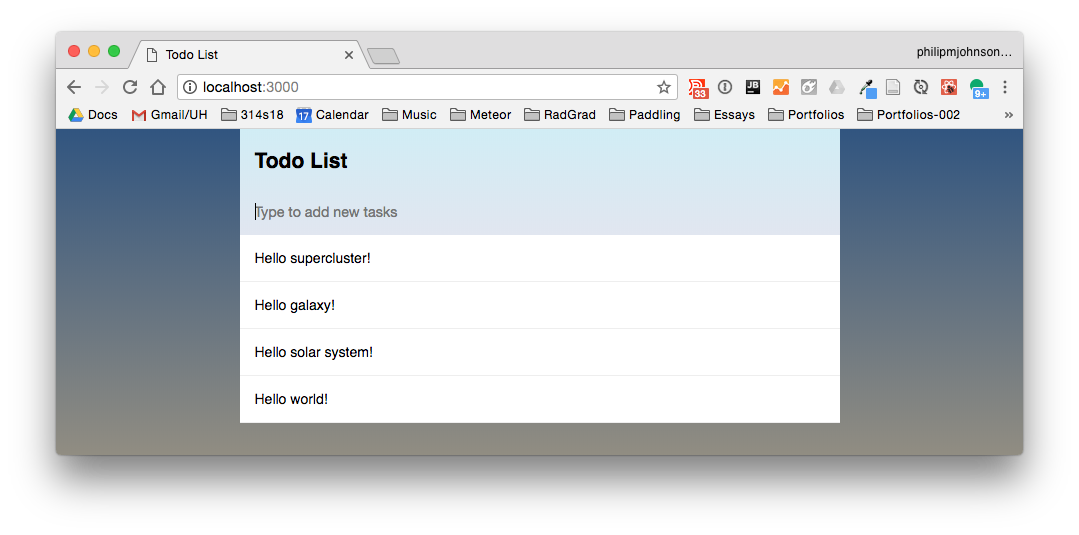
Section 4: Forms and Events
Follow the instructions for the Forms and Events section of the tutorial.
When you have finished, your app should look something like this:
When you have completed this section, Please commit and push your code to GitHub with the following message: “Section 4”.
Before moving on to the next section, make sure you understand the code. If you don’t understand something, post a question to the #webapp channel.
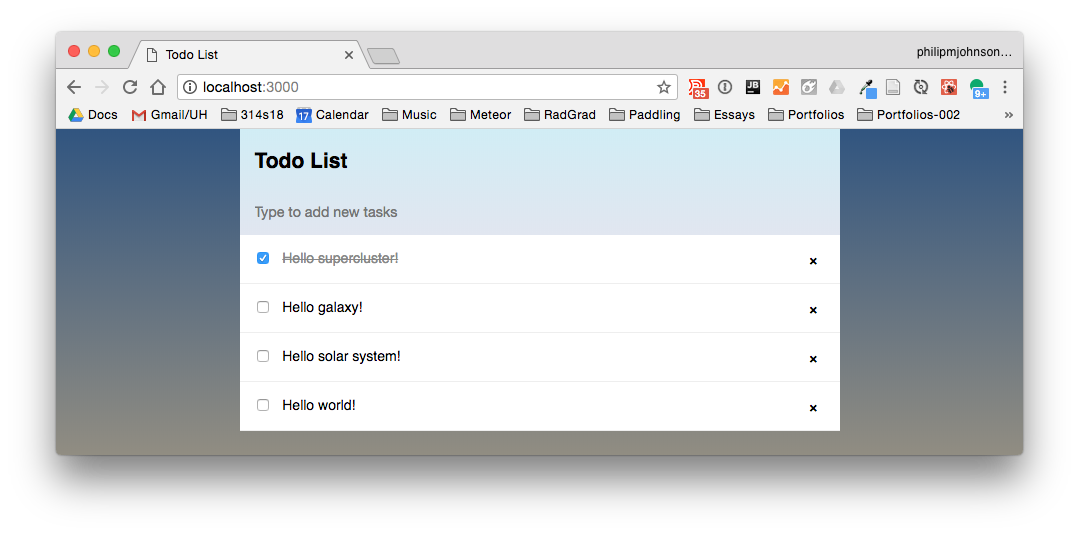
Section 5: Update and remove
Follow the instructions for the Update and remove section of the tutorial.
When you have finished, your app should look something like this:
When you have completed this section, Please commit and push your code to GitHub with the following message: “Section 5”.
Before moving on to the next section, make sure you understand the code. If you don’t understand something, post a question to the #webapp channel.
Running on mobile
You can skip this section for now. But it’s useful to note that it’s easy to build a native mobile app using Meteor.
Section 6: Temporary UI State
Follow the instructions for the Temporary UI State section of the tutorial.
When you have finished, your app should look something like this:

When you have completed this section, Please commit and push your code to GitHub with the following message: “Section 6”.
There are a few more sections in this tutorial, but they are not required for this experience. Feel free to look through them if you like.
Submission instructions
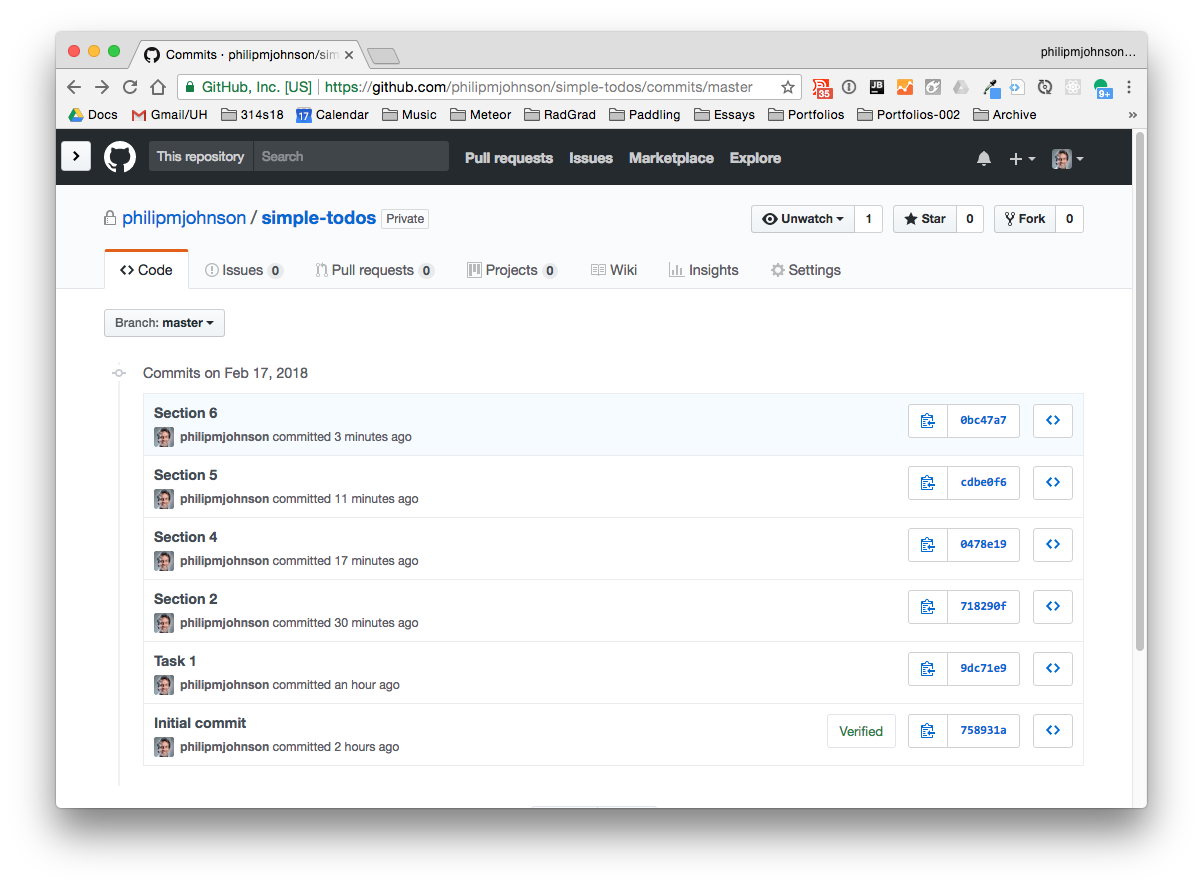
By the time and date indicated on the Schedule page, submit this assignment via Laulima. You should submit the complete URL to the GitHub repo containing your code for this assignment. There should be the six commits associated with the sections and each commit should contain a running version of the system as specified above.
Here is what your commit history should look like (except for the message “Task 1”, which should have been “Section 1”):