How to connect to Atlas Mongo databases from Robo 3T
It is not mandatory that you use Robo 3T to manage your Atlas database. You can do pretty much everything you need to do using their browser-based interface.
That said, it can sometimes be convenient to use the same interface to compare your local, development database and your remote, deployed database. If you want to do this, then here is how you set up Robo 3T to connect to Atlas.
The MongoDB Atlas documentation provides the page Connecting to Atlas using Robo3T. This page provides most, but not all of what you need to know. Here is how I set up Robo 3T to successfully connect to my MongoDB database at Atlas.
Prerequisites
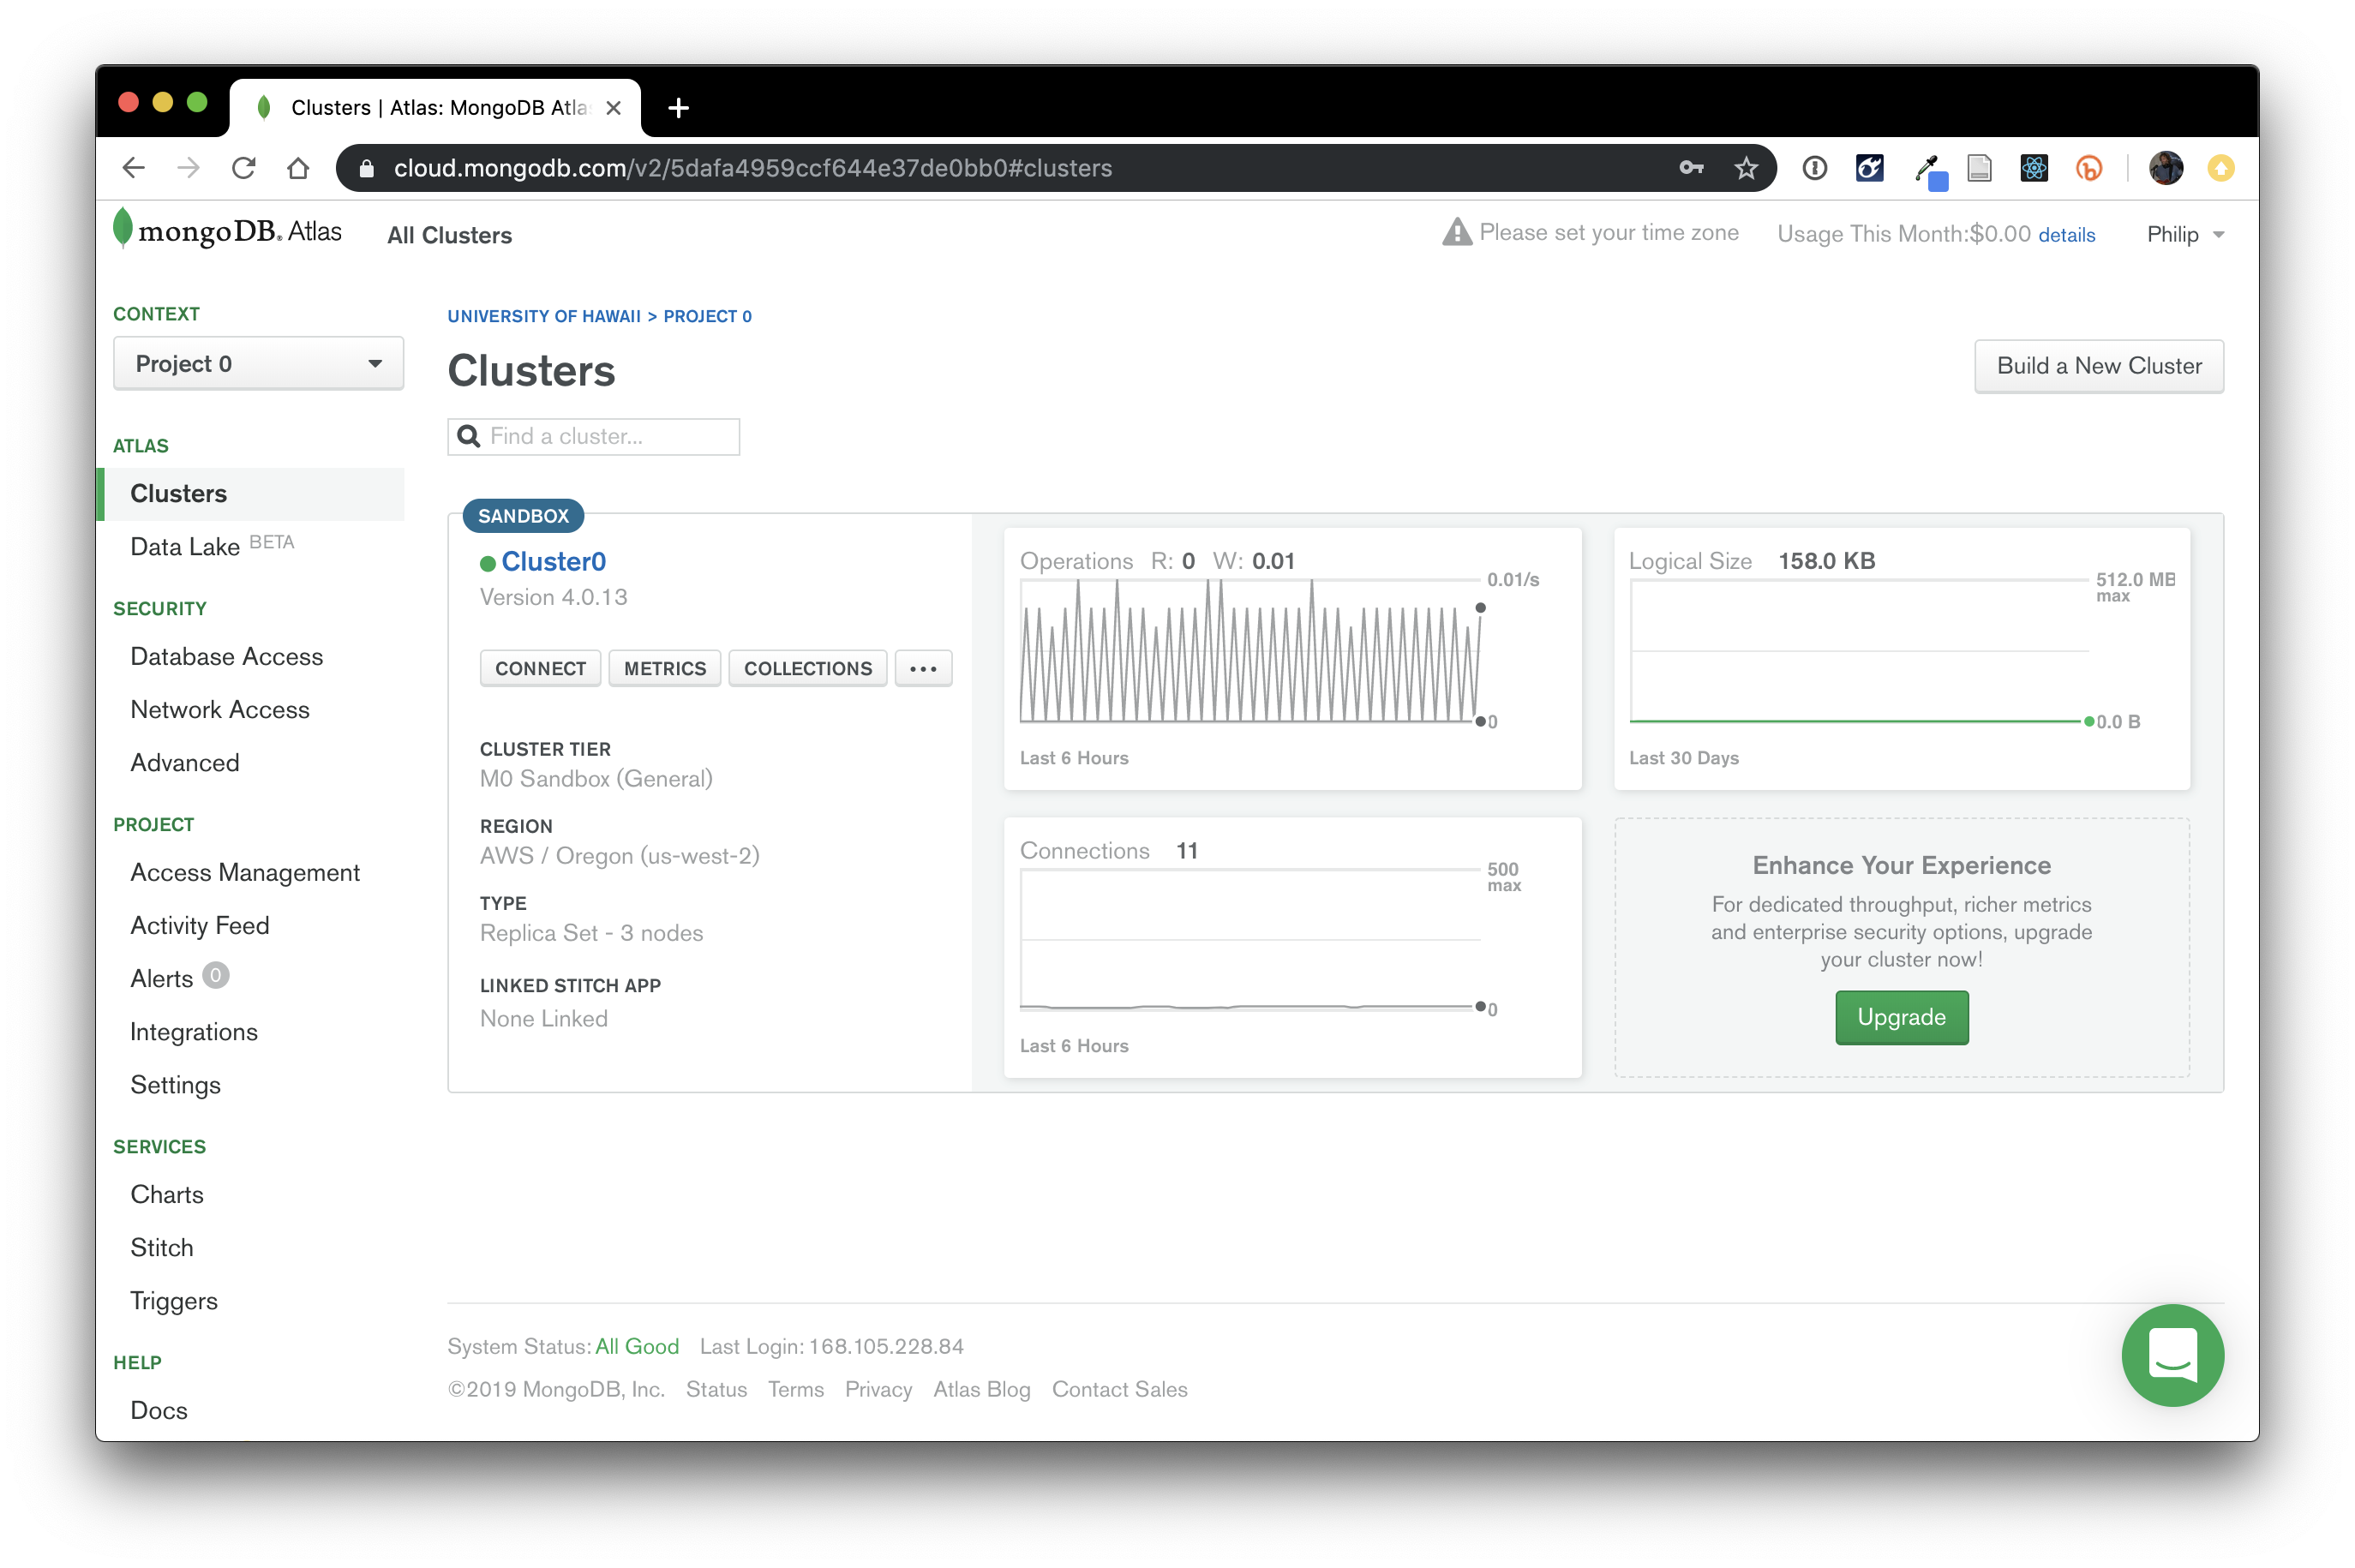
First, I assume that you have set up your Atlas database according to the instructions in Deploy a Meteor App. When you are done, your Atlas page should show something like this:
Connection Settings: Connection
Here is what the Connection tab should look like:
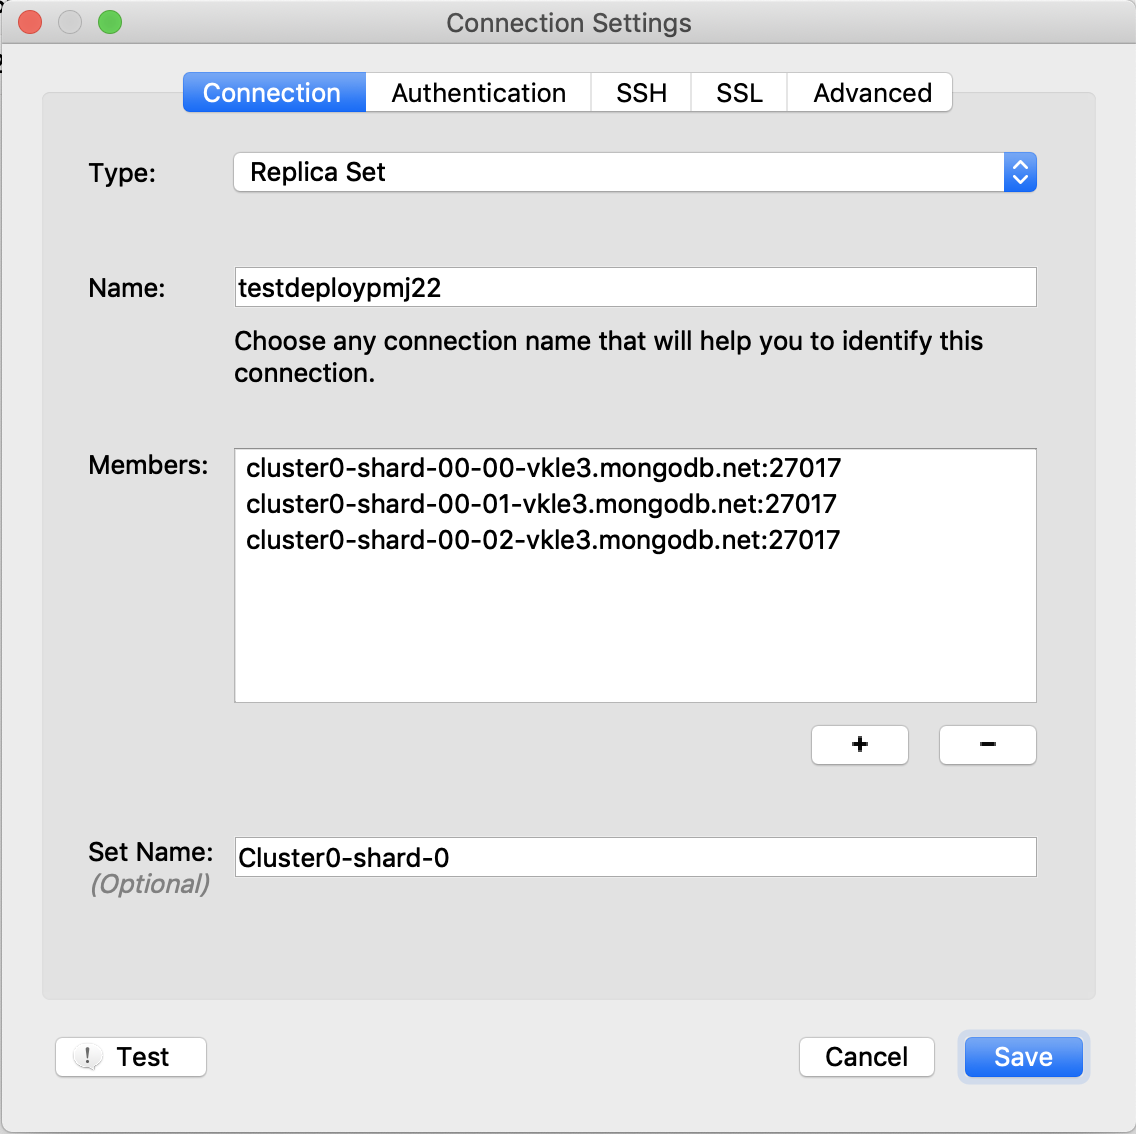
Type: Specify “Replica Set”.
Name: can be anything.
Members: To find the members, go to your Atlas browser page, click on “Cluster0” link, then you will see three links in the region subpane. Click the first one to reveal a page whose title is the first entry for member:
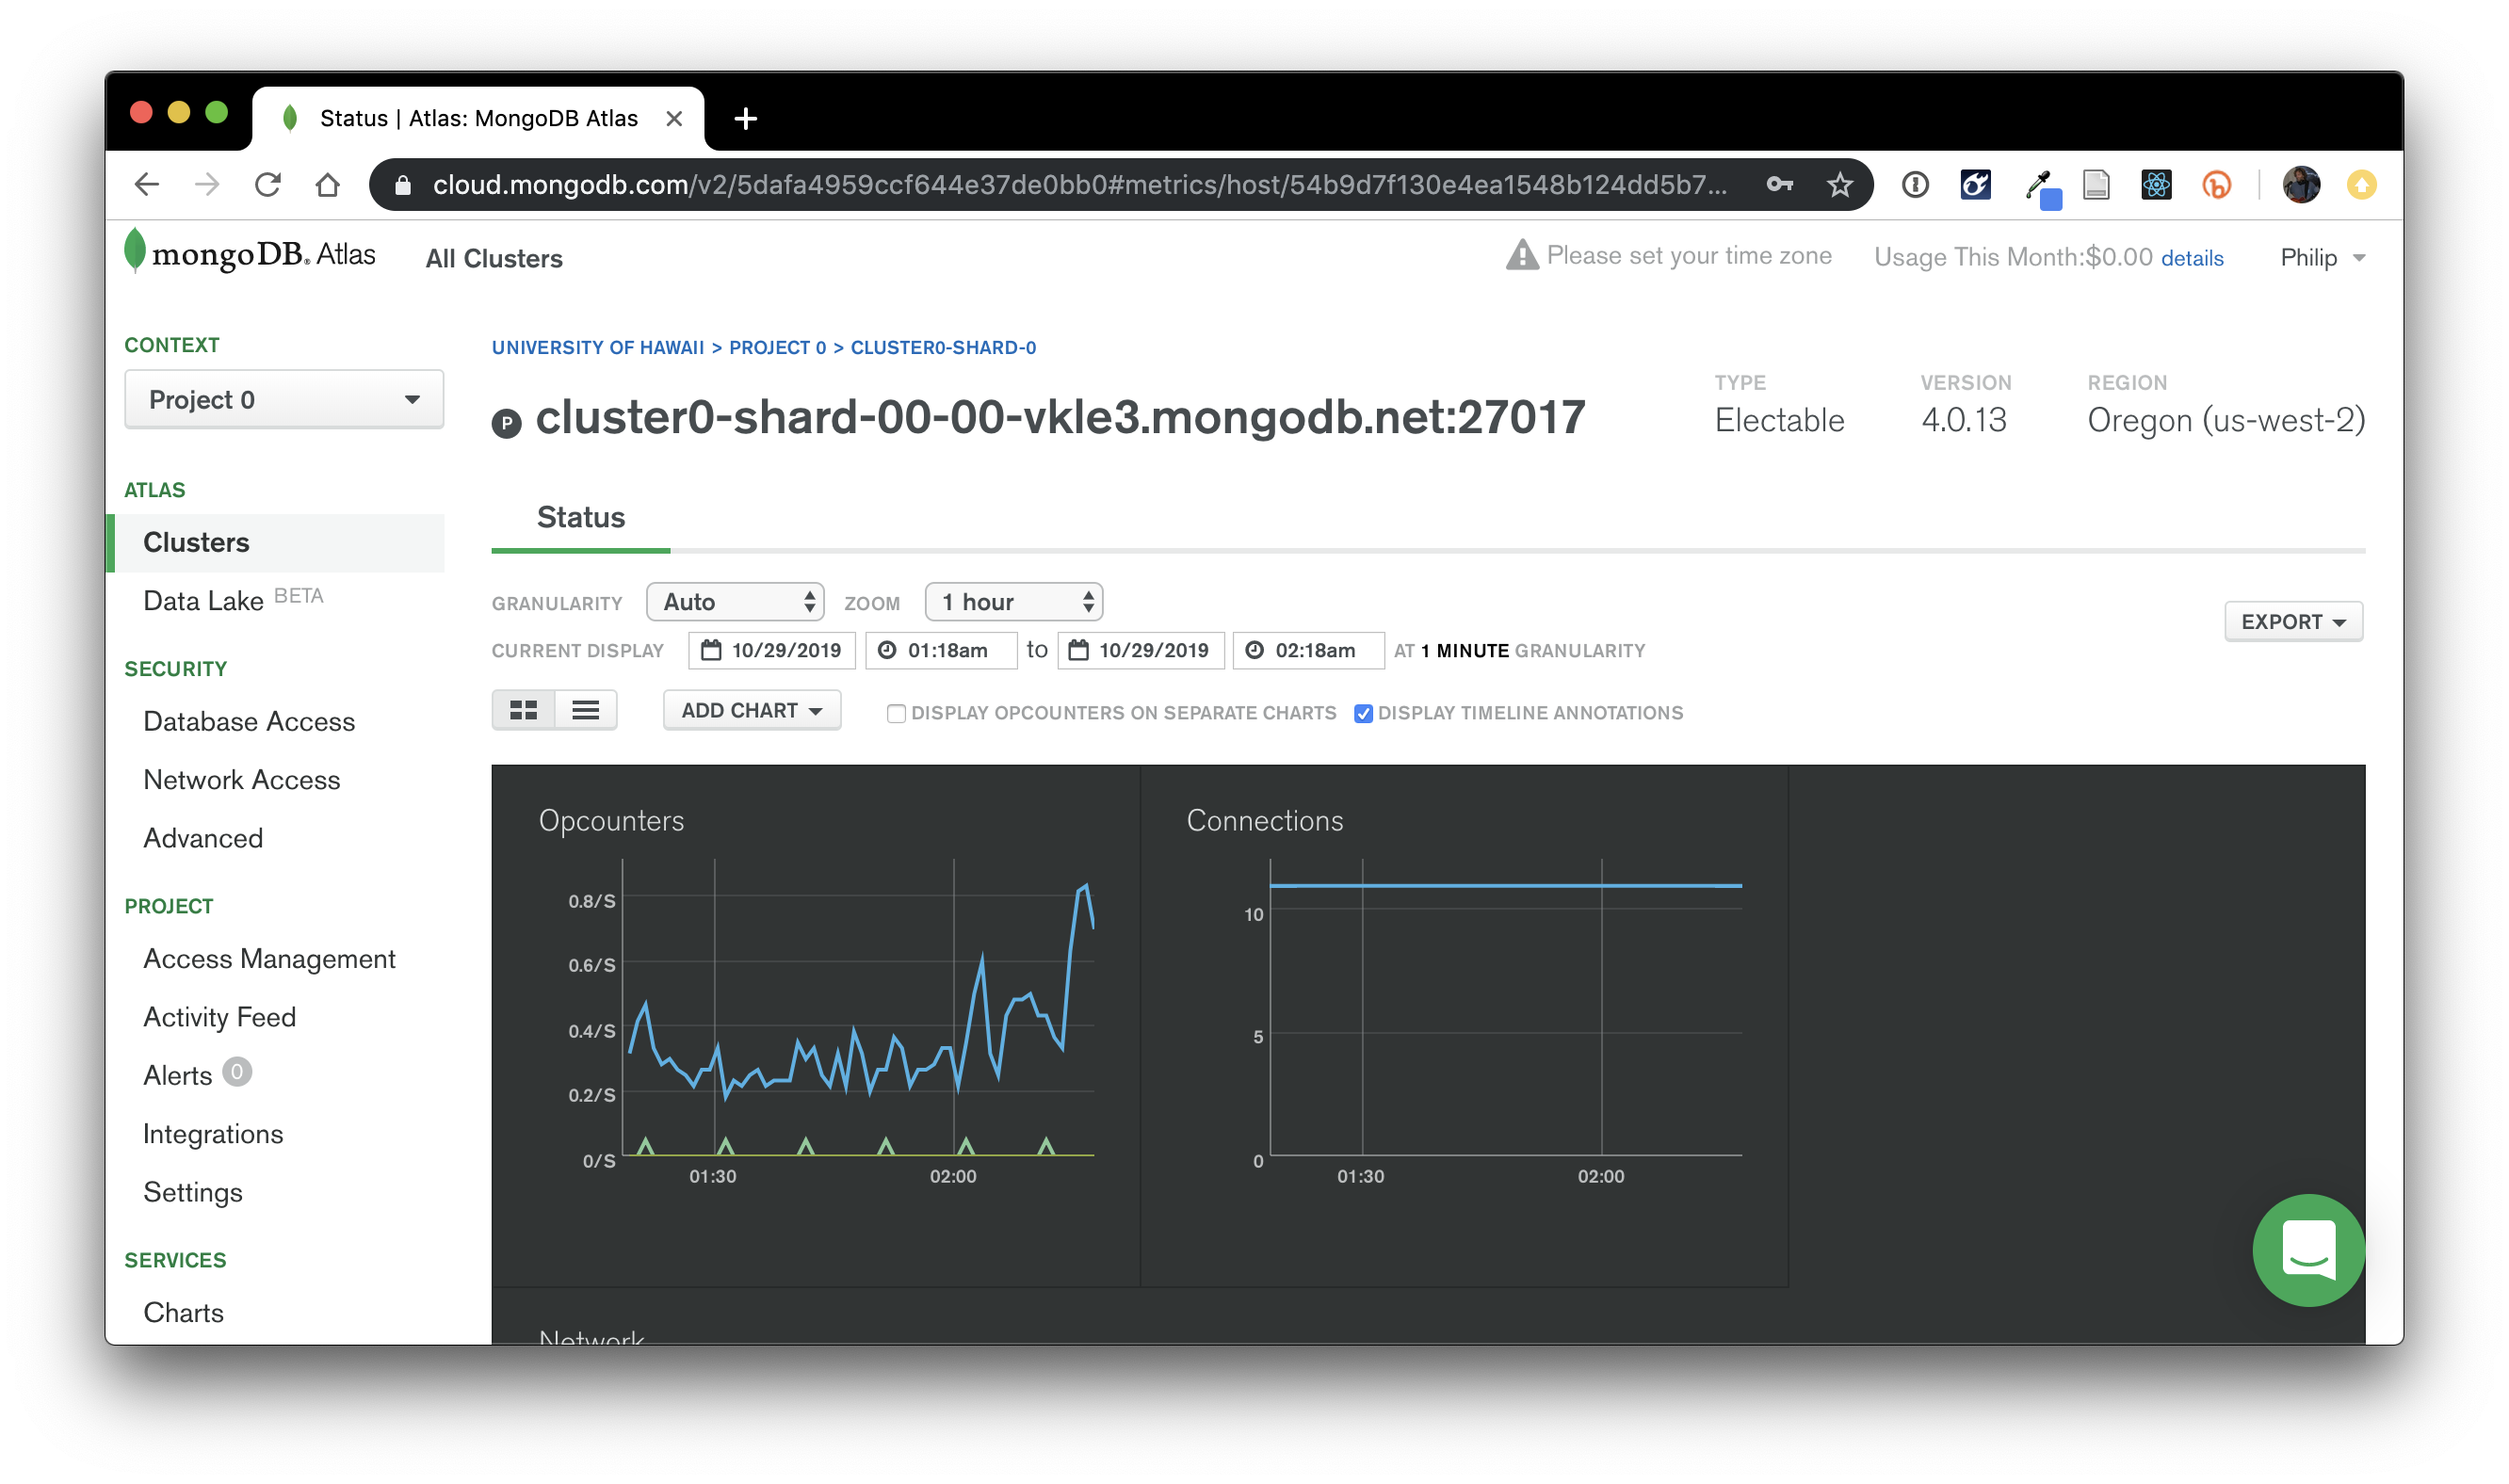
So, the first replica set name is “cluster0-shard-00-00-vkle3.mongodb.net:27017”.
Go back to the previous page and click on the other two links to find the names for the three members of the replica set.
Set Name: This is not optional when connecting to Atlas! Not only is it not optional, it’s actually not easy to find. After chatting with their tech support people, they told me to find the replica set name in the following way:
- From the top-level page for your cluster, click on “Connect”.
- Click on “Connect with the Mongo Shell”
- Click on “I have the Mongo Shell Installed”
- Select “3.4 or earlier” as the Mongo Shell version.
- Click the “Copy” button to copy the connection string to the clipboard.
Now paste that connection string someplace. Here’s what mine looks like:
mongo "mongodb://cluster0-shard-00-00-vkle3.mongodb.net:27017,cluster0-shard-00-01-vkle3.mongodb.net:27017,cluster0-shard-00-02-vkle3.mongodb.net:27017/test?replicaSet=Cluster0-shard-0" --ssl --authenticationDatabase admin --username admin --password <password>
Out of this very long string, you can see the following substring:
replicaSet=Cluster0-shard-0
From this, you can see that the name of my replica set is “Cluster0-shard-0” (this is case-sensitive!)
Connection Settings: Authentication
Here is what the Authentication tab should look like:
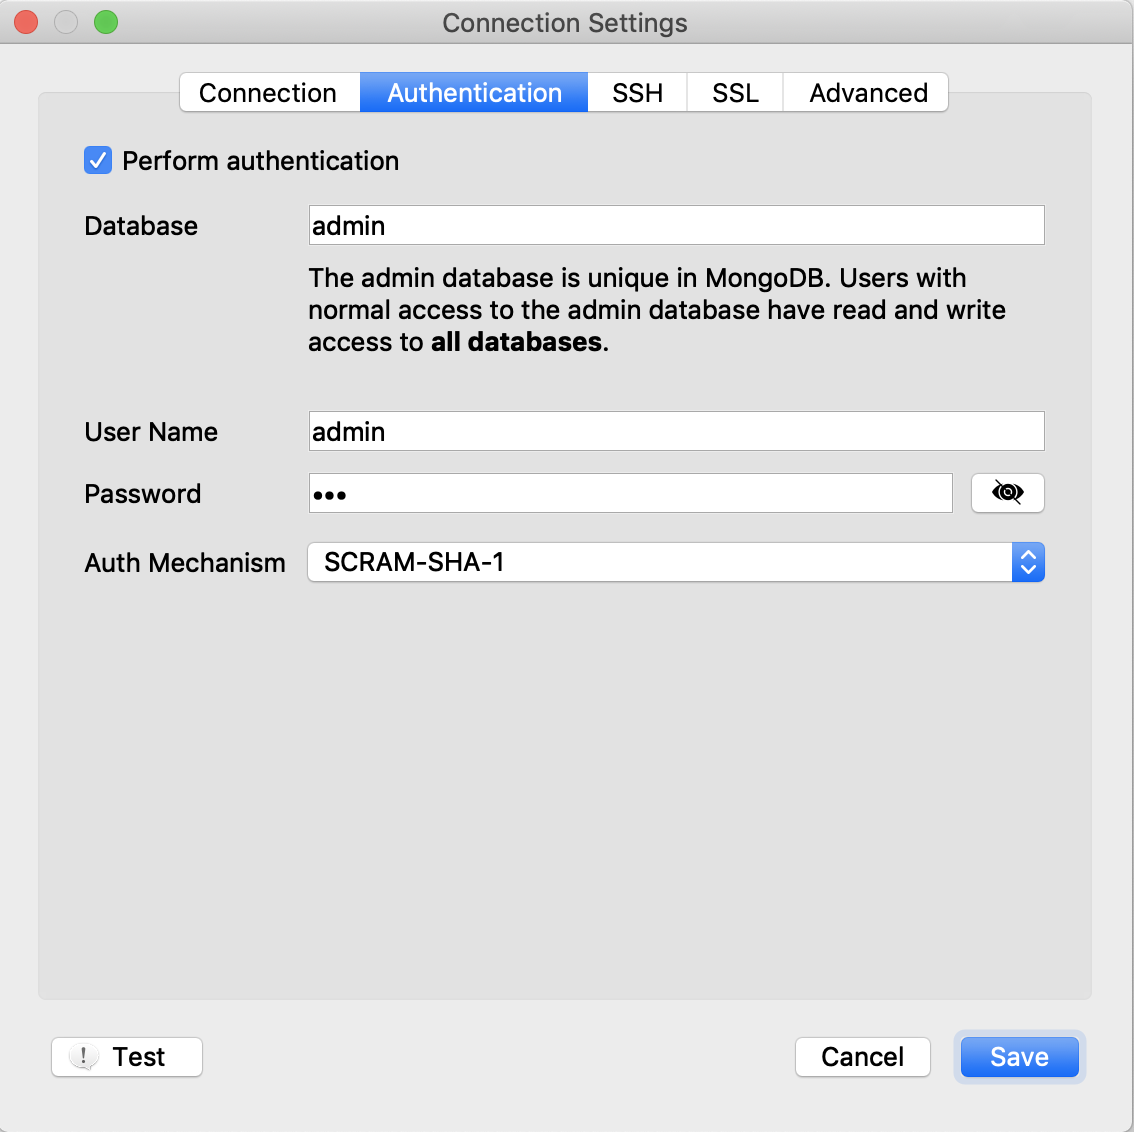
Check the “Perform authentication” checkbox.
Database: Specify “admin”.
Username and password: Specify the username and password you defined for your database.
Auth mechanism: Specify SCRAM-SHA-1
Connection Settings: SSH
Leave this one alone.
Connection Settings: SSL
Here is what the SSL tab should look like:
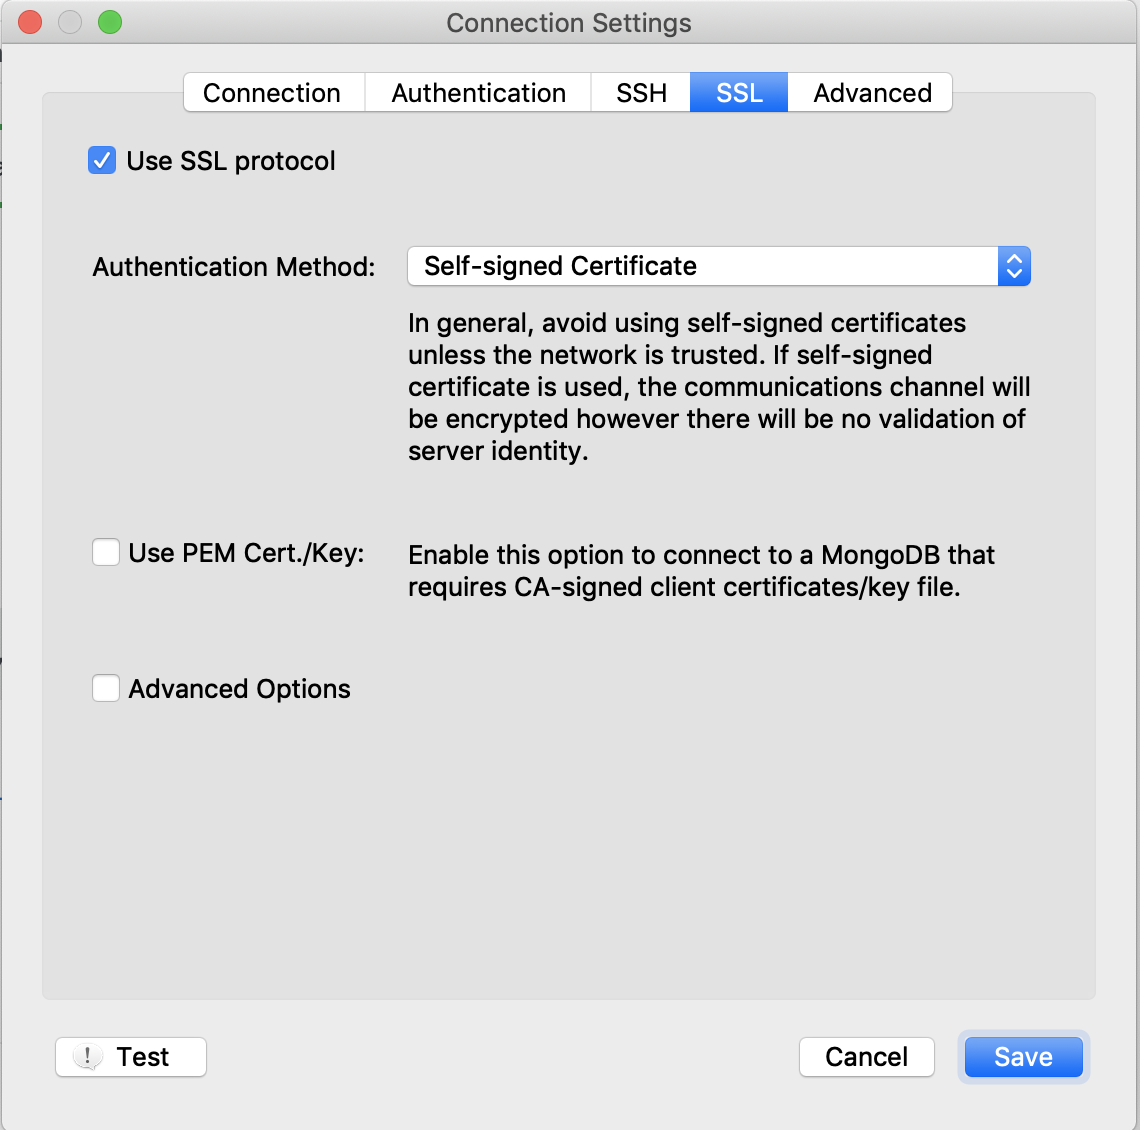
Check the “User SSL Protocol”.
Authentication Method: Use “Self-signed Certificate”.
Connection Settings: Advanced
Here is what the Advanced tab should look like:
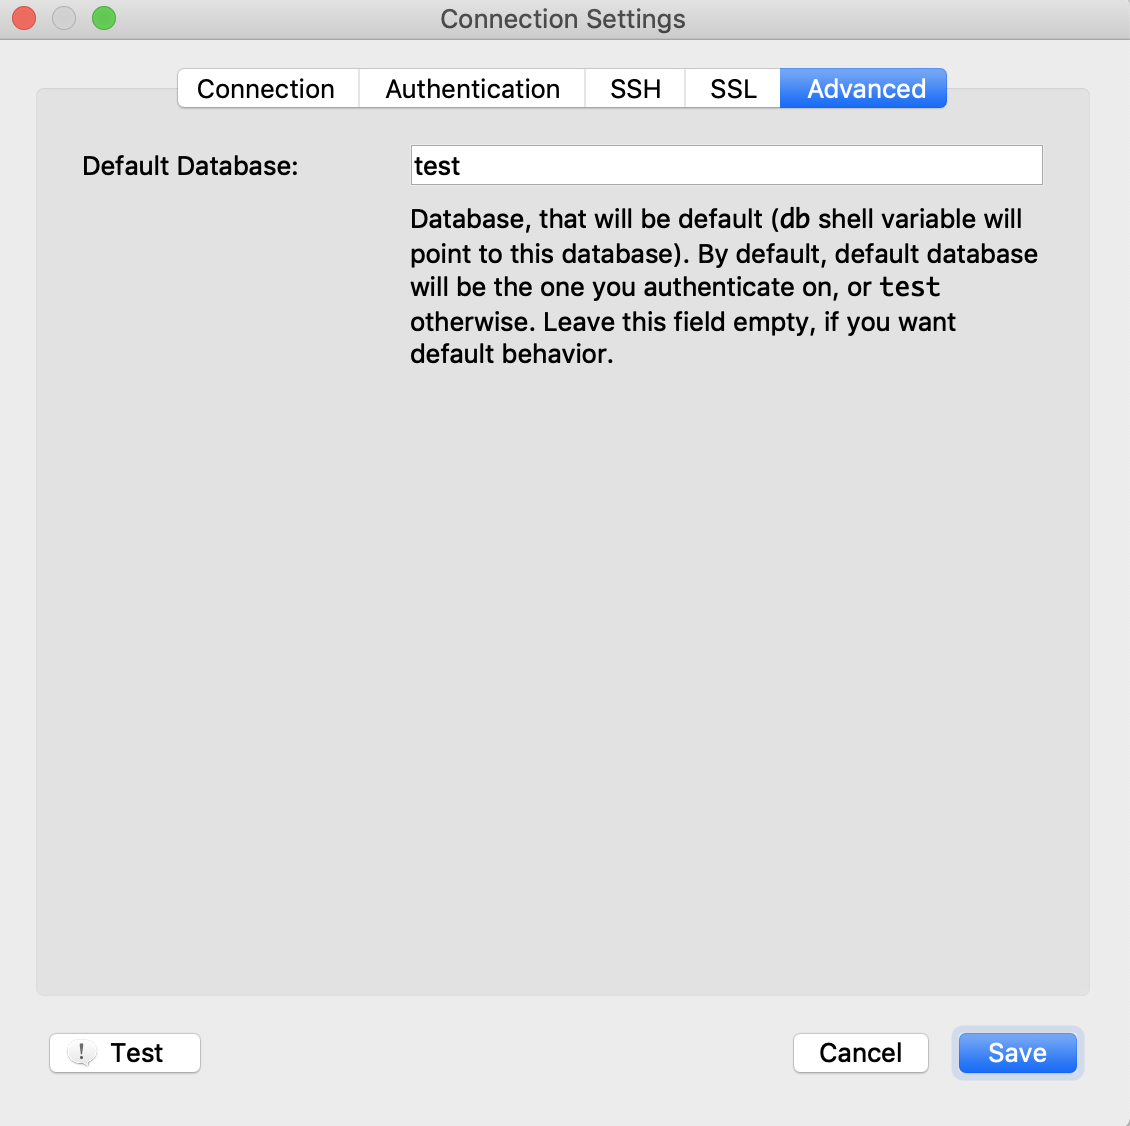
Default Database: Specify “test”
Testing
When you’re done, you can click the “Test” button to test your connection. If you’ve done everything correctly, you’ll get a window like this:
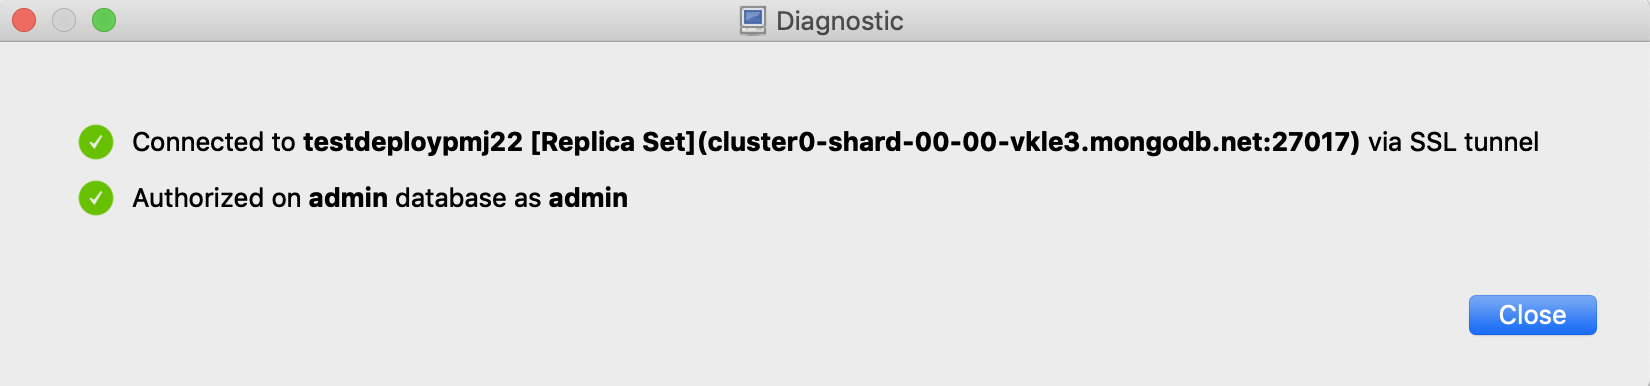
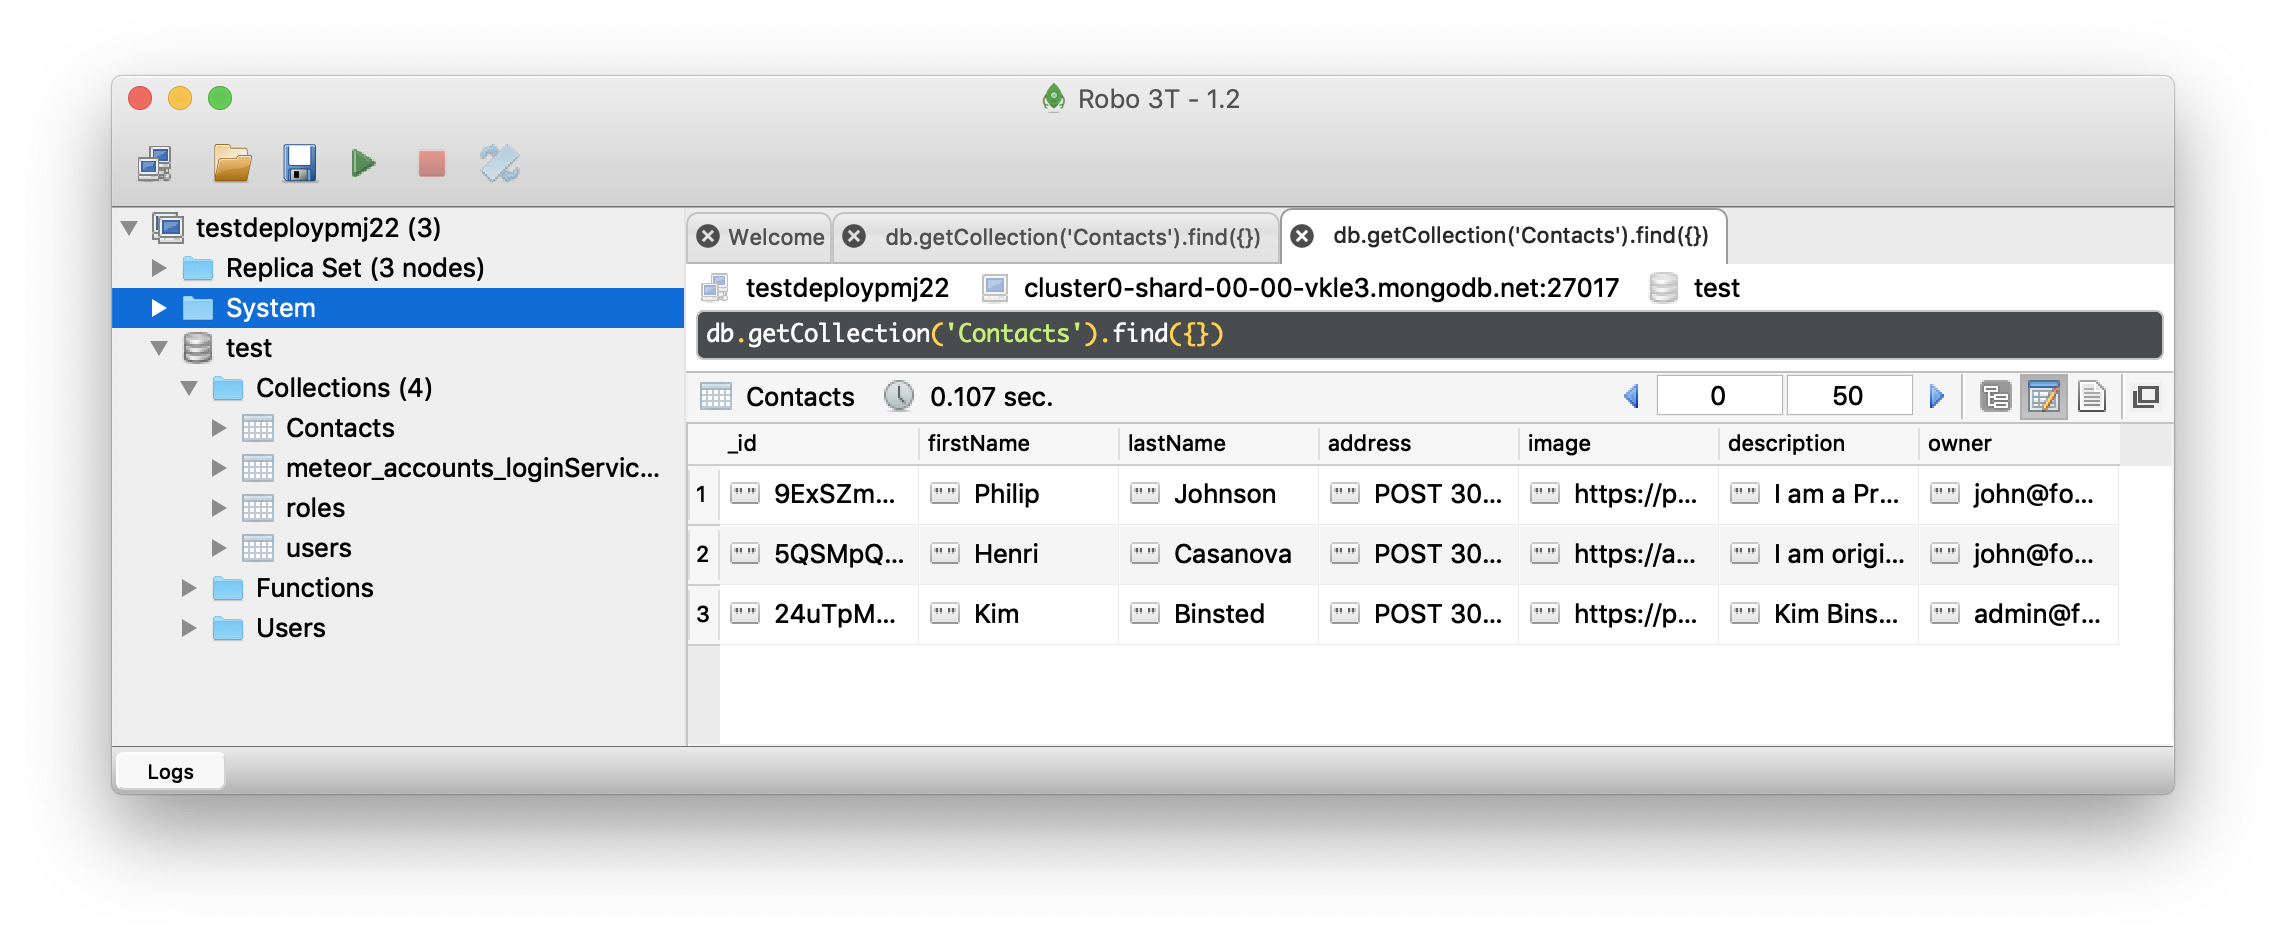
And, most importantly, you’ll be able to make a connection to Atlas with Robo 3T: