How to inspect your MongoDB database on Digital Ocean using Robo3T
Once you’ve deployed your Meteor application to Digital Ocean, one very important capability is to inspect the contents of the production database. A simple way to do this is to use Robo3T.
We’ll assume in these instructions that you’ve deployed a copy of meteor-application-template-react to Digital Ocean following the instructions in the link above.
1. Install Robo3T
The first step is to download and install Robo3T on your laptop. You have the choice of downloading Studio 3T or Robo 3T. These instructions are for Robo 3T, which is simpler (and free).
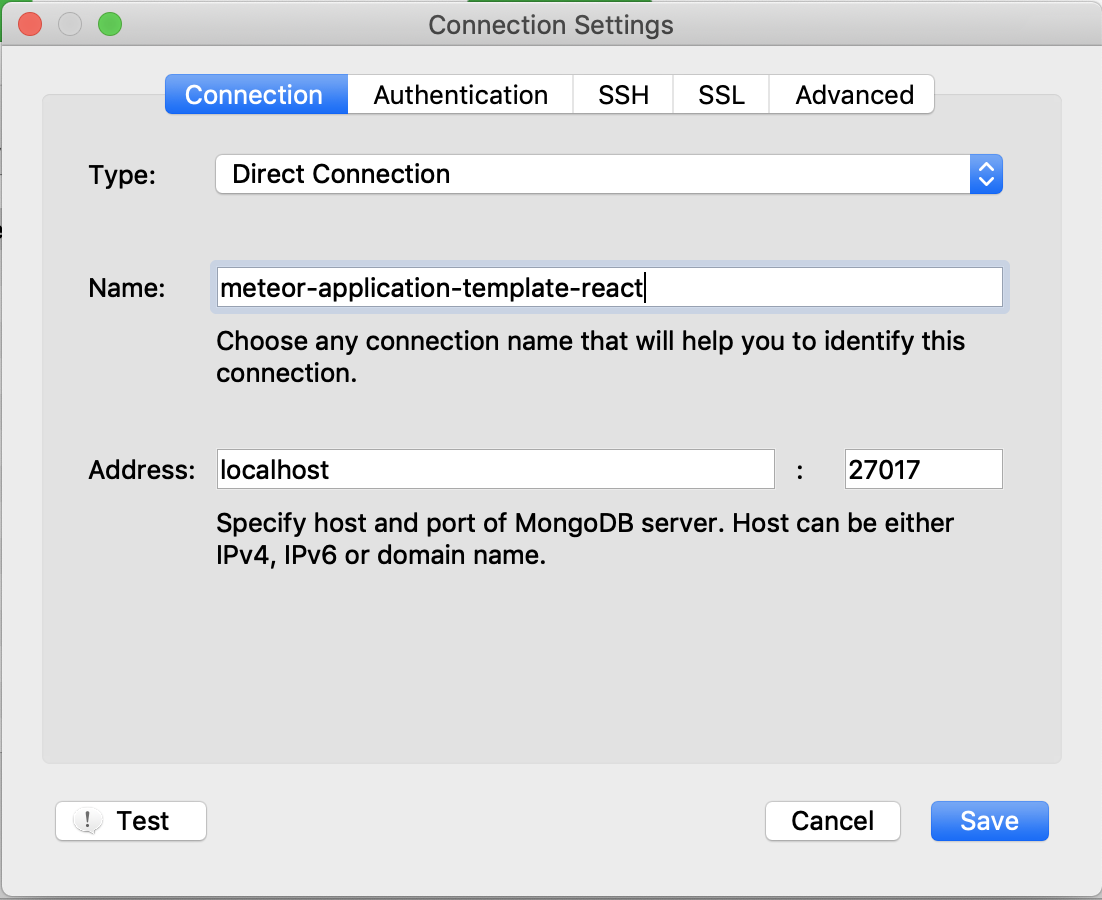
2. Setup a connection
After downloading and installing Robo3T, you must set up a connection that includes port forwarding to the production MongoDB service.
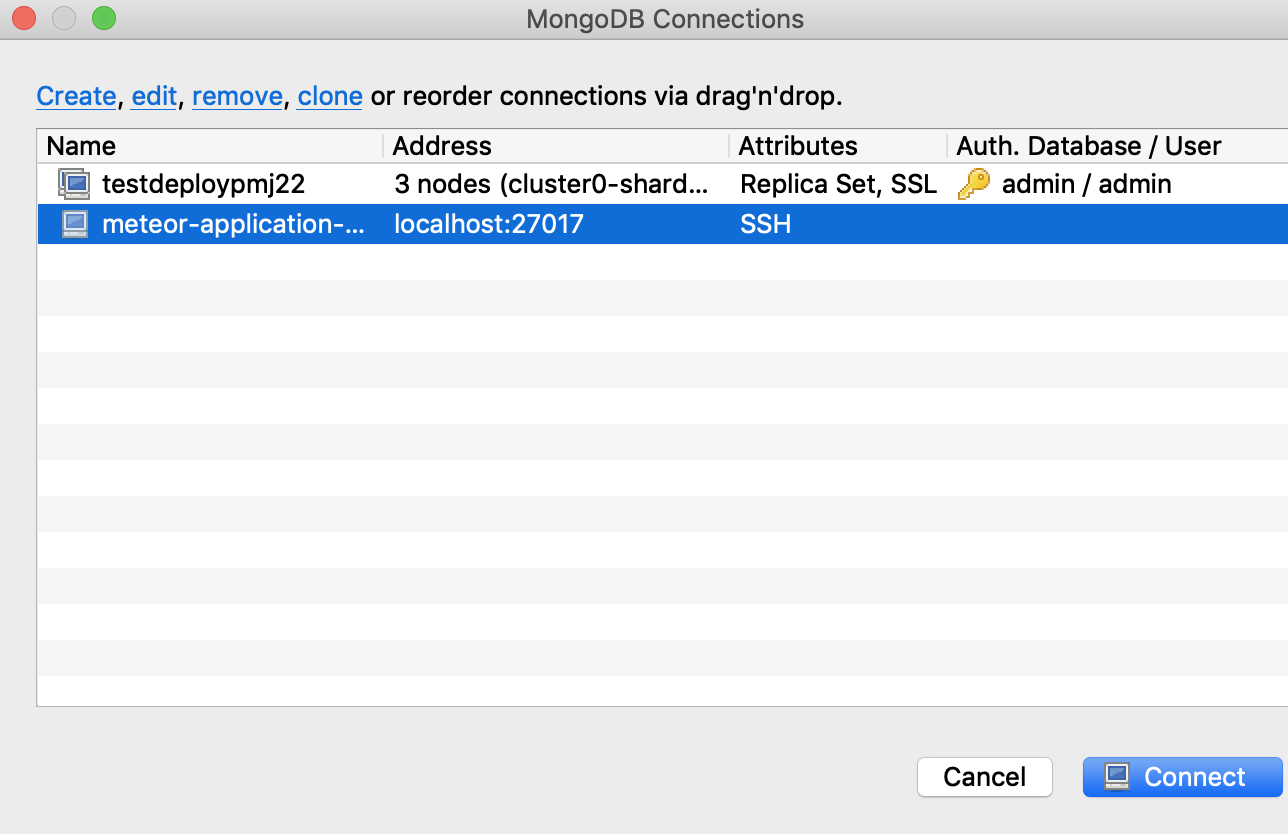
First, create a new connection and name it appropriately:
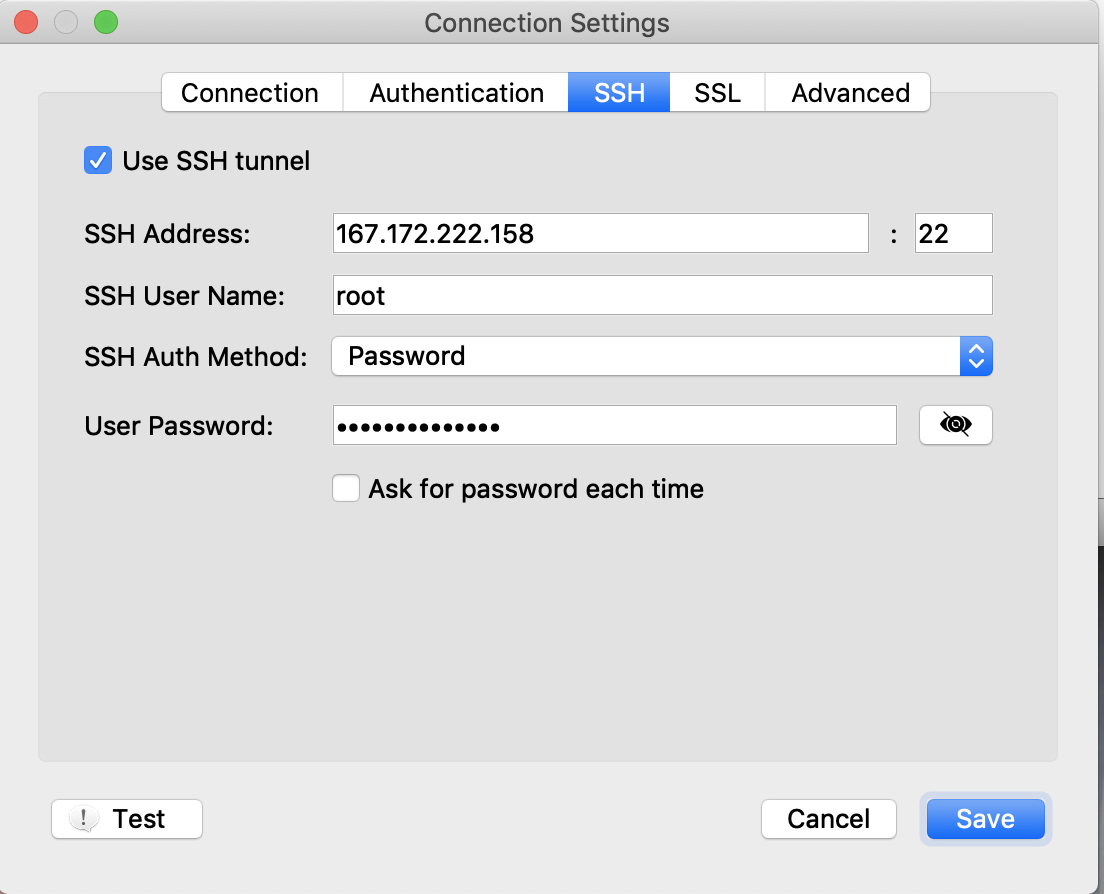
Next, click on the “SSH” tab. Check the “Use SSH Tunnel” checkbox, then select “Password” as the SSH authorization method, then supply the IP address, “root” as the username, and the root password that you created in Digital Ocean:
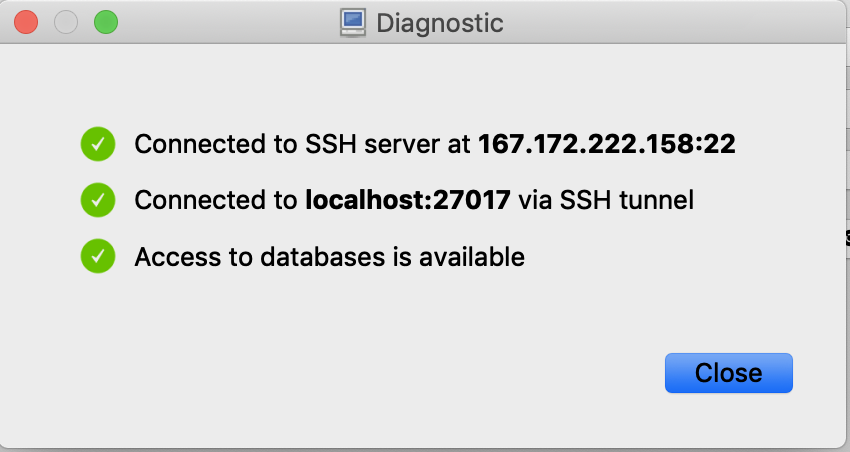
You can click “Test” to check your connection at this point. It should result in the following window:
If everything is OK, then click Save, and now your connection should show up in the Connections pane:
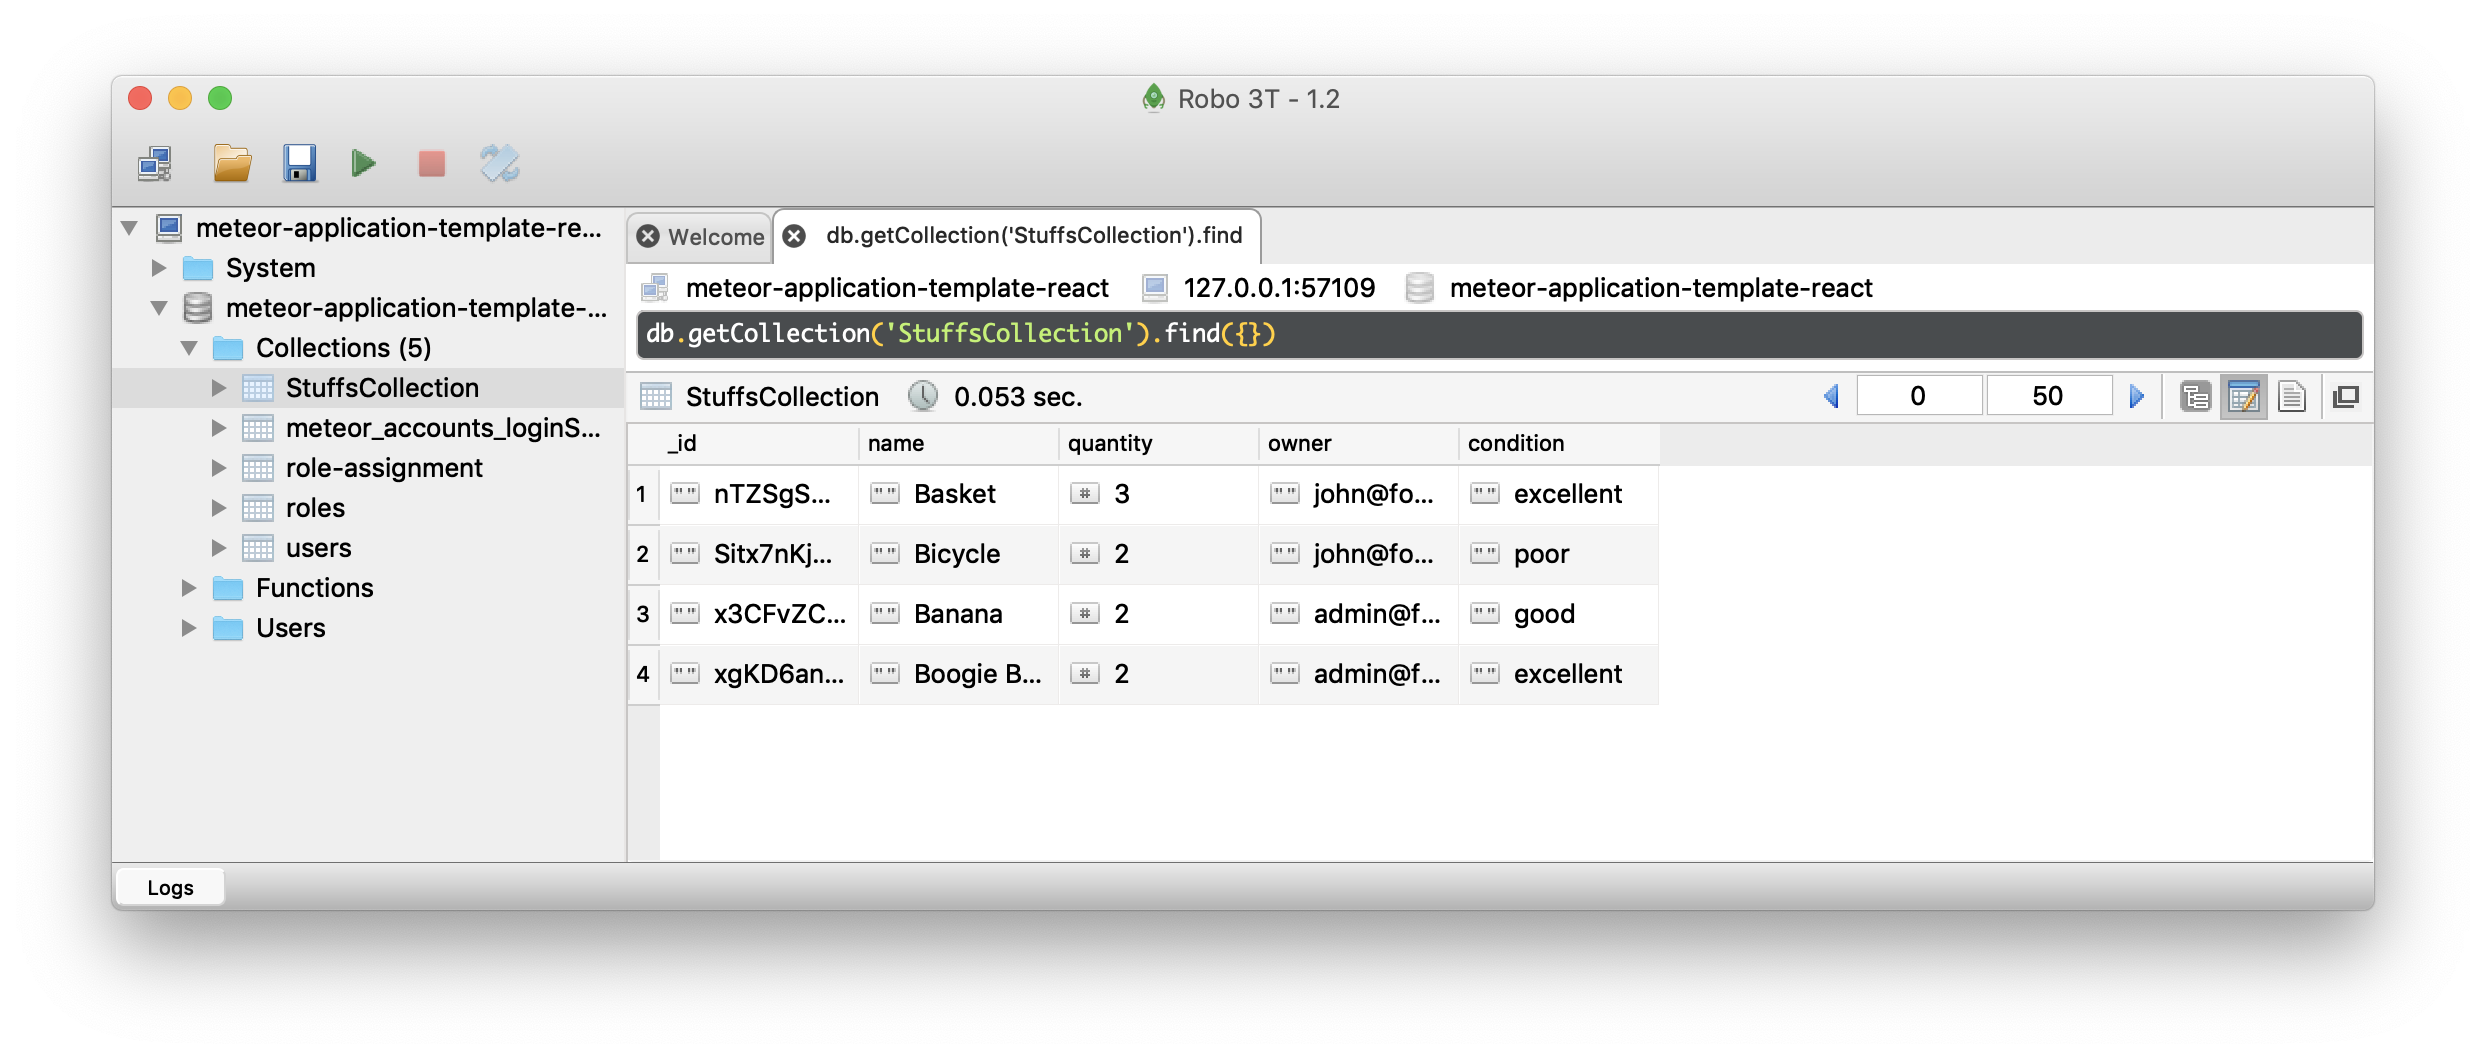
3. Connect to the MongoDB database
Once your connection is setup, double click to open a connection to the production database at Digital Ocean and display the contents: