E24: Improve code quality using ESLint in VSCode
Motivation
One of the most important steps you can take to improve the quality of your code is to use a quality assurance tool appropriate for your programming language that enforces basic coding standards.
In the case of Javascript, the emerging consensus is ESLint as it is extensible and supports the latest versions of Typescript.
For our class, ESLint is good because there is a configuration file for the AirBnb Typescript Style Guide, and because there is support for ESLint in VSCode.
Installation
1. Install NVM, If You Haven’t Already
In the Hello Typescript experience, you installed Node.js using NVM. If you haven’t done that yet, you should do so now. To begin, you must install NVM following the FreeCodeCamp NVM Install Guide. NVM is an excellent tool for managing your node versions. Using nvm you should install the “LTS” version of node.
[~]-> nvm install --lts
Installing latest LTS version.
Now using node v20.13.1 (npm v10.5.2)
When completed, verify that the installation was successful by running the node and npm commands in a console:
[~]-> node --version
v20.13.1                   // (or later)
[~]-> npm --version
10.5.2                    // (or later)
[~]->
Later on in the semester you may need to install a different version of node, so it’s important to use nvm to manage your node installation.
2. Install ESLint extension for VSCode
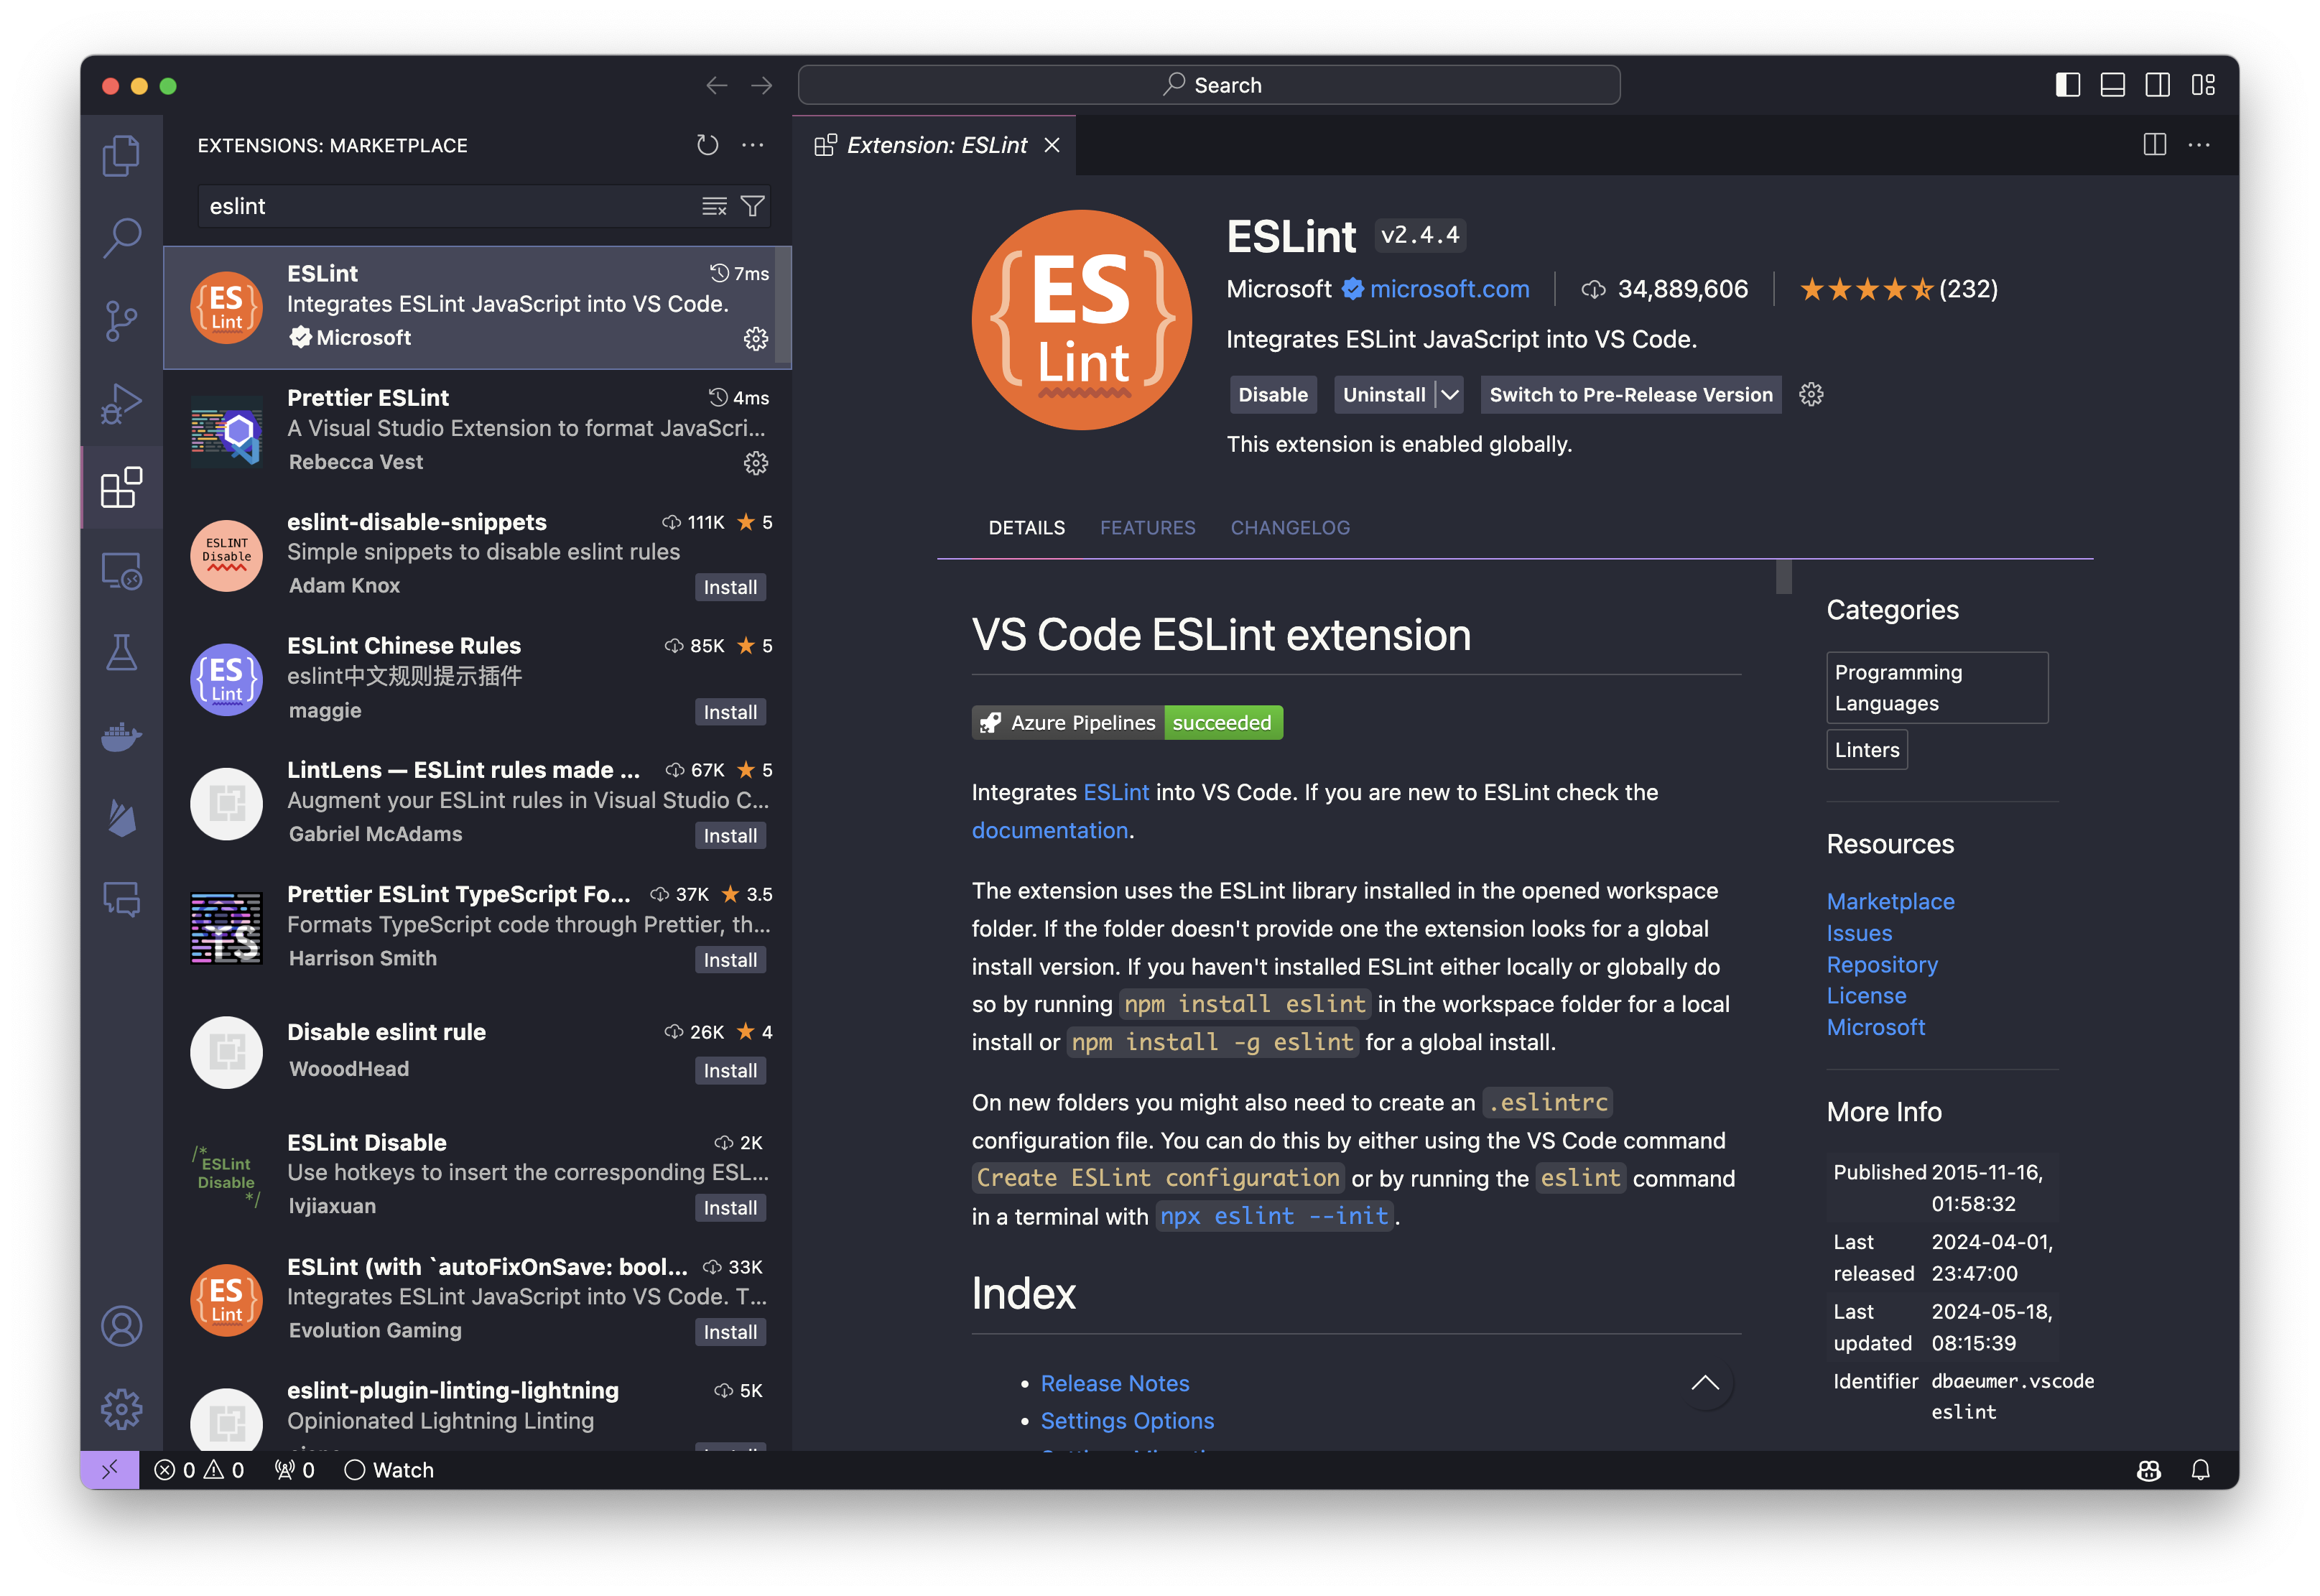
During the Install VSCode experience, you installed the ESLint plugin for VSCode. If you haven’t done that yet, you should do so now. Open up VSCode, and then click on the Extensions icon on the left side of the window. In the search box, type “ESLint” and then click on the Install button for the ESLint plugin.
3. Install Prettier ESLint extension for VSCode
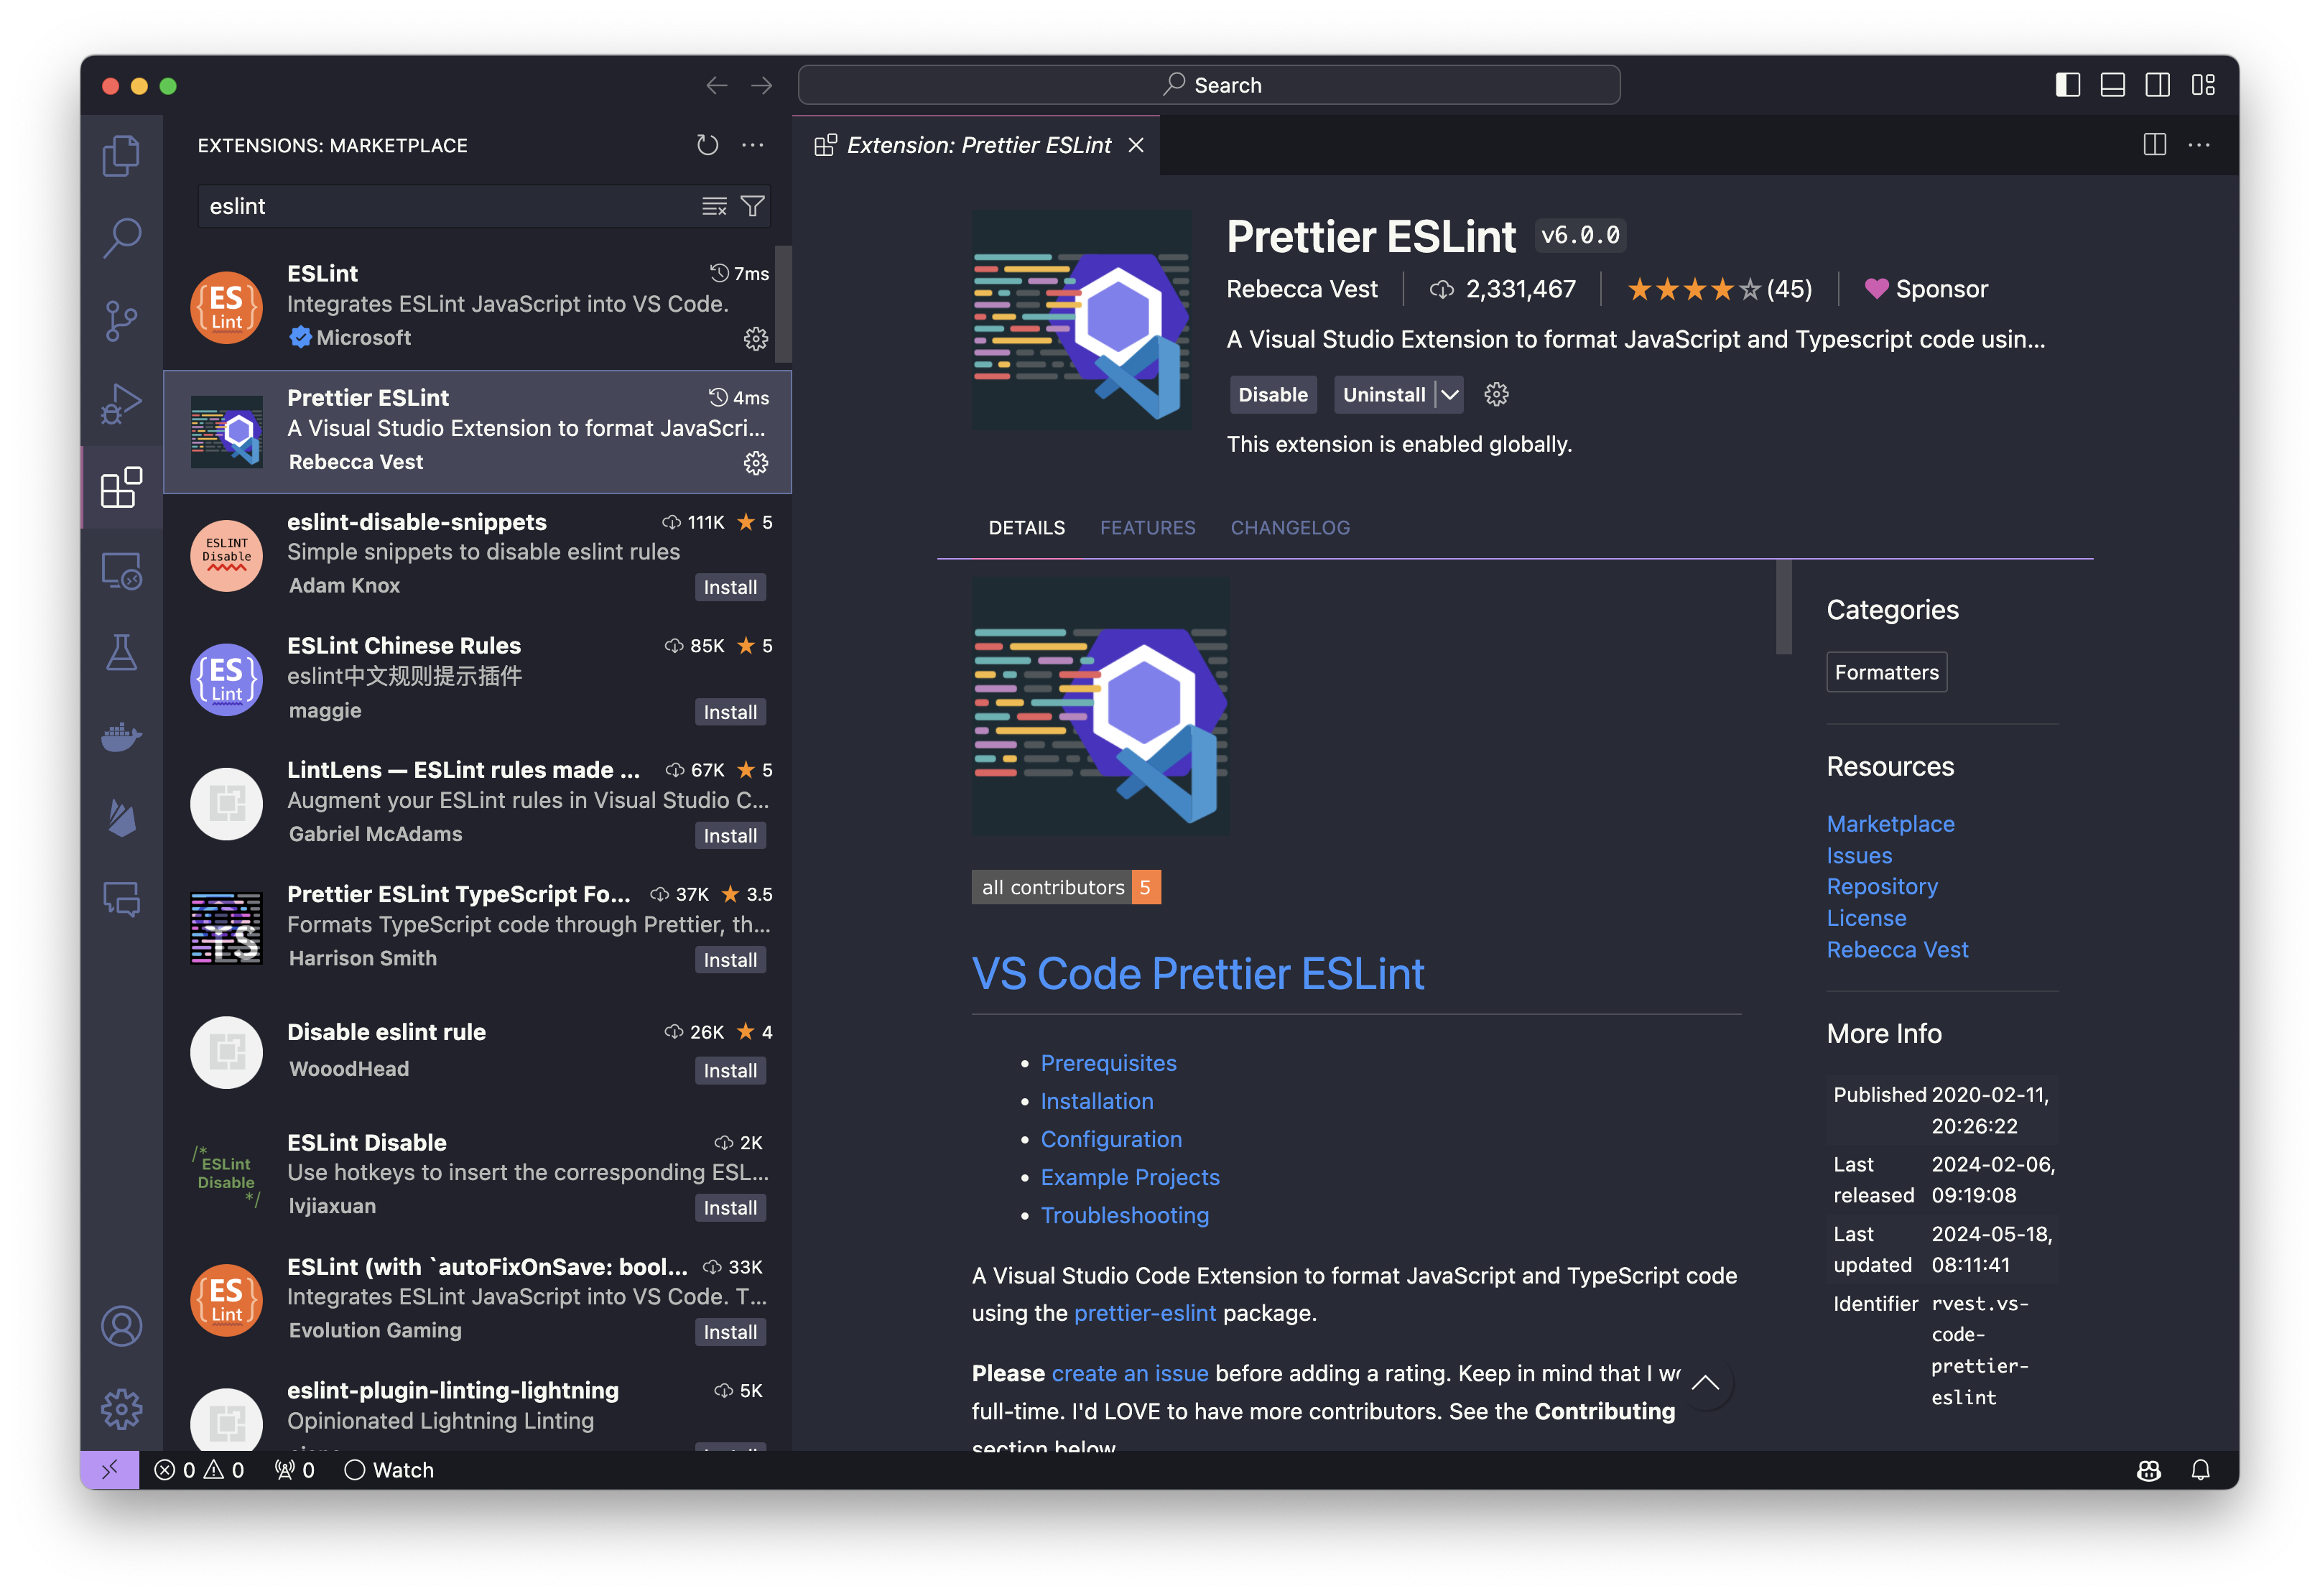
Again, if you didn’t install Prettier ESLint extension during the Install VSCode experience, you should do so now. Open up VSCode, and then click on the Extensions icon on the left side of the window. In the search box, type “Prettier ESLint” and then click on the Install button for the Prettier ESLint plugin.
4. Test your installation
Open the directory you created for the Hello Typescript experience in VSCode.
4.1. Download the ESLint configuration files
Next, download four files into your project directory:
- sample.eslintrc.js, rename it to
.eslintrc.js. - sample.eslintignore, rename it to
.eslintignore. - sample.gitignore, rename it to
.gitignore. - sample.tsconfig.json, rename it to
tsconfig.json.
4.2. Install ESLint and related packages
Now open up a shell, cd into the HelloTypescript directory, and invoke npm install @typescript-eslint/eslint-plugin @typescript-eslint/parser eslint eslint-config-airbnb eslint-config-airbnb-typescript eslint-plugin-import prettier prettier-eslint --save-dev
[~/Desktop/HelloTypescript/]-> npm install @typescript-eslint/eslint-plugin @typescript-eslint/parser eslint eslint-config-airbnb eslint-config-airbnb-typescript eslint-plugin-import prettier prettier-eslint --save-dev

added 302 packages, and audited 304 packages in 5s

120 packages are looking for funding
  run `npm fund` for details

found 0 vulnerabilities
[~/Desktop/HelloTypescript/]->
This will install ESLint, the AirBnb Typescript Style Guide, Prettier, and Prettier ESLint. It will update your package.json file to include these dependencies.
4.3 Test your installation
Switch back to VSCode and open the Command Palette by typing Cmd-Shift-P on a Mac or Ctrl-Shift-P on Windows. Then type Preferences: Open Workspace Settings (JSON) and select it. This will open the settings.json file for your project. Add the following lines to the file:
{
  "editor.defaultFormatter": "rvest.vs-code-prettier-eslint",
  "editor.formatOnType": false, // required
  "editor.formatOnPaste": false, // optional
  "editor.formatOnSave": true, // optional
  "editor.formatOnSaveMode": "file", // required to format on save
  "files.autoSave": "onFocusChange", // optional but recommended
  "vs-code-prettier-eslint.prettierLast": false // set as "true" to run 'prettier' last not first
  }
You may want to update your “User Settings (JSON)” file as well. This will ensure that your Typescript code is correctly formatted when you save it. Type Cmd-Shift-P on a Mac or Ctrl-Shift-P on Windows. Then type Preferences: Open User Settings (JSON) and select it. Add the following settings for Typescript:
"[typescript]": {
  "editor.defaultFormatter": "rvest.vs-code-prettier-eslint",
  "editor.tabSize": 2,
  "editor.insertSpaces": true
}
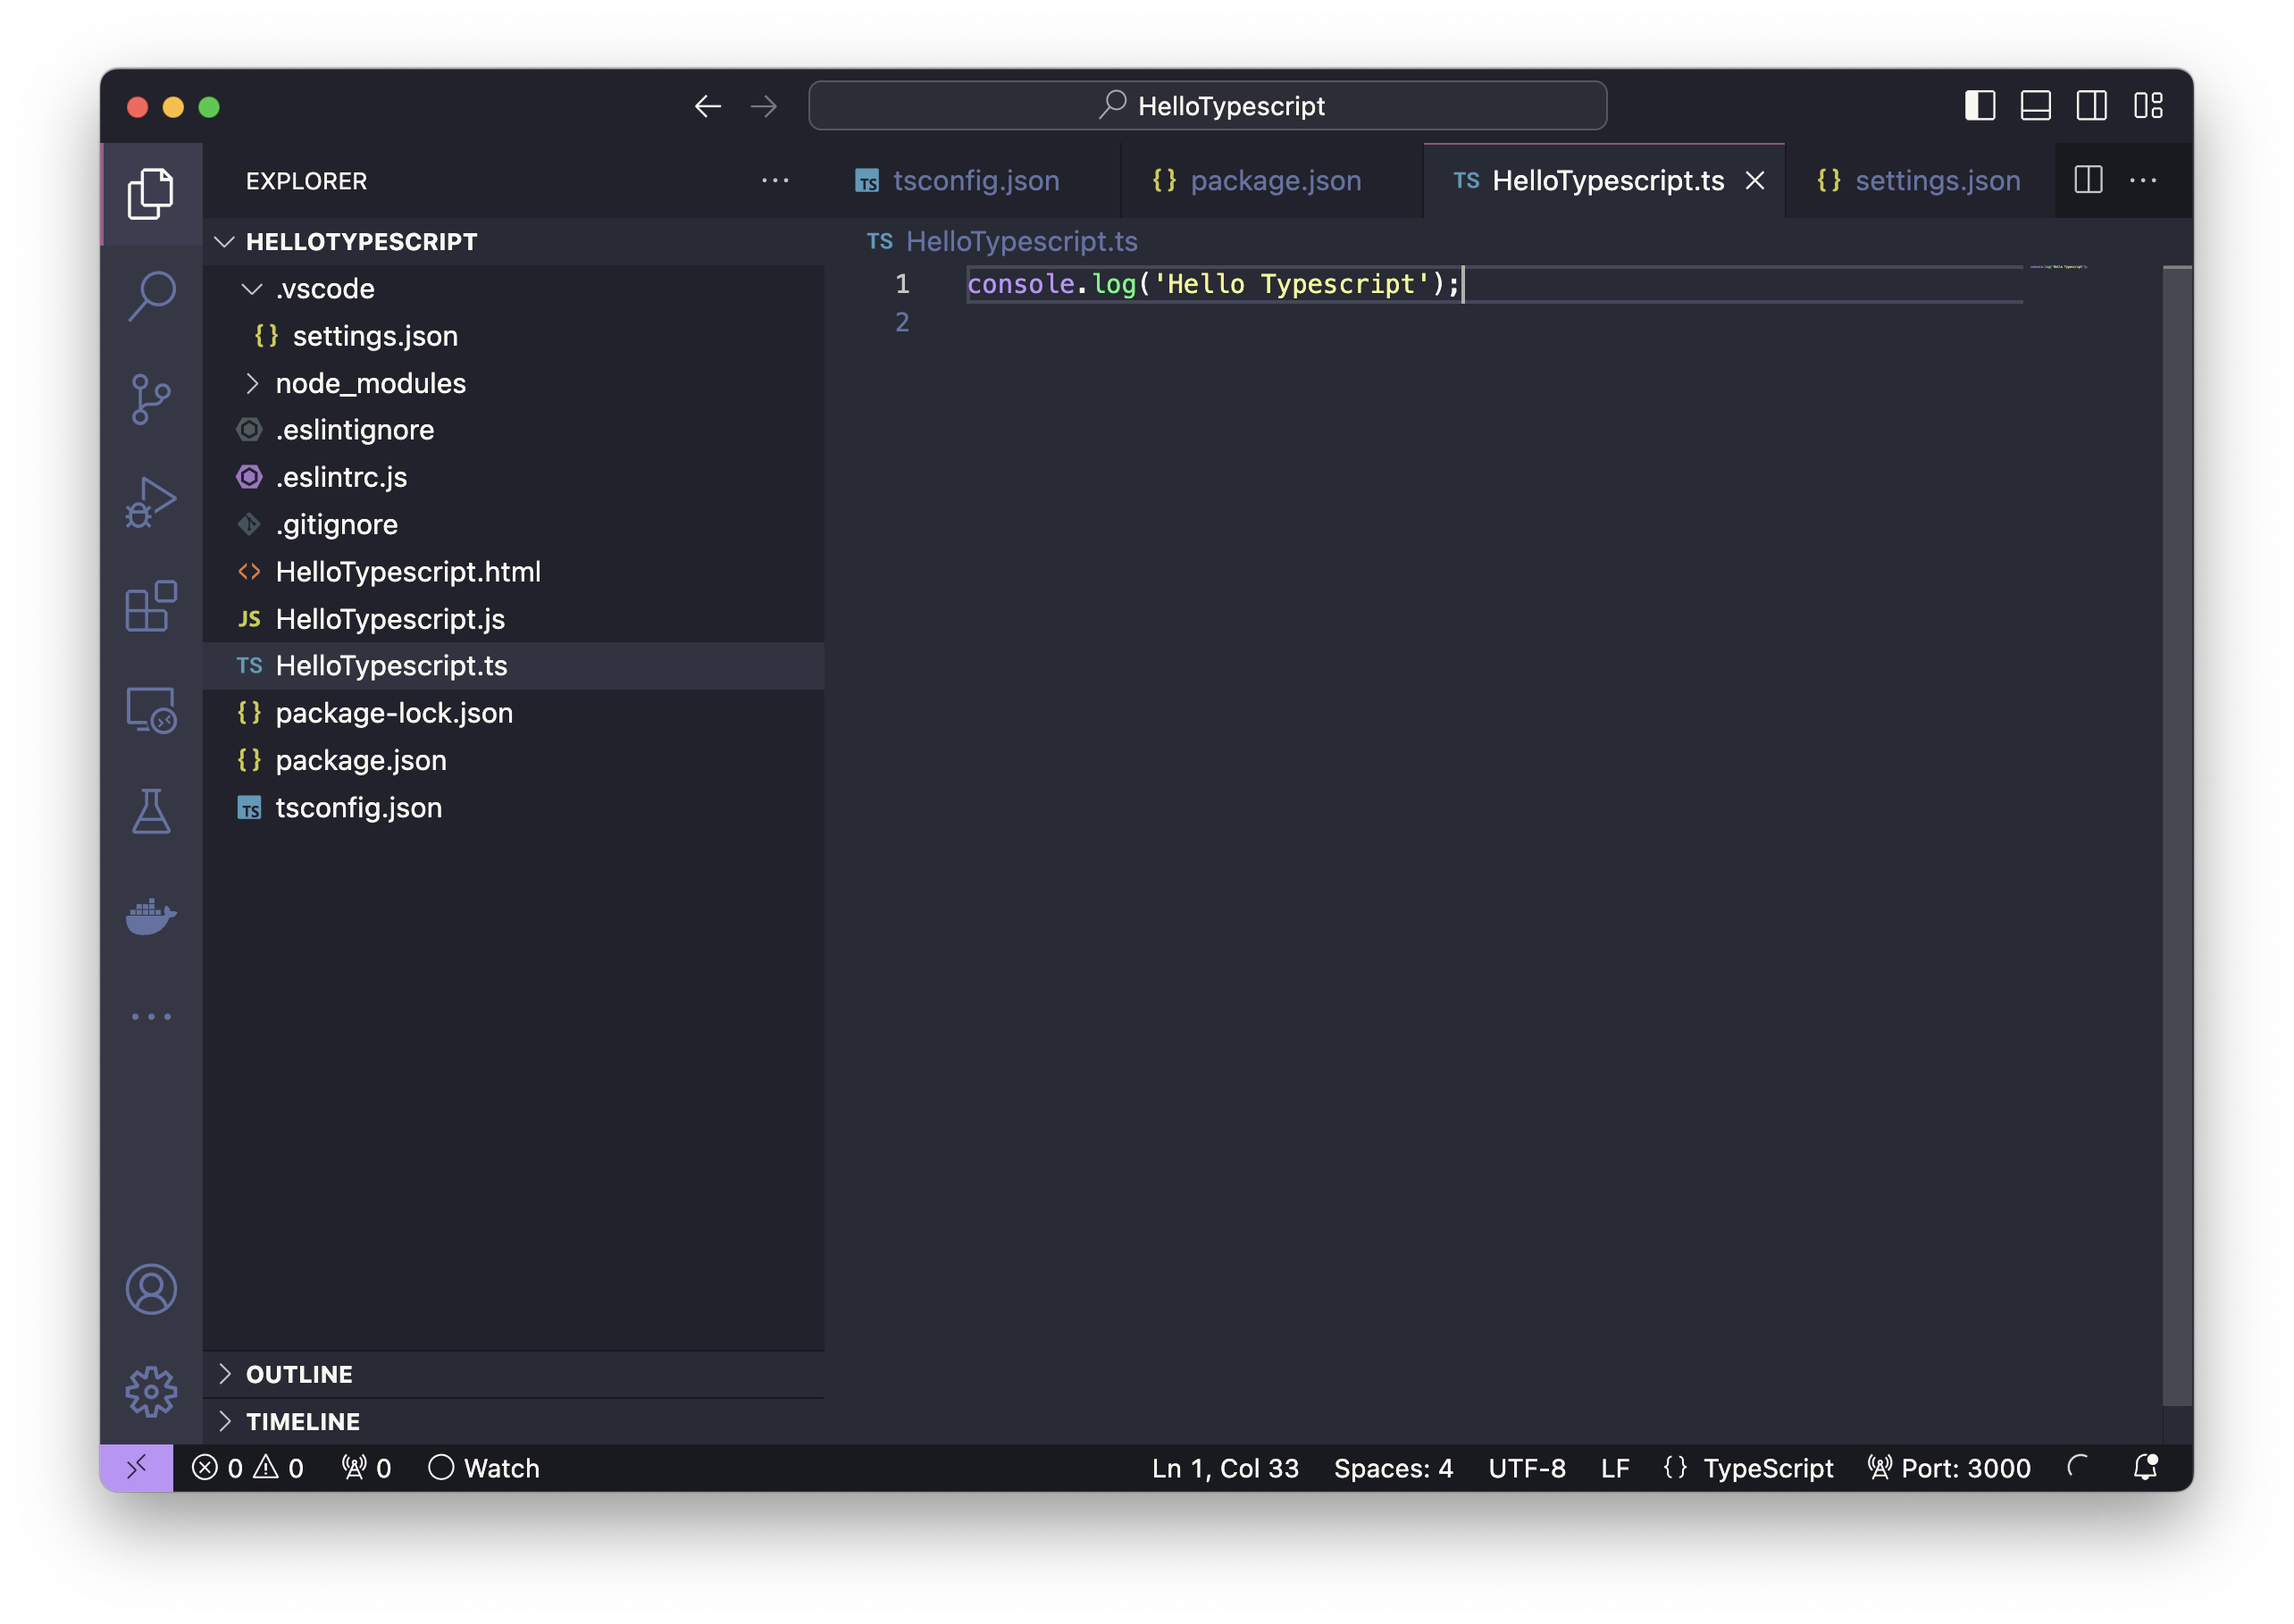
Open the HelloTypescipt.ts file and you should see the following error:
4.4 Add ESLint script to package.json
Open the package.json file and add the following property:
"scripts": {
  "lint": "eslint *.ts",
  "lint-fix": "eslint **/*.ts --fix",
  "test": "echo \"Error: no test specified\" && exit 1"
},
Note: if the proporty already exists, replace it with the above
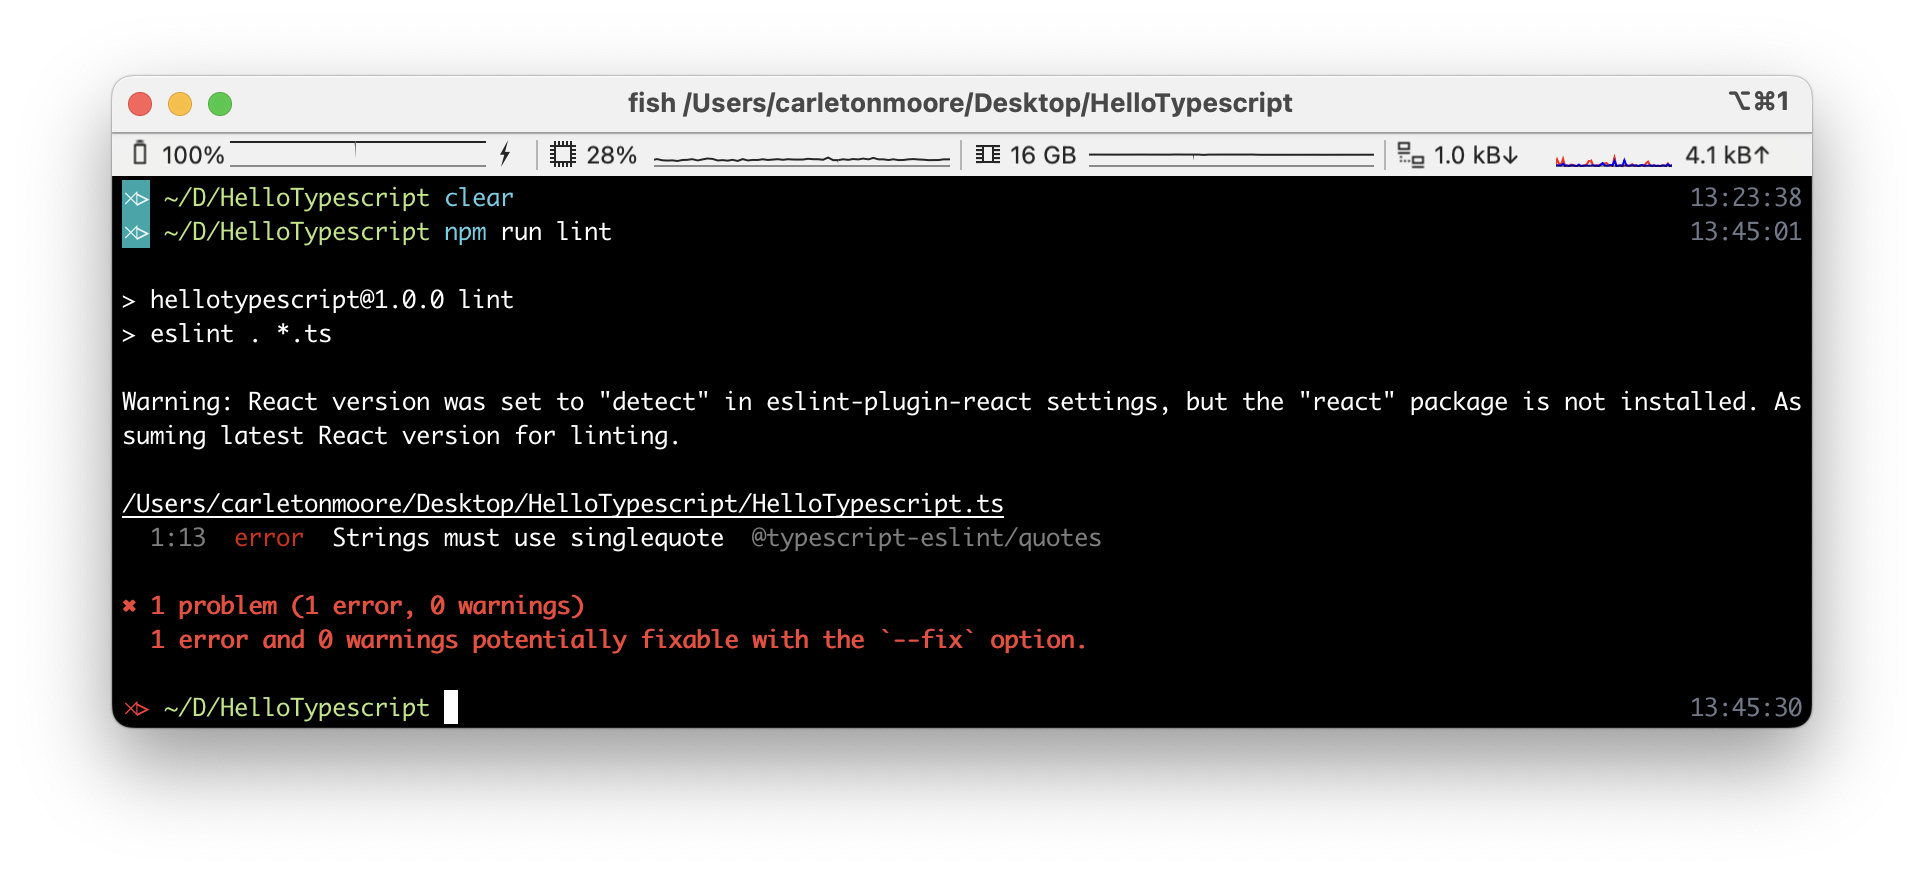
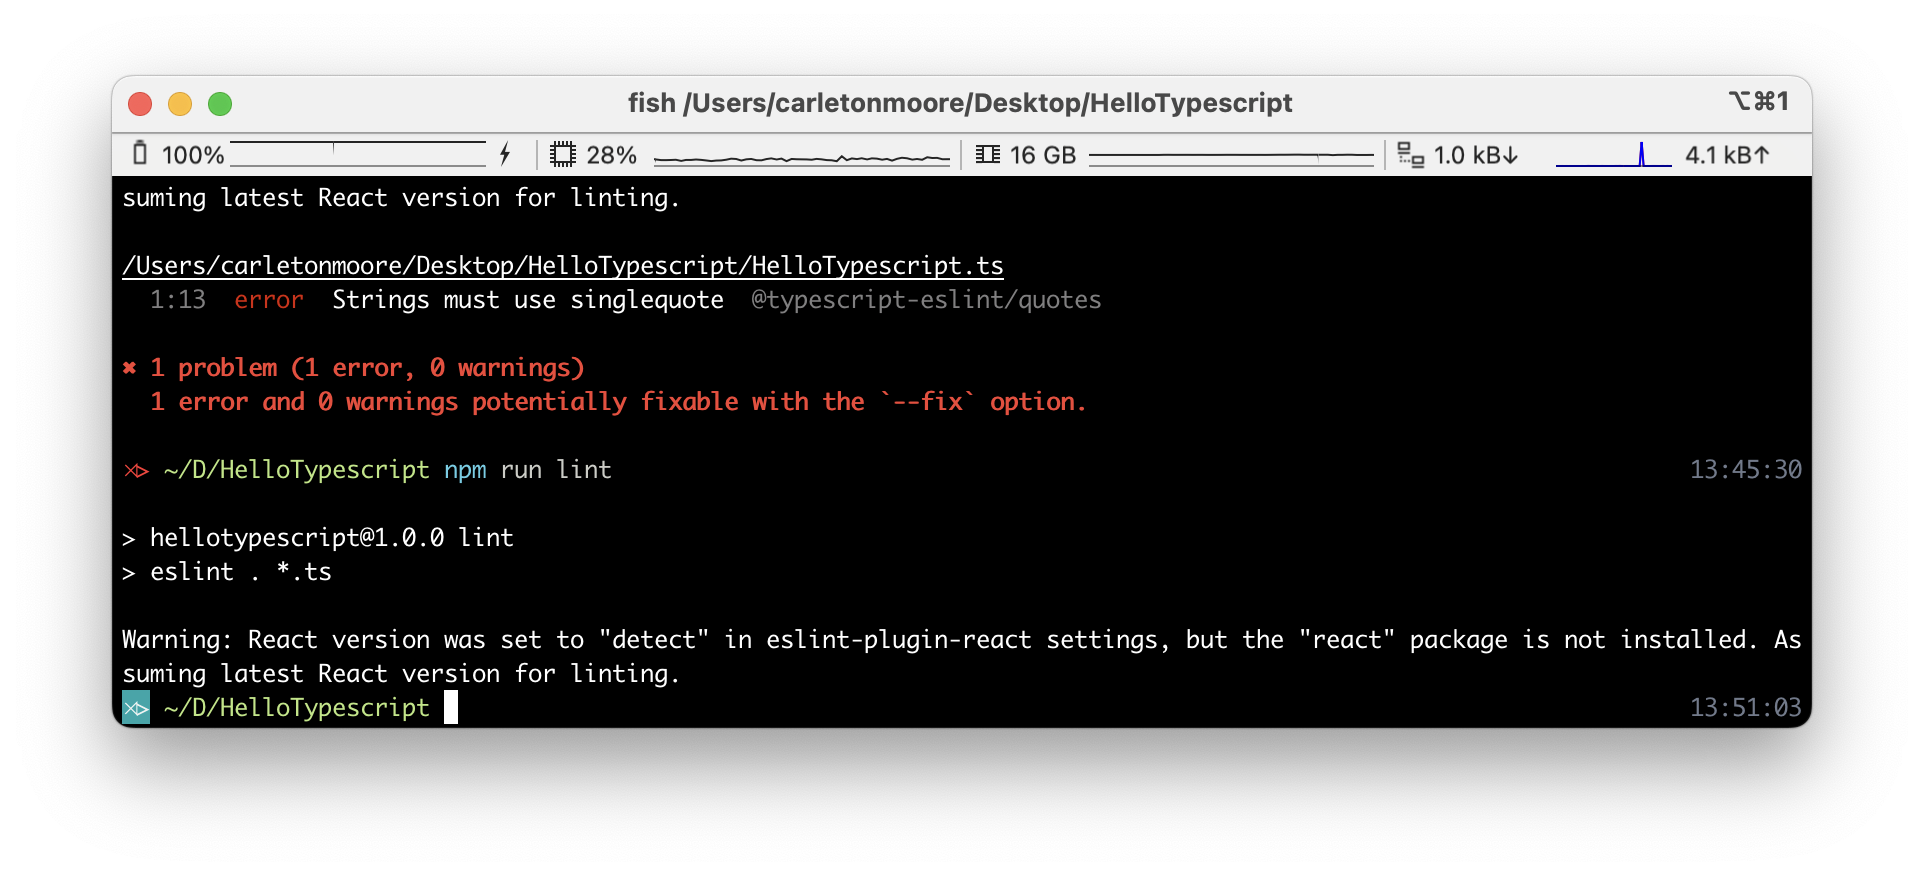
Next, let’s switch back to the console and invoke npm run lint. This invokes the “lint” script defined in the package.json file to run ESLint over all Typescript files. As you can see, the same error is discovered from the command line:
You can ignore the React warning. We will be using React in the future, so it’s OK to leave it in the configuration file.
4.5 Fix the error
Now switch back to VSCode, and change the double quotes to single quotes. The red squiggly will disappear.
Running it from the command line yields no errors as well:
5. Troubleshooting
If npm run lint does not work, and you get a message like “eslint is not recognized…”, then there are a couple of things to check.
First, make sure that the absolute path to your source code does not include a directory with a space in its name. For example, “Users/philipjohnson/Amazon Files/ics314/test/foo.js” will lead to a problem loading ESLint, because of the directory named “Amazon Files”.
Second, on Windows, you may need to run npm -g i eslint-cli. See this stackoverflow question.
Submission instructions
You do not have to submit anything for this experience. However, your ability to install ESLint and use it to remove warnings will be evaluated in subsequence experiences, so be sure to complete this experience successfully!
